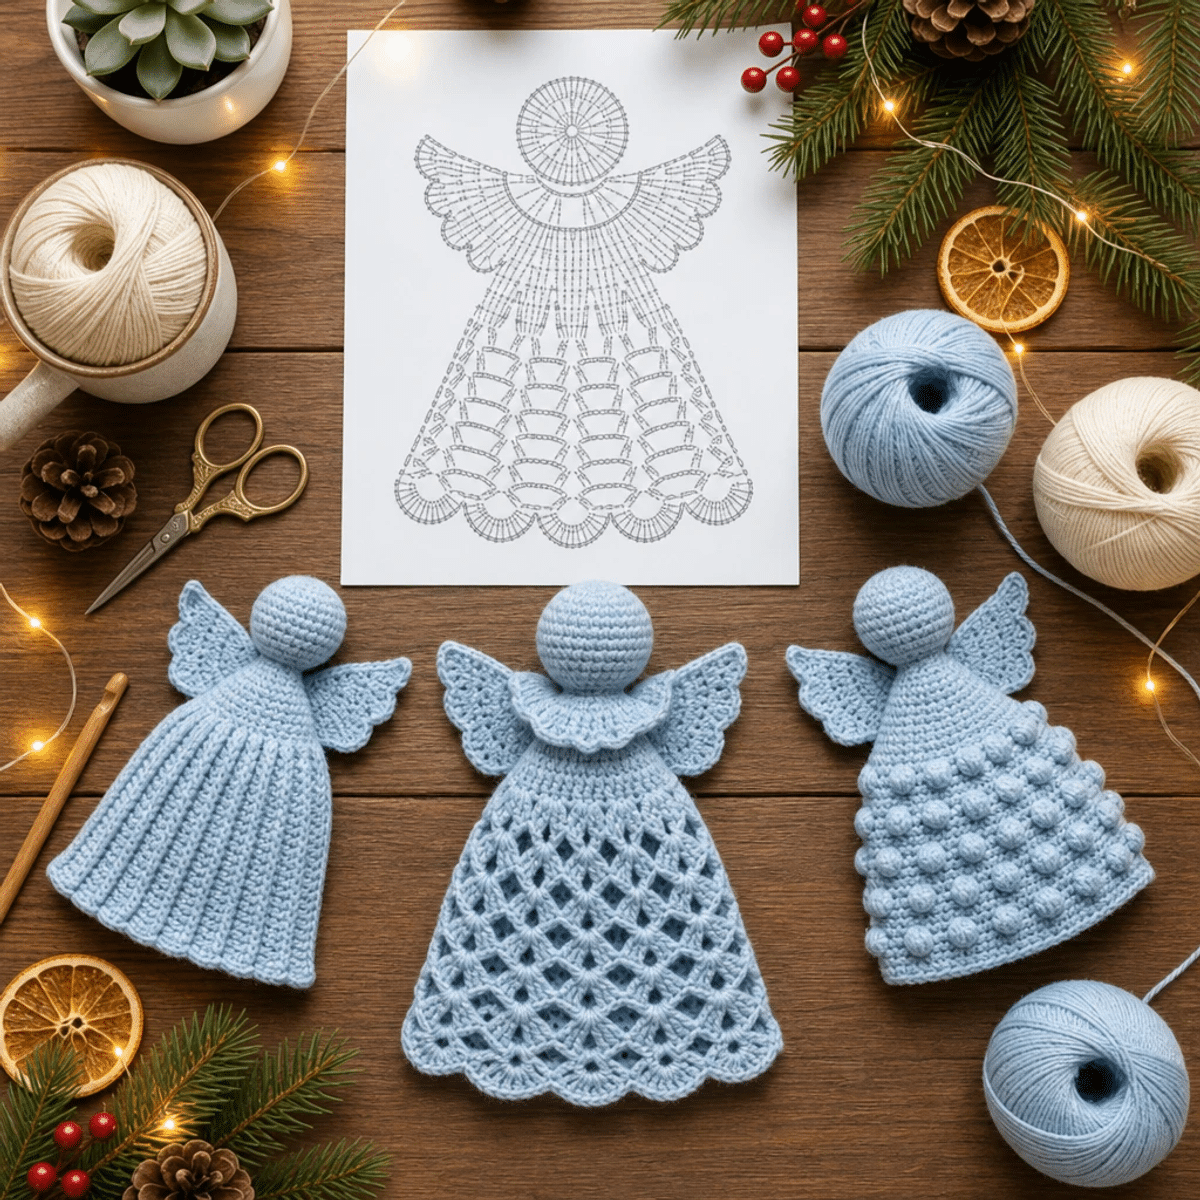
Ingredienti
Method
Pattern Instructions
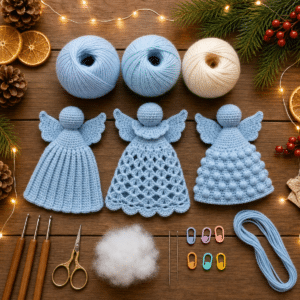
- Materials and tools prepared for this project.
- Row 1: Start the Head
- Inizia con un anello magico (AM) e lavora 6 mb (maglie basse) nell'anello. Stringi l'anello per chiudere. Questo primo giro crea la base per la testa della tua angioletta, e alla fine dovresti avere 6 mb (6 sts).
- Row 2: Increases in the Head
- Nel secondo giro, lavora 2 mb in ogni m (maglia) del giro precedente. Quando completi questo passo, la testa della tua Angioletti di Natale all’Uncinetto inizierà a prendere forma, con un totale di 12 mb (12 sts).
- Row 3: Continue Increasing
- Nel terzo giro, ripeti 1 mb e poi 2 mb nella m seguente per 6 volte. Questo modello di aumenti ti darà una testa più arrotondata e completa, contribuendo a un totale di 18 mb (18 sts).
- Row 4: More Increases
- Per il quarto giro, ripeti 2 mb nella stessa m, seguiti da 2 mb nella m seguente per 6 volte. Dovresti sentirti soddisfatta mentre il tuo lavoro si espande, portandoti a 24 mb (24 sts).
- Row 5-8: Body of the Head
- Nei giri da 5 a 8, lavora 1 mb in ogni m. Continua a mantenere una tensione regolare; alla fine del giro 8, la tua testa dovrebbe apparire liscia e uniforme con 24 mb in ogni giro (24 sts).
- Row 9: Decrease in the Head
- Nel nono giro, ripeti 2 mb e 2 mb chiuse insieme per 6 volte per iniziare a restringere la testa. Alla fine, dovresti avere 18 mb (18 sts), e il tuo lavoro inizierà a chiudersi.
- Row 10: Further Decrease
- Per il decimo giro, lavora 1 mb e poi 2 mb chiuse insieme per 6 volte. Questo passaggio permette alla testa dell’angioletta di stringersi ulteriormente, portandoti a 12 mb (12 sts).
- Row 11: Finish the Head
- Inserisci una piccola quantità di imbottitura nella testa per darle forma. Esegui poi 6 diminuzioni di mb per chiudere la testa, e alla fine avrai 6 mb (6 sts). Chiudi e lascia un filo lungo per cucire.
- Row 1: Start the Collar and Body
- Avvia 24 cat (catenelle) e chiudi ad anello con 1 mbss (maglia bassissima) per iniziare a formare il colletto della tua Angioletti di Natale all’Uncinetto. Dovresti avere 24 m (24 sts) all'inizio di questo giro.
- Row 2: Body Foundation
- Nel secondo giro, lavora 1 mb in ogni cat e chiudi con 1 mbss. Il corpo della tua angioletta inizierà a risultare più definito, con una base di 24 mb (24 sts).
- Row 3: Shaping the Body
- Lavora 3 cat, poi 1 ma (maglia alta) nella stessa m, e successivamente 2 ma in ogni m del giro. Al termine, la base del corpo si allargherà con un totale di 48 m (48 sts).
- Row 4: Continue the Body
- Ripeti 3 cat, poi 1 ma in ogni m e chiudi con 1 mbss. Questo giro crea una forma bella e piena, mantenendo il totale a 48 m (48 sts).
- Row 5: Create Spaces
- Ripeti 1 ma e 1 cat, saltando 1 m per 24 volte. Le aperture cominceranno a formarsi, risultando in 24 ma e 24 spazi (24 ma e 24 sp).
- Row 6: Build upon the Spaces
- In ogni spazio, lavora 2 ma e 1 cat. Dovresti avere una produzione ricca di 48 ma e 24 spazi (48 ma e 24 sp).
- Row 7: Expand the Body
- Ripeti 3 ma e 1 cat in ogni spazio, aumentando a 72 m nel totale (72 ma e 24 sp).
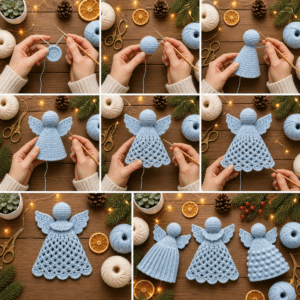
- Row 8: Complex Stitching
- In ogni spazio, lavora 3 ma, 2 cat e 3 ma; questo passaggio arricchisce il vestito, portando a 144 ma e 24 sp (144 ma e 24 sp).
- Row 9: Repeat the Dress Pattern
- Ripeti il passo precedente per un altro giro, mantenendo il totale a 144 ma e 24 sp. È affascinante vedere la tua angioletta prendere forma!
- Row 10: Finalize the Body Shape
- In ogni spazio, lavorare 5 ma, creando una struttura solida per il corpo con 120 ma (120 ma).
- Row 11: Final Detailing
- Ripeti 1 mb, salta 1 m e lavora 5 ma nella m successiva per 40 volte. Questo creerà 40 ventagli che abbelliranno il vestito. Chiudi e nascondi il filo.
- Row 1: Create Wings
- Avvia 7 cat e lavora 6 mb dalla seconda cat per formare la prima ala. Dovresti notare la forma della ala cominciare a prendere vita con 6 mb (6 sts).
- Row 2: Shape the Wings
- Fai 1 cat, volta e lavora 2 mb nella prima m, 4 mb e 2 mb nell’ultima m. Questo darà alla tua ala una forma affascinante e traforata con 8 mb (8 sts).
- Row 3: Expanding the Wings
- Fai 1 cat, volta e lavora 2 mb nella prima m, 6 mb e 2 mb nell’ultima m. Ora la tua ala dovrebbe mostrare 10 mb (10 sts).
- Row 4: Further Wing Expansion
- Fai 1 cat, volta, e procedi come nel passo precedente per ottenere 12 mb (12 sts). Continua ad espandere la tua ala gradualmente.
- Row 5: Finalizing Wing Shape
- Fai 1 cat, volta e lavora 1 ma in ogni m (12 sts). La tua ala inizierà a sembrare più finita.
- Row 6: Adding Texture
- Fai 1 cat, volta e crea una combinazione di mb e ma per dare alla tua ala una finitura bellissima. Chiudi lasciando un filo lungo.
- Step 1: Assemble the Angel
- Cucire la testa al centro dell'apertura superiore del corpo, prestando attenzione a posizionarla centralmente. Assicurati che sia ben fissata per un aspetto ordinato e proporzionato.
- Step 2: Attach Wings
- Posiziona le ali simmetricamente dietro la testa e cucile saldamente alla parte superiore del corpo. Questo darà stabilità e un aspetto bilanciato all'intera angioletta.
- Step 3: Secure All Threads
- Fissa bene tutti i fili sul rovescio del tuo lavoro per evitare che si slaccino. La cura nei dettagli renderà il tuo Angioletti di Natale all’Uncinetto ancora più bello.
- Step 4: Final Touches
- Modella delicatamente le ali con le dita e stendi il vestito. Inumidisci leggermente il lavoro e lascialo asciugare in forma per mantenere la sua bellezza.
- Step 5: Add a Hanging Loop
- Aggiungi un piccolo cappietto di cat dietro la testa per appenderla. Ora la tua angioletta è pronta per abbellire il tuo albero di Natale o il tuo ambiente festivo!
Note
Gauge and sizing: Gauge & Sizing Notes Don't skip the gauge swatch! Ensuring the right tension is crucial for your Angioletti di Natale all’Uncinetto to come out perfectly sized at approximately 12–14 cm tall. While a specific gauge measurement isn't provided, a general guideline is to aim for a tension swatch that feels comfortable, allowing you to create a soft, fluffy texture. If you wish to adjust the size, for example, to make your angel taller or wider, increase your starting chain in multiples of 24 . If your swatch is smaller than expected, try going up a hook size to achieve that cozy, festive look you're aiming for!
Tips: Expert Tips for Angioletti di Natale - Maintain Tension : Consistent tension ensures that your stitches look neat and even. Use a stitch marker to track your rounds easily. - Count Carefully : Keep a stitch count as you work to avoid losing track. It’s easy to miscount, especially in increasing or decreasing rows. - Secure Ends : Weave in all ends securely after finishing. This helps maintain the integrity of your Angioletti di Natale all’Uncinetto and keeps it looking polished. - Stuff Evenly : When adding stuffing, do so evenly to avoid lumps. This gives your angel a lovely, rounded shape. - Final Adjustments : Don’t forget to lightly shape the wings and body before it dries. This will enhance the angel’s overall appearance.
Care instructions: How to Wash and Care for Your Angioletti di Natale Machine Washing : Use cold water on a gentle cycle to avoid any agitation that could lead to felting or pilling. Hand Washing : For best results, hand wash your angel in cold water with mild detergent, gently pressing without twisting to maintain its shape. Drying/Blocking : Lay your Angioletti di Natale all’Uncinetto flat on a clean towel to dry. Avoid hanging it up, as this could distort its form. Storage : Store your angel in a cool, dry place, ideally in a cloth bag or container to prevent dust accumulation and keep it looking beautiful year after year.