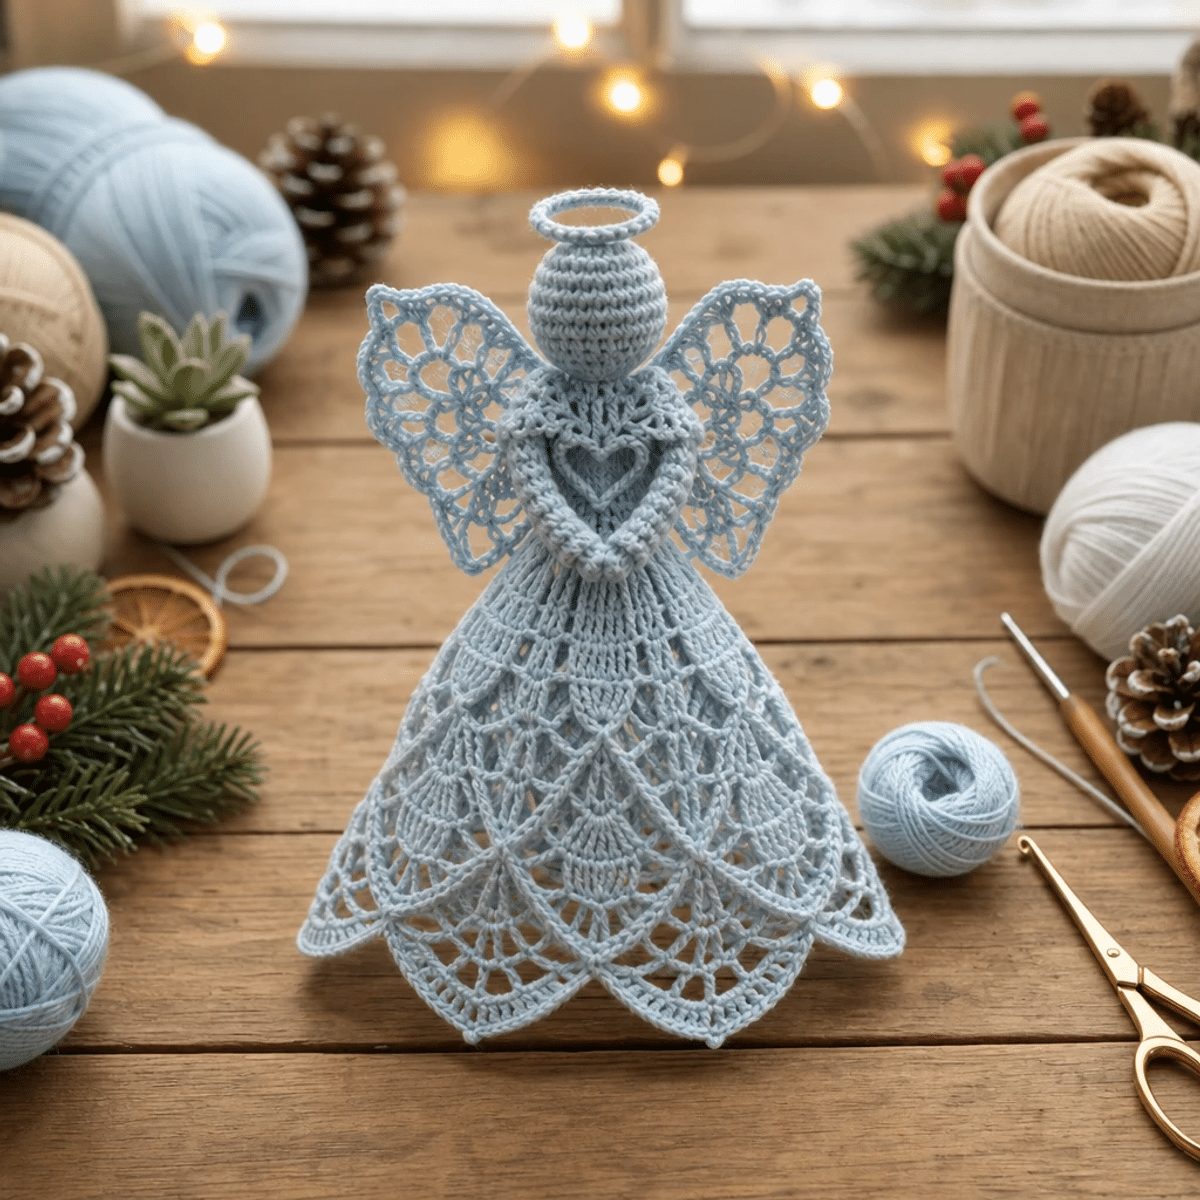
Ingredienti
Method
Pattern Instructions
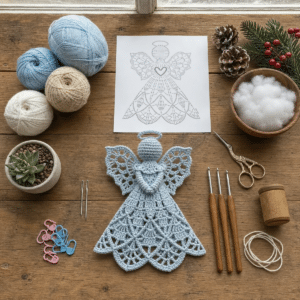
- Materials and tools prepared for this project.
- Row 1: Head Formation
- Make a magic ring (MR) and work 6 single crochet (sc) stitches into the ring, pulling the ring tight to secure. This creates the foundation of the angel's head. Your work should form a small circle at this stage (6 sts).
- Row 2: Increasing Head Size
- Continue by working 2 sc in each stitch around to increase the head size. This will make the head fuller and rounder, giving it a suitable shape for your Icy Blue Crochet Christmas Angel Hanging Ornament (12 sts).
- Row 3: Shaping the Head
- Now, repeat sc in the next stitch and 2 sc in the following stitch around. This alternating increase creates a gentle, cup-like form as you start to define the angel's face (18 sts).
- Rows 4-6: Head Body
- For the next three rows, work sc in each stitch around. This section creates the bulk of the head, establishing a rounded appearance. Your work should feel stable and consistent as you complete these rows (18 sts each).
- Row 7: Decreasing for Chin
- In this row, repeat sc in the next stitch, then sc two stitches together for the next two stitches around. This will begin to taper the head to form the chin area as you work down (12 sts).
- Row 8: Finalizing the Head Shape
- Work sc two stitches together around to further decrease the head size. At this point, you'll want to add a small amount of stuffing to give your angel's head dimension (6 sts). Fasten off, leaving a long tail to sew up the opening.
- Row 1: Torso Formation
- Make another MR and work 6 sc into the ring, mirroring the head's formation to maintain symmetry. This will start the torso portion of your Icy Blue Crochet Christmas Angel Hanging Ornament (6 sts).
- Row 2: Expanding the Torso
- Work 2 sc in each stitch around. This forms a solid base for the upper section as you begin crafting the body of the angel (12 sts).
- Rows 3-5: Building the Torso
- Continue by working sc in each stitch around for three rows. Ensuring consistency in tension creates a lovely silhouette, so keep your stitches even (12 sts each).
- Row 6: Connecting Head and Torso
- Join your torso with a slip stitch (sl st) and leave the lower edge open. Now, securely attach the narrow upper torso underneath the head, reinforcing the shape of the angel.
- Row 1: Beginning the Dress
- Join your lace yarn to one lower torso stitch. Chain (ch) 3, counting as the first double crochet (dc), and work 1 dc in each remaining stitch around, joining to create a beautiful base layer for your angel's lace dress (12 dc).
- Row 2: Expanding the Dress
- Ch 3 (first dc), dc in the same stitch, then work 2 dc in each remaining stitch. This row adds fullness to your dress, providing an elegant look for the Icy Blue Crochet Christmas Angel Hanging Ornament (24 dc).
- Row 3: Creating Openwork
- Ch 3 (first dc), ch 1, skip the next stitch, and repeat this sequence around to start forming the lace design. This introduces beautiful movement into the skirt's structure (12 dc and 12 ch-1 sp).
- Row 4: Building Lace Layers
- Slip stitch into the first ch-1 space, ch 3, work 2 dc in the same space, followed by ch 2, and repeat around. This establishes the next layer of lacy detail, adding depth to the design (24 dc and 12 ch-2 sp).
- Row 5: Layering More Detail
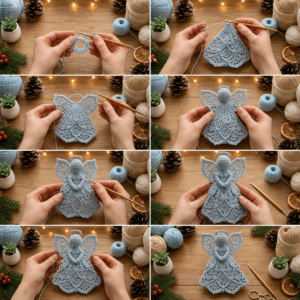
- Sl st into the first ch-2 space, ch 3, dc in the same space, ch 3, and repeat. This continues to build the delicate lace of the dress, adding charm to your creation (24 dc and 12 ch-3 sp).
- Row 6: Enhancing the Dress
- Sl st into the first ch-3 space, ch 3, work 2 dc in the same space, ch 3, and repeat this pattern to create extra layers of texture within the dress (36 dc and 12 ch-3 sp).
- Row 7: Creating Frills
- In this row, sl st into the first ch-3 space, ch 3, then work 2 dc in the same space, ch 4, and repeat around. This finishes off the main body of the dress, allowing the lace to flow beautifully (36 dc and 12 ch-4 sp).
- Row 8: Completing the Lace Skirt
- Sl st into the first ch-4 space, ch 3, and work 3 dc in the same space, ch 4, repeating around. The skirt gathers fullness, adding elegance and character to your angel ornament (48 dc and 12 ch-4 sp).
- Row 9: Finishing the Skirt Edge
- Sl st into the first ch-4 space, ch 1, sc in the same space, then ch 5 and sc in the next ch-4 space. Repeat this to create a lovely fringed effect around the hem of your lace skirt (12 sc and 12 ch-5 sp).
- Row 10: Scalloped Dress Hem
- Sl st into the first ch-5 space, ch 3 (first dc), work 6 dc in the same space, sc in the next ch-5 space. This final row adds dimension and charm, making the hem come alive with scallops (6 shells of 7 dc and 6 sc). Fasten off and weave in ends.
- Row 1: Wing Formation
- For the wings, chain 9, sc in the second chain from the hook, hdc in the next chain, and dc in the next 4 chains. Hdc and 3 sc in the last chain. Continue along the other side with hdc in the next chain and repeat the dc pattern, finishing with sc in the final chain (make 2 wings).
- Row 2: Curving the Wings
- Ch 1, work sc in the next 3 stitches, ch 3, skip the next stitch, and repeat the pattern around the outer wing curve. This adds texture and movement to your wings, setting them apart from the body (counts will vary).
- Row 3: Wing Edge Detail
- Work 3 dc into each available ch-3 space along the outer wing edge. This finishing touch completes the wing structure, giving it a delicate and airy appearance.
- Row 1: Halo Creation
- For the halo, ch 18 and join with a slip stitch to form a ring. This simple foundation sets the stage for a serene halo above your angel’s head (18 ch).
- Row 2: Finishing the Halo
- Work 18 sc around the ring, ensuring an even tension to create a clean, finished look. Fasten off, leaving a long tail for attachment.
- Step 1: Heart Accent
- Make a MR, ch 2, and work 3 dc, 2 hdc, ch 1, 1 dc, ch 1, 2 hdc, 3 dc, and ch 2 into the ring to create a small heart accent. Pull the ring closed before securing the yarn, adding a sweet touch to your Icy Blue Crochet Christmas Angel Hanging Ornament.
- Step 1: Assembly
- Sew wings securely to the upper back of the torso, attaching them symmetrically for added charm. Then, attach the halo vertically behind the angel's head, ensuring it aligns.
- Step 2: Adding Heart Accent
- Sew the small heart to the center front of the torso to create a delightful focal point. Use fine thread to attach a hanging loop at the top of the halo for easy display.
- Step 3: Finishing Touches
- Weave in any loose ends and gently shape the lace skirt to enhance its flow and design. Use blocking pins to style the wings and dress, ensuring all elements are symmetrical and pleasing. Let your ornament dry completely before hanging to showcase your beautiful work!
Note
Gauge and sizing: Gauge & Sizing Notes Don't skip the gauge swatch! Checking your tension is essential to ensure your Icy Blue Crochet Christmas Angel Hanging Ornament turns out beautifully and maintains its intended dimensions. Aim for about 4x4 inches (10x10 cm) of fabric to yield approximately 12 double crochets across, but remember that this may vary with your technique. If you wish to make your angel larger or smaller, simply adjust your starting chain in multiples of 6 , adding or removing stitches accordingly. If your swatch is too small, don't worry—just switch to a larger hook size to achieve that perfect fit. Happy crafting!
Tips: Expert Tips for Icy Blue Crochet Projects - Count Carefully: Keep a close eye on your stitch counts to avoid losing your place. Using a stitch marker can help maintain accuracy throughout the pattern. - Mind the Tension: Consistent tension leads to a beautifully finished Icy Blue Crochet Christmas Angel Hanging Ornament. Practice your tension to ensure even stitches and a polished look. - Stuff Gradually: When adding stuffing, do so gradually to avoid overstuffing. This helps maintain the delicate shape of the angel's head without bulging. - Secure Your Ends: Weaving in ends securely not only helps with durability but also ensures a clean finish, especially important for delicate lace designs. - Block for Perfection: Blocking your finished ornament, especially the wings and dress, will enhance the openwork and provide a refined finish. Use blocking pins to achieve precise shapes.
Care instructions: How to Wash and Care for Your Icy Blue Crochet Christmas Angel Hanging Ornament - Machine Washing: Use a gentle cycle in cold water for cleaning, ensuring the ornament is placed in a mesh laundry bag to minimize agitation and prevent felting or pilling. - Hand Washing: For extra care, gently hand wash your ornament in lukewarm water with mild detergent. Avoid scrubbing to maintain the integrity of the lace details and colors. - Drying/Blocking: Lay your Icy Blue Crochet Christmas Angel Hanging Ornament flat on a clean, dry towel to air dry. Use blocking pins to shape the lace elements while damp for a pristine finish. - Storage: Store your ornament in a cool, dry place away from direct sunlight. Consider keeping it in a tissue-lined box to preserve its delicate structure and colors.