Ingredienti
Method
Pattern Instructions
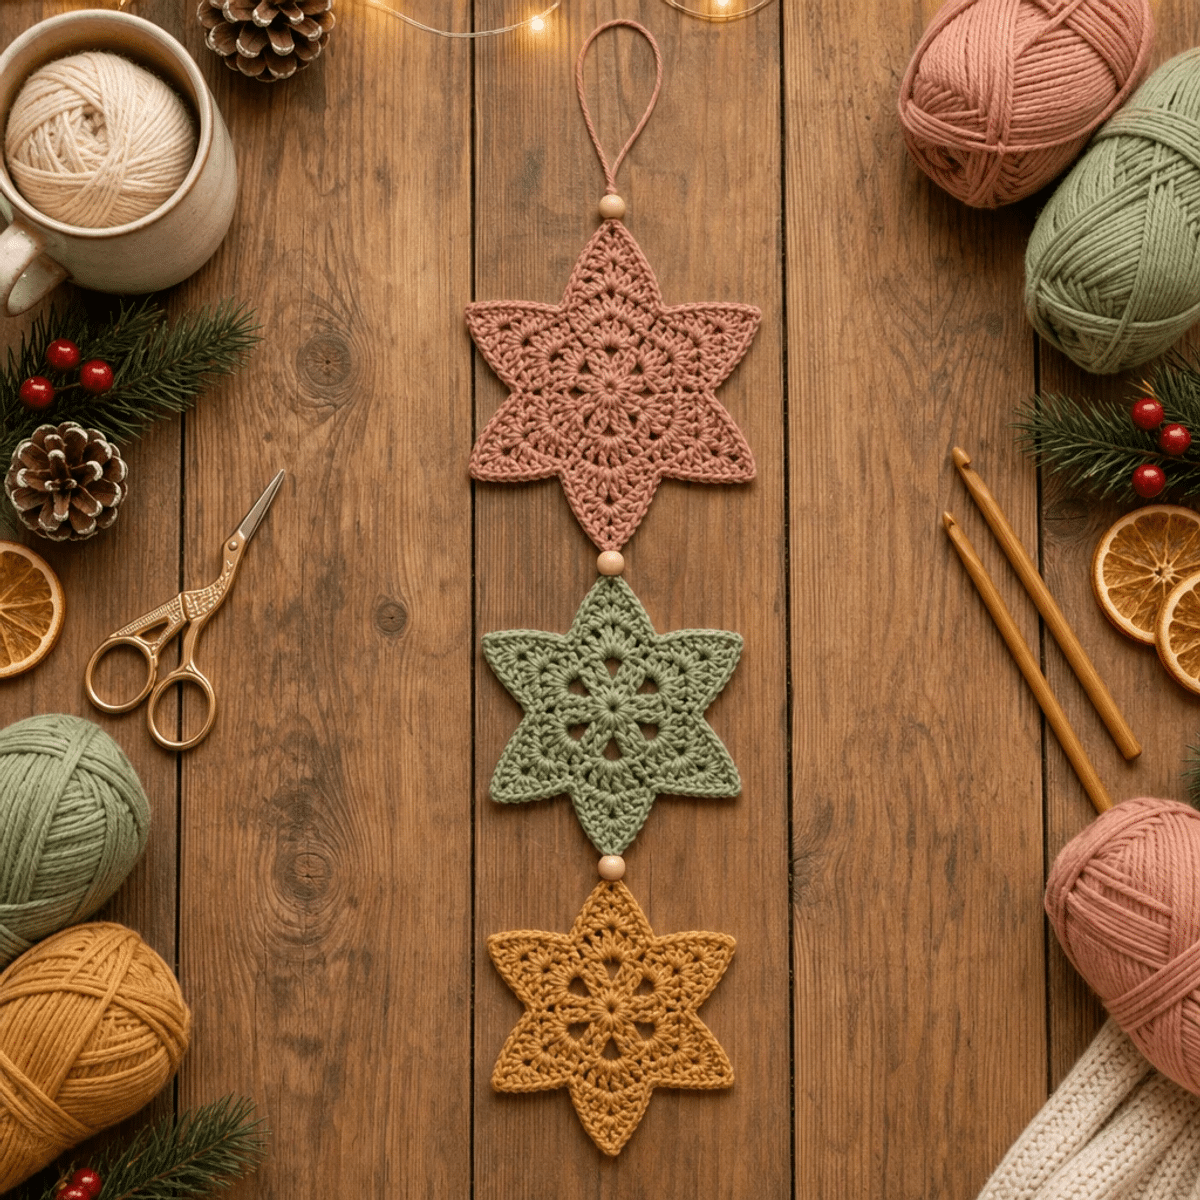
- Materials and tools prepared for this project.

- Row 1: Base of the Large Star
- Inizia con un anello magico (AM), lavora 18 maglie alte (ma) all'interno e chiudi con 1 maglia bassissima (mbss) nella prima maglia. Questo darà forma al centro della tua stella. Il tuo lavoro dovrebbe apparire come un cerchio compatto (18 sts).
- Row 2: Creazione degli Archi
- Fai 1 catenella (cat), poi 1 mb nella maglia successiva, 4 cat, salta 2 maglie , ripeti fino alla fine del giro e chiudi con 1 mbss. Ora dovresti avere 6 archi ben definiti che sporgono dal centro della stella.
- Row 3: Formazione dei Gruppi
- Raggiungi il primo arco con 1 mbss, quindi lavora 3 ma, 3 cat, 3 ma, 2 cat in ciascun arco, ripetendo per gli altri 5 archi. Alla fine, chiudi con 1 mbss; il risultato sarà un bel motivo a stella (6 gruppi).
- Row 4: Creazione dei Petali
- Raggiungi il primo spazio di 3 cat, quindi lavora 4 ma, 3 cat, 4 ma, 2 cat, 1 mb nello spazio di 2 cat, 2 cat in tutti i 6 gruppi. Chiudi con 1 mbss; i tuoi petali staranno iniziando a formarsi uniformemente.
- Row 5: Struttura della Stella
- Raggiungi il primo spazio centrale di 3 cat, quindi lavora 4 ma, 3 cat, 4 ma, 3 cat, 1 mb nel primo spazio laterale di 2 cat, 3 cat, 1 mb nel secondo spazio laterale di 2 cat, 3 cat . Questo creerà una decorazione tridimensionale nella tua stella (6 gruppi).
- Row 6: Dettagli del Design
- Raggiungi il primo spazio centrale di 3 cat, quindi lavora 3 ma, 3 cat, 3 ma, 4 cat, 1 mb nel primo arco laterale di 3 cat, 4 cat, 1 mb nel secondo arco laterale di 3 cat, 4 cat, 1 mb nel terzo arco laterale di 3 cat, 4 cat . Completa il giro; la tua stella dovrebbe apparire sempre più elaborata (6 gruppi).
- Row 7: Completamento della Stella Grande
- Raggiungi il primo spazio centrale di 3 cat, quindi lavora 2 maglie alte doppie (mad), 3 cat, 2 mad, 4 cat, 1 mb in ciascun arco laterale di 4 cat . Ripeti per i 6 gruppi rimanenti e chiudi con 1 mbss; la tua stella grande è quasi pronta.
- Row 8: Rifinitura della Stella Grande
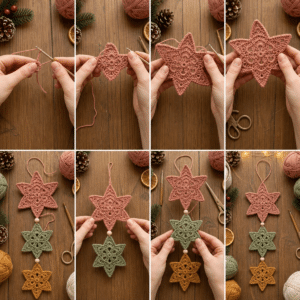
- Raggiungi il primo spazio centrale di 3 cat, quindi lavora 1 mad, 3 cat, 1 mad, 5 cat, 1 mb per ogni arco laterale di 4 cat . Completa il giro e chiudi con 1 mbss; taglia il filo lasciando una coda per nasconderlo. Questa stella in terracotta sarà un vero punto focale!
- Step 1: Stella Media
- Ripeti i passaggi da G1 a G6 della stella grande usando il filato verde salvia, terminando dopo G6 per ottenere la stella più piccola. Chiudi con 1 mbss e taglia il filo; avrai ora la tua stella media pronta.
- Step 2: Stella Piccola
- Ripeti i passaggi da G1 a G4 della stella grande usando il filato giallo senape, terminando dopo G4. Chiudi con 1 mbss e taglia il filo; la tua stella piccola sarà un’aggiunta adorabile.
- Step 3: Forma delle Sei Punte
- Distendi ogni stella su una superficie piana e individua le 6 punte triangolari. Allunga delicatamente ogni punta verso l'esterno, assicurandoti che siano distribuite uniformemente. Questo darà alla tua DECORAZIONE SOSPESA CON TRE STELLE FLOREALI A SEI PUNTE una forma armoniosa.
- Step 4: Blocaggio delle Stelle
- Inumidisci leggermente le tre stelle con acqua pulita e posizionale su un tappetino per blocaggio. Fissa ogni punta con uno spillo, controllando la simmetria delle sei punte. Lascia asciugare completamente; questo garantirà che la forma rimanga perfetta.
- Step 5: Assemblaggio della Decorazione
- Prepara circa 55 cm di cordino beige naturale. Piegalo a metà per formare un cappio superiore e fissalo con un piccolo nodo. Inserisci una perlina di legno sotto il cappio e fai passare il cordino attraverso la punta superiore della stella rosa, mantenendo la forma della punta.
- Step 6: Unione delle Stelle
- Collega la punta superiore della stella verde al cordino, fissando il collegamento con piccoli punti nascosti. Ripeti questo passaggio per la stella gialla, affermando l'armonia tra le tre stelle. Nascondi le estremità del cordino per una finitura pulita.
- Step 7: Rifinitura Finale
- Controlla che le tre stelle siano allineate verticalmente e sistema le punte con le dita. Nascondi tutte le estremità del filato e verifica che le perline siano fissate saldamente. Appendere la decorazione dal cappio superiore darà il tocco finale al tuo progetto!

Note
Gauge and sizing: Gauge & Sizing Notes Don't skip the gauge swatch! For the DECORAZIONE SOSPESA CON TRE STELLE FLOREALI A SEI PUNTE ⭐🌸 , checking your crochet gauge is essential to ensure your stars turn out beautifully symmetrical. As a general guideline, aim for a tension swatch that measures approximately 4x4 inches (10x10 cm) with a medium cotton yarn. If your tension doesn't match, don’t worry! If your swatch is too small, simply try going up a hook size; conversely, if it's too large, go down a size. To alter the overall length of your decoration, consider adjusting your starting chain in multiples of 6 + 2 for the desired size. Happy crocheting!
Tips: Expert Tips for DECORAZIONE SOSPESA CON TRE STELLE FLOREALI A SEI PUNTE ⭐🌸 - Consistent Tension : Maintain even tension throughout your project to ensure each star comes out uniform in size and shape, enhancing the overall look. - Counting Stitches : Keep a checklist or stitch marker to avoid losing count. It’s easy to lose track, especially when working on intricate designs. - Foundation Checks : Before starting, verify your foundation chain and first round to prevent twists, ensuring a smooth start for your stars. - Blocking Importance : Don’t skip the blocking step! It’s vital for achieving the desired shape, especially for your DECORAZIONE SOSPESA CON TRE STELLE FLOREALI A SEI PUNTE. - Secure Ends : Always weave in your yarn ends properly to prevent unraveling and give your decoration a clean, polished finish.
Care instructions: How to Wash and Care for Your DECORAZIONE SOSPESA CON TRE STELLE FLOREALI A SEI PUNTE ⭐🌸 - Machine Washing : Use a gentle cycle with cold water to preserve the delicate fibers and shape of your decoration, ensuring it remains beautiful for years to come. - Hand Washing : If preferred, gently hand wash in cold water with mild detergent. Avoid agitation to prevent felting and keep your stars looking fresh and vibrant. - Drying/Blocking : Lay flat to dry in a shaded area, reshaping the points and ensuring they maintain their stunning symmetry. Avoid direct sunlight to prevent fading. - Storage : Store in a cool, dry place when not displayed. Keep your decoration away from heavy items to maintain its structure and charming appearance.