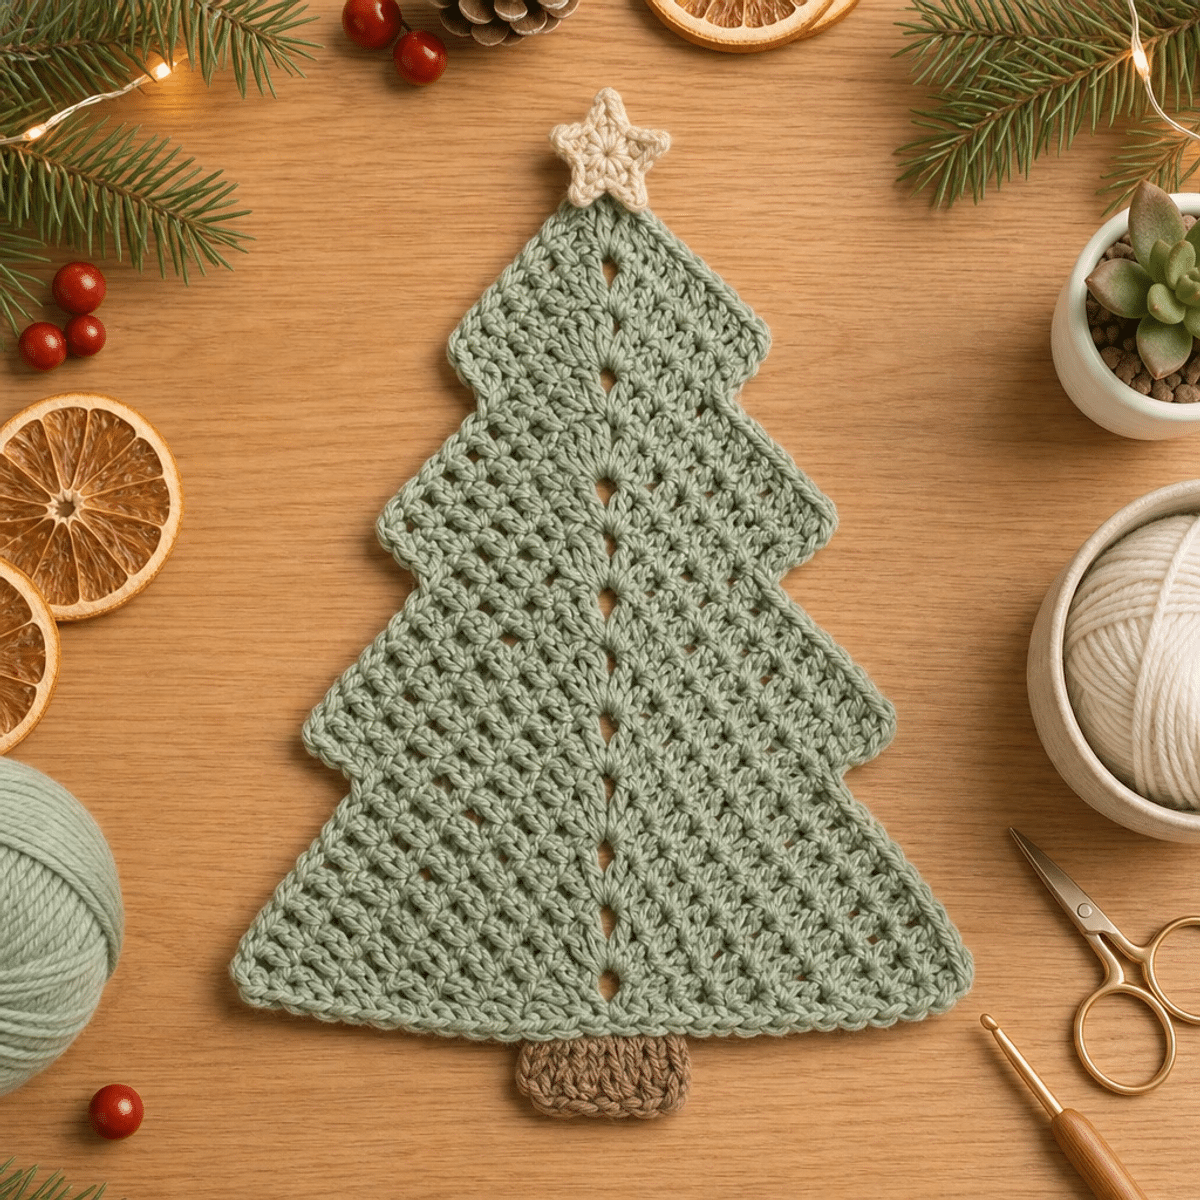
Ingredienti
Method
Pattern Instructions
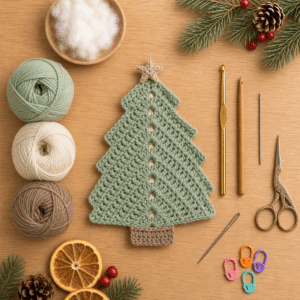
- Materials and tools prepared for this project.
- Row 1: Start the Tree Shape
- Avviare 4 cat, quindi lavorare 3 mb dalla seconda cat per formare la punta dell'alberello. Il lavoro inizierà a prendere forma con un triangolo solido. Controlla che ci siano 3 m complessive alla fine di questo passaggio (3 sts).
- Row 2: Increase Stitches
- Fai 1 cat, voltare il lavoro, quindi lavorare 2 mb nella prima m, 1 mb nella m successiva, e 2 mb nell'ultima m. La base del tuo Alberello di Natale Verde Salvia inizia a allargarsi, assicurati che ci siano 5 m al termine di questa riga (5 sts).
- Row 3: Building Up
- Avvia 3 cat, voltare, poi lavora 2 ma nella prima m, segui con 3 ma nel centro, e termina con 2 ma nell'ultima. Questo passaggio aumenta ancora la larghezza per una forma più definita, controlla che tu abbia 7 m (7 sts).
- Row 4: Continue Expanding
- Fai 3 cat e voltati. Lavora 2 ma nella prima m, 5 ma nel centro, e 2 ma nell'ultima. Controlla che la silhouette del tuo alberello continui a svilupparsi con un totale di 9 m alla fine di questa riga (9 sts).
- Row 5: Add More Height
- Avvia 3 cat e voltare. Lavorare 2 ma nella prima m, 7 ma nel centro, e 2 ma nell'ultima m. Assicurati che il tuo lavoro stia iniziando a separarsi chiaramente in una forma triangolare, con 11 m in totale (11 sts).
- Row 6: Upper Part Begins
- Fai 3 cat e voltare. Lavora 2 ma nella prima m, segui con 9 ma nel centro e termina con 2 ma nell'ultima. Sarai vicino a completare la parte superiore del tuo Alberello, controlla di avere 13 m (13 sts).
- Row 7: Further Increases
- Avvia 3 cat e voltati di nuovo. Lavora 2 ma nella prima m, segui con 11 ma nel centro e 2 ma nell'ultima. La forma continua a espandersi, portando il totale a 15 m (15 sts).
- Row 8: Keep Growing
- Fai 3 cat e voltare. Lavora 2 ma nella prima m, poi 13 ma e 2 ma nell'ultima m. Aiuta a mantenere la figura appuntita del tuo alberello, assicurandoti di contare 17 m (17 sts).
- Row 9: Forming a Distinct Shape
- Avvia 3 cat, voltare, e poi lavora 2 ma nella prima m, 15 ma nel centro e 2 ma nell'ultima. La tua ruota sta cominciando a prendere una bella forma, arriva a 19 m in totale (19 sts).
- Row 10: Finalizing the Upper Part
- Fai 3 cat e voltare. Lavora 2 ma nella prima m, 17 ma nel centro, e 2 ma nell'ultima m. Assicurati che il tuo Alberello si stia alzando a 21 m alla fine di questo passaggio (21 sts).
- Row 11: Expanding the Center
- Avvia 3 cat, voltare, e lavora 2 ma nella prima m assieme a 19 ma nel centro, e 2 ma nell'ultima. La forma continua ad allargarsi con 23 m in totale (23 sts).
- Row 12: Further Growth
- Fai 3 cat e voltare, ora lavora 2 ma nella prima m, segui il tuo lavoro con 21 ma e termina con 2 ma nell'ultima m. Controlla il tuo progresso con 25 m (25 sts).
- Row 13: Keeping the Expansion Going
- Avvia 3 cat e voltare. Lavorare 2 ma nella prima m, quindi 23 ma nel centro, e 2 ma nell'ultima. Continua a costruire sul tuo Alberello, assicurati di avere 27 m (27 sts).
- Row 14: Almost Complete
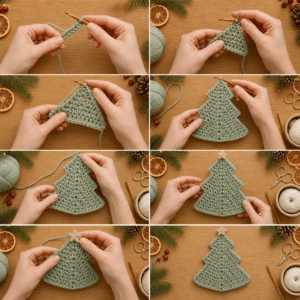
- Fai 3 cat e volta il lavoro. Lavora 2 ma nella prima m, 25 ma nel centro e termini con 2 ma nell'ultima. Il tuo alberello sta emergendo con un totale di 29 m (29 sts).
- Row 15: Final Increases for the Center
- Avvia 3 cat, voltare, e lavora 2 ma nella prima m, poi 27 ma nel centro e 2 ma nell'ultima. Il tuo Alberello si avvicina a 31 m (31 sts).
- Row 16: Lower Part Begins
- Fai 3 cat e voltare. Lavorare 2 ma nella prima m, 29 ma e 2 ma nell'ultima. La sezione inferiore inizia a formarsi, controlla che ci siano 33 m (33 sts).
- Row 17: Continue Lowering
- Avvia 3 cat, voltare e lavorare 2 ma nella prima m, 31 ma nel centro e terminare con 2 ma nell'ultima. Questo passaggio ti porterà a un lavoro di 35 m (35 sts).
- Row 18: Finalizing the Lower Part
- Fai 3 cat e voltare. Lavorare 2 ma nella prima m, ora inserisci 33 ma nel centro e 2 ma nell'ultima. La tua figura sta per raggiungere un totale di 37 m (37 sts).
- Row 19: Maintain the Form
- Avvia 3 cat, voltare e lavorare 2 ma nella prima m, 35 ma nel centro e 2 ma nell'ultima m. Assicurati di avere 39 m in totale (39 sts).
- Row 20: Complete the Lower Section
- Fai 3 cat, voltare e lavorare 2 ma nella prima m, 37 ma nel centro e termina con 2 ma nell'ultima m. La parte inferiore dell'Alberello ha ora raggiunto 41 m (41 sts).
- Step 21: Lower Border
- Fai 1 cat, voltare, ora lavora 1 mb in ogni m. Questo bordo darà una finitura pulita alla tua opera, assicurandoti di avere ancora 41 m (41 sts).
- Step 22: Edging Continuation
- Fai 1 cat, voltare e lavora ancora 1 mb in ogni m. La bordatura finale sarà un ottimo completamento, mantenendo i conti a 41 m (41 sts). Chiudi lasciando un filo lungo.
- Step 23: Sides Edging
- Unisci il filato verde salvia all'angolo inferiore destro e lavora 1 mb lungo ogni estremità di riga. Negli angoli, fai 2 mb. Questa lavorazione darà un aspetto rifinito al tuo Alberello.
- Step 24: Adding Decorative Holes
- Per creare piccoli fori decorativi, sostituisci alcune ma centrali con 1 cat e salta 1 m. Distribuisci questi spazi lungo l'asse centrale dell'alberello per un effetto bilanciato.
- Step 25: Attaching the Star
- Posiziona una stellina in legno naturale sulla punta, fissala con alcuni punti di cucitura o con colla adeguata per tessuti. Questo dettaglio darà un tocco finale al tuo Alberello di Natale Verde Salvia all’Uncinetto.
- Step 26: Finishing Touches
- Nascondi tutti i fili sul rovescio e inumidisci leggermente il lavoro. Distendi l'alberello su una superficie piana e modellalo delicatamente, controllando che la punta sia centrata. Lascia asciugare completamente e aggiungi un piccolo cappietto sul retro per appenderlo.
Note
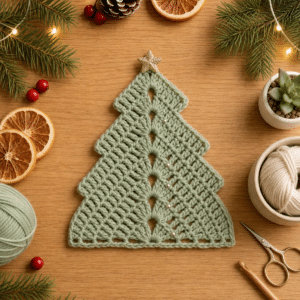
Gauge and sizing: Gauge & Sizing Notes Don't skip the gauge swatch! Ensuring the correct tension is vital for your Alberello di Natale Verde Salvia all’Uncinetto , as it determines the overall size and shape of your delightful Christmas tree. A standard gauge to aim for is approximately 4x4 inches (10x10 cm) , which might vary from about 18-20 double crochets by 8-10 rows , depending on your style. If you want to adjust the size, increase your starting chain in multiples of 6 + 2 for a wider tree. If your tension doesn't match the gauge, don’t worry! If your swatch is too small, simply go up a hook size; conversely, if it’s too large, try a smaller hook for a perfect fit!
Tips: Expert Tips for Alberello di Natale Verde Salvia - Check Your Tension : Consistently check your gauge to ensure the tree maintains its shape and dimensions. Loose stitches can lead to an undefined silhouette. - Count Stitches : After each row, count your stitches to avoid mistakes. Losing or adding a stitch can immediately affect the triangular shape of your Alberello di Natale Verde Salvia all’Uncinetto. - Avoid Twisting : Be mindful to keep your foundation chain straight. Twisting it can affect the overall appearance and structure of your design. - Finish Neatly : When hiding ends, weave them in securely but discreetly. This prevents unraveling and keeps your charming tree looking polished. - Block Your Work : Lightly dampening and shaping your completed tree helps it hold its silhouette. Allow it to dry flat to maintain its lovely triangular form.
Care instructions: Care Instructions for Alberello di Natale Verde Salvia Machine Washing : Wash your Alberello di Natale Verde Salvia all’Uncinetto in cold water on a gentle cycle to preserve its shape and texture. Avoid agitation to prevent felting. Hand Washing : If you prefer, hand wash in cool water with a mild detergent. Gently squeeze to remove dirt; don't wring or twist to maintain its lovely form. Drying/Blocking : Lay flat on a clean, dry surface to air dry. Gently reshape the tree while it's damp to enhance its triangular silhouette and defined edges. Storage : Store in a cool, dry place. Keep your crocheted tree away from direct sunlight to prevent color fading and ensure it retains its beautiful sage green hue.