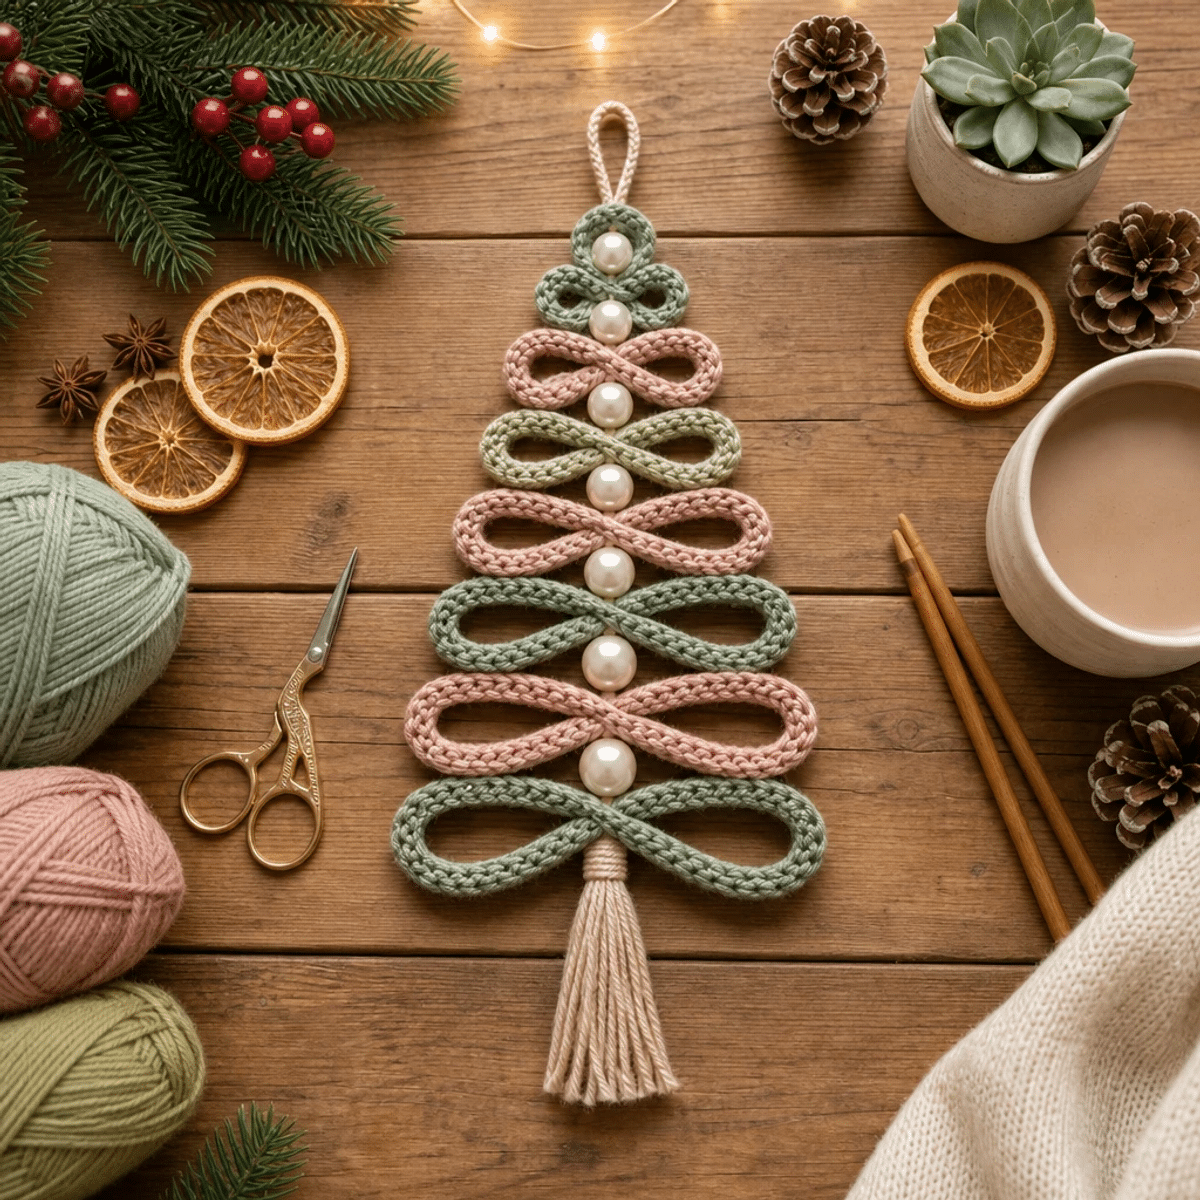
Ingredienti
Method
Pattern Instructions
- Materials and tools prepared for this project.
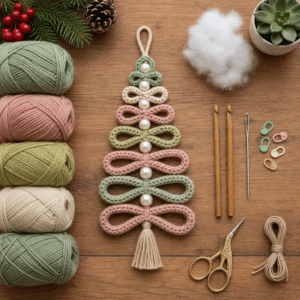
- Row 1: Base Triangle Formation
- Using dark green yarn, ch 3, then work 2 dc in 3rd ch from hook (this creates your first triangle point). Ch 2, turn, and work 2 dc in each of the next 2 dc (6 sts). Ch 2, turn, then work 1 dc in each of the next 6 dc (6 sts). Your triangle should be forming with the base wider than the top.
- Row 2: Expanding the Triangle
- Switch to light green yarn. Ch 2 to start, work 1 dc in the first st, then inc (2 dc in the same st) for the next st, followed by 1 dc in the next 4 sts (8 sts total). Ch 2, turn. Your triangle should be slightly taller and still maintain its triangular shape, tapering upward.
- Row 3: Final Triangle Shape
- Change to pale pink yarn. Ch 2, work 1 dc in the first two sts, inc in the next st, and continue with 1 dc in the next 5 sts (10 sts). Ch 2, turn, ensuring your triangle stays symmetrical. The piece will now show a beautiful gradient as the triangles stack.
- Step 4: Creating Additional Triangles
- Repeat Rows 1-3 to make two more triangles in the same color sequence: dark green, light green, then pale pink. Each triangle should continue to stack upon one another, creating depth and dimension to your crochet Christmas tree. Keep your tension consistent for an even appearance.
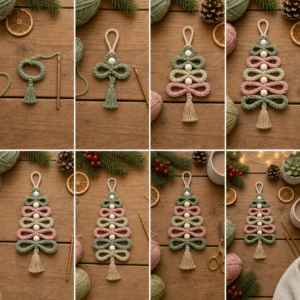
- Step 5: Assembling the Tree
- Once you’ve crocheted the triangles, start by positioning them from largest at the bottom to smallest at the top. Use a tapestry needle to securely stitch the triangles together at the base. Your tree should signify holiday cheer, emphasizing the layered effect.
- Step 6: Adding Bows
- Using yarn scraps, cut 5 pieces about 6 inches each and tie them into loops to create bows. Attach these whimsical bows to the tree at even intervals on the layers with a tapestry needle. This will add a playful accent to your crochet Christmas tree.
- Step 7: Embellishing with Pearls
- Thread pearl beads onto the bows and around the edges of the triangles using your tapestry needle. Secure them gently as you space them evenly to maintain a balanced aesthetic. This will add a festive sparkle to your project, completing your charming crochet tree.
- Step 8: Final Edging (Optional)
- For a neat finish, you can add a round of sc around the base of the assembled tree. Use the same dark green yarn, working into the edges of the triangles. This will give your crochet Christmas tree a crisp outline, enhancing its overall presentation.
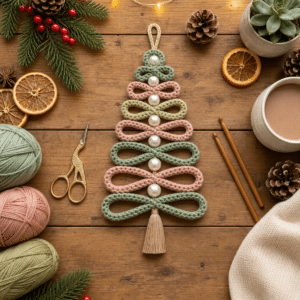
Note
Gauge and sizing: Gauge & Sizing Notes Don't skip the gauge swatch! Checking your tension is essential for crafting the perfect crochet Christmas tree with bows and pearls. For this project, aim for a standard gauge of approximately 4x4 inches (10x10 cm) in a double crochet stitch, ensuring your triangles maintain their symmetry and fit snugly together. If you wish to adjust the size of your tree, feel free to increase or decrease your starting chain in multiples of 6 to achieve a broader or narrower base. And if your swatch ends up too small, try going up a hook size; remember, achieving the right tension will help you create a truly charming holiday centerpiece!
Tips: Expert Tips for Crochet Christmas Tree - Count Carefully: Always keep track of your stitches to avoid losing count, especially when multiple triangles need to be symmetrical. - Consistent Tension: Maintain even tension while crocheting the triangles; uneven stitches can disrupt the tree’s layered look. - Secure Your Layers: When assembling, use your tapestry needle to securely stitch the triangles together at the base to ensure stability. - Bow Placement: Space the bows evenly for a balanced appearance; this will enhance the charm of your crochet Christmas tree. - Finishing Touches: If you add a final edging, ensure it matches with the rest of the tree to create a polished, finished look. Keep these tips in mind as you enjoy the free pattern in the first comment 👇👇 for the crochet Christmas tree with bows and pearls!
Care instructions: How to Wash and Care for Your Crochet Christmas Tree Machine Washing: Use cold water on a gentle cycle to prevent any felting or pilling, ensuring your tree retains its lovely shape. Hand Washing: For extra care, soak your crochet Christmas tree in cold water with mild detergent, gently agitating before rinsing thoroughly to remove any soap. Drying/Blocking: Lay your tree flat to dry on a clean towel, reshaping it if needed to maintain the symmetrical design. Avoid hanging to prevent stretching. Storage: Keep your crochet Christmas tree with bows and pearls in a cool, dry place, and consider using a breathable bag to protect it from dust while stored.