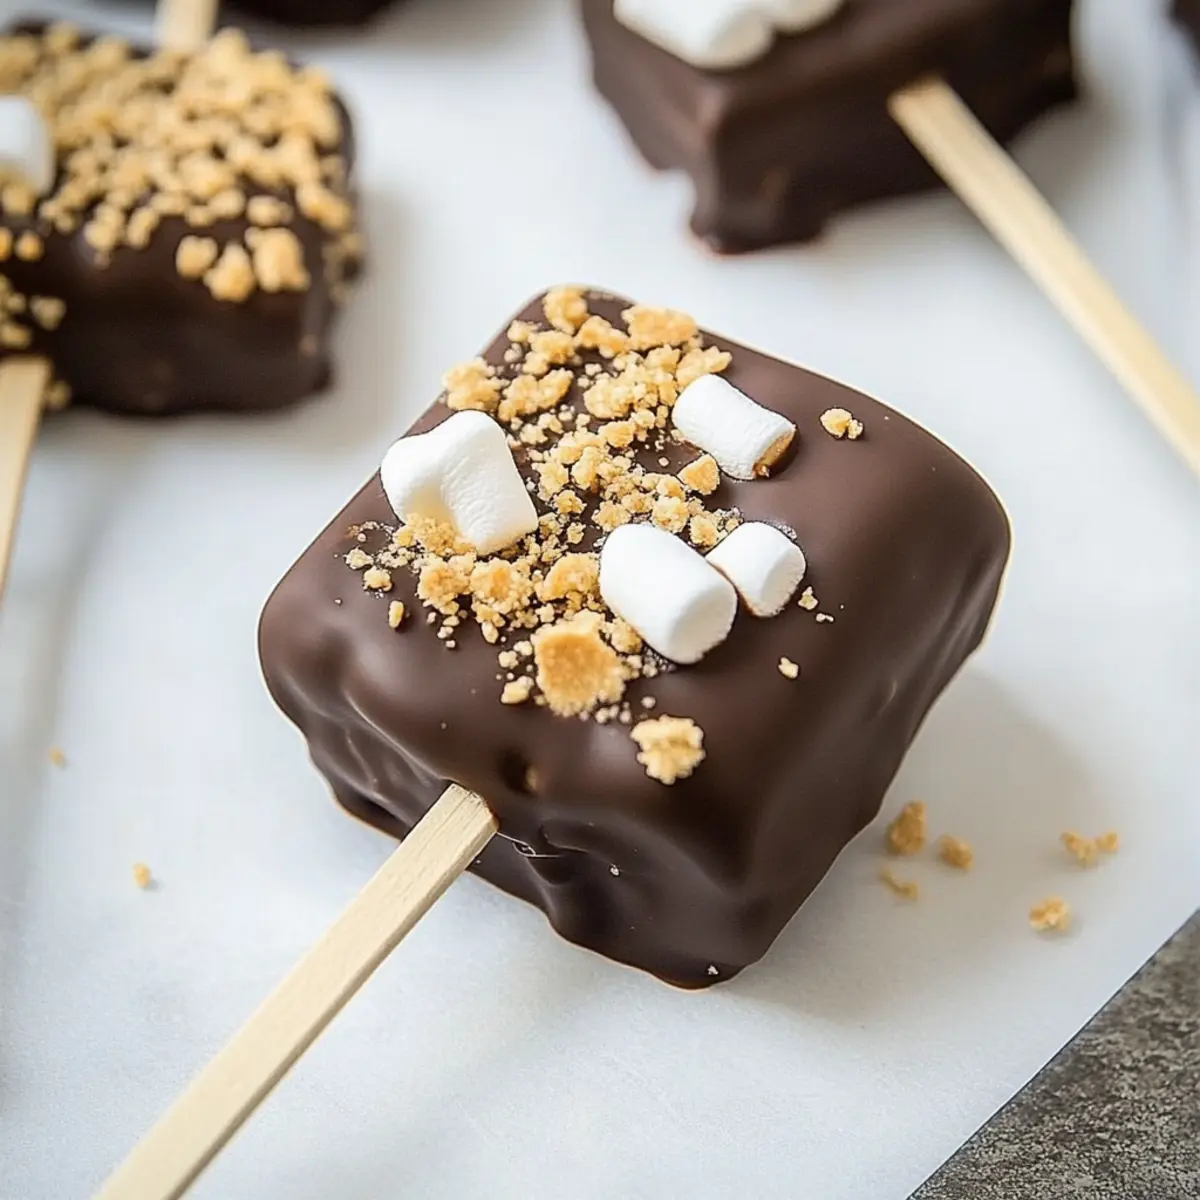
Have you ever found yourself craving the taste of campfire magic without the hassle of a roaring fire? The delightful S’mores Pops are here to save the day! These portable treats effortlessly capture the essence of classic s’mores—rich chocolate, chewy marshmallow, and crunchy graham crackers—all on a stick. Not only are they a breeze to whip up with no baking required, but they also make for a fun afternoon project, perfect for getting kids involved in the kitchen. Gather your ingredients and prepare for smiles all around as you discover just how customizable these S’mores Pops can be! What creative twist will you add to make them your own?
Why Are S’mores Pops So Irresistible?
Simplicity is key! This no-bake recipe makes it easy for anyone to create a delicious treat without any fuss. Customizable options abound! Experiment with different flavors of chocolate or add fun toppings like sprinkles for an extra crunch. Kid-Friendly fun! Involve the little ones in this simple assembly process to spark their creativity. Perfect for Any Occasion: These S’mores Pops are ideal for parties, BBQs, or just a cozy night in. Everyone will love these delectable creations, and you might want to check out more no-bake desserts for more inspiration! Crowd-Pleasing Delight: With their impressive looks and mouthwatering flavors, these pops never fail to impress guests young and old!
S’mores Pops Ingredients
• Get ready for a fun treat!
For the Pops
- Marshmallow Creme – Provides sweetness and that signature gooey texture of s’mores; feel free to substitute with melted marshmallows if needed.
- Graham Crackers – Adds a delightful crunch and structure; use halved pieces for easy assembly. Tip: Any flavor of graham cracker can be used for a fun twist.
- Wooden Craft Sticks – Essential for easily handling and enjoying the pops; alternatively, any sturdy stick or skewer will work just fine.
- Chocolate Chips – The primary coating ingredient that adds richness; dark, milk, or white chocolate chips can be swapped based on your preference.
- Coconut Oil – Helps achieve a smooth melt for the chocolate; can be omitted or replaced with vegetable oil if you prefer.
Step‑by‑Step Instructions for S’mores Pops
Step 1: Prepare Parchment
Begin by lining a cookie sheet with parchment paper to prevent sticking. Make sure the parchment is flat against the surface for a smooth finish. This will be the base where your S’mores Pops will set as they cool. Take a moment to ensure your workspace is organized and ready for assembly.
Step 2: Cracker Assembly
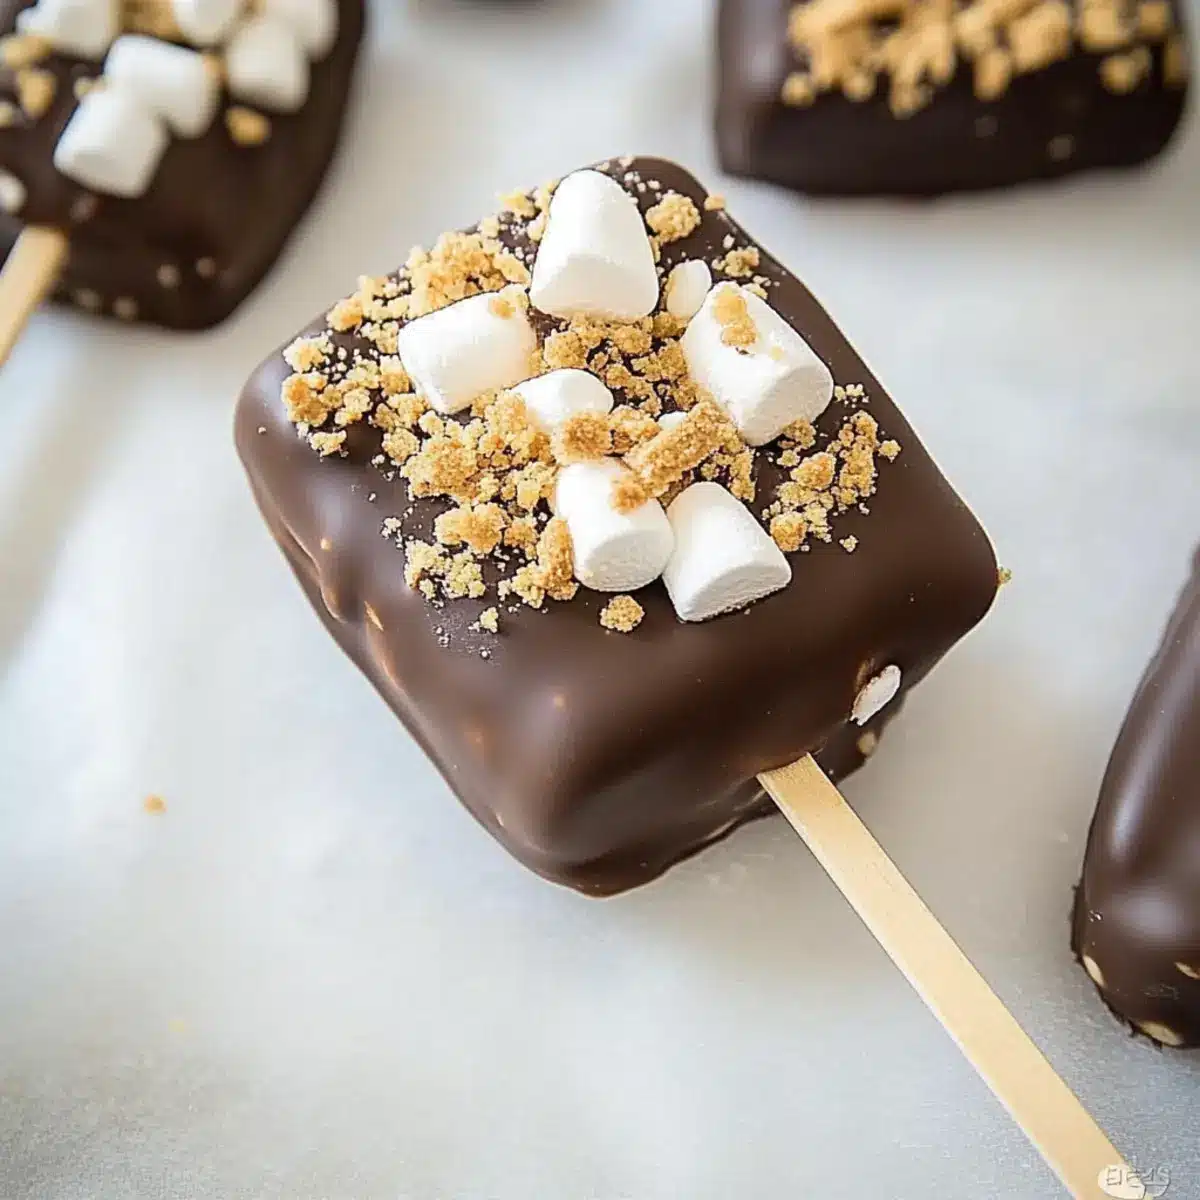
Break graham crackers in half and position one half on the prepared cookie sheet. Generously spread a layer of marshmallow creme on top, making it nice and thick for that signature gooey texture. Insert a wooden craft stick into the center, then place the second graham cracker half on top, gently pressing down to seal the layers together.
Step 3: Freezing
Once all your pops are assembled, transfer the cookie sheet to the freezer. Allow them to freeze for about 10 minutes, until firm. This chilling time helps the marshmallow creme set, making it easier to coat the S’mores Pops in chocolate, and ensuring they hold their shape during the dipping process.
Step 4: Chocolate Melting
In a microwave-safe bowl, combine your chocolate chips and coconut oil. Microwave the mixture in 30-second intervals, stirring in between until the chocolate is completely smooth and glossy—this should take about 1-2 minutes total. Keep an eye on it to prevent burning, as melted chocolate is key for a shiny coating on your S’mores Pops.
Step 5: Coating
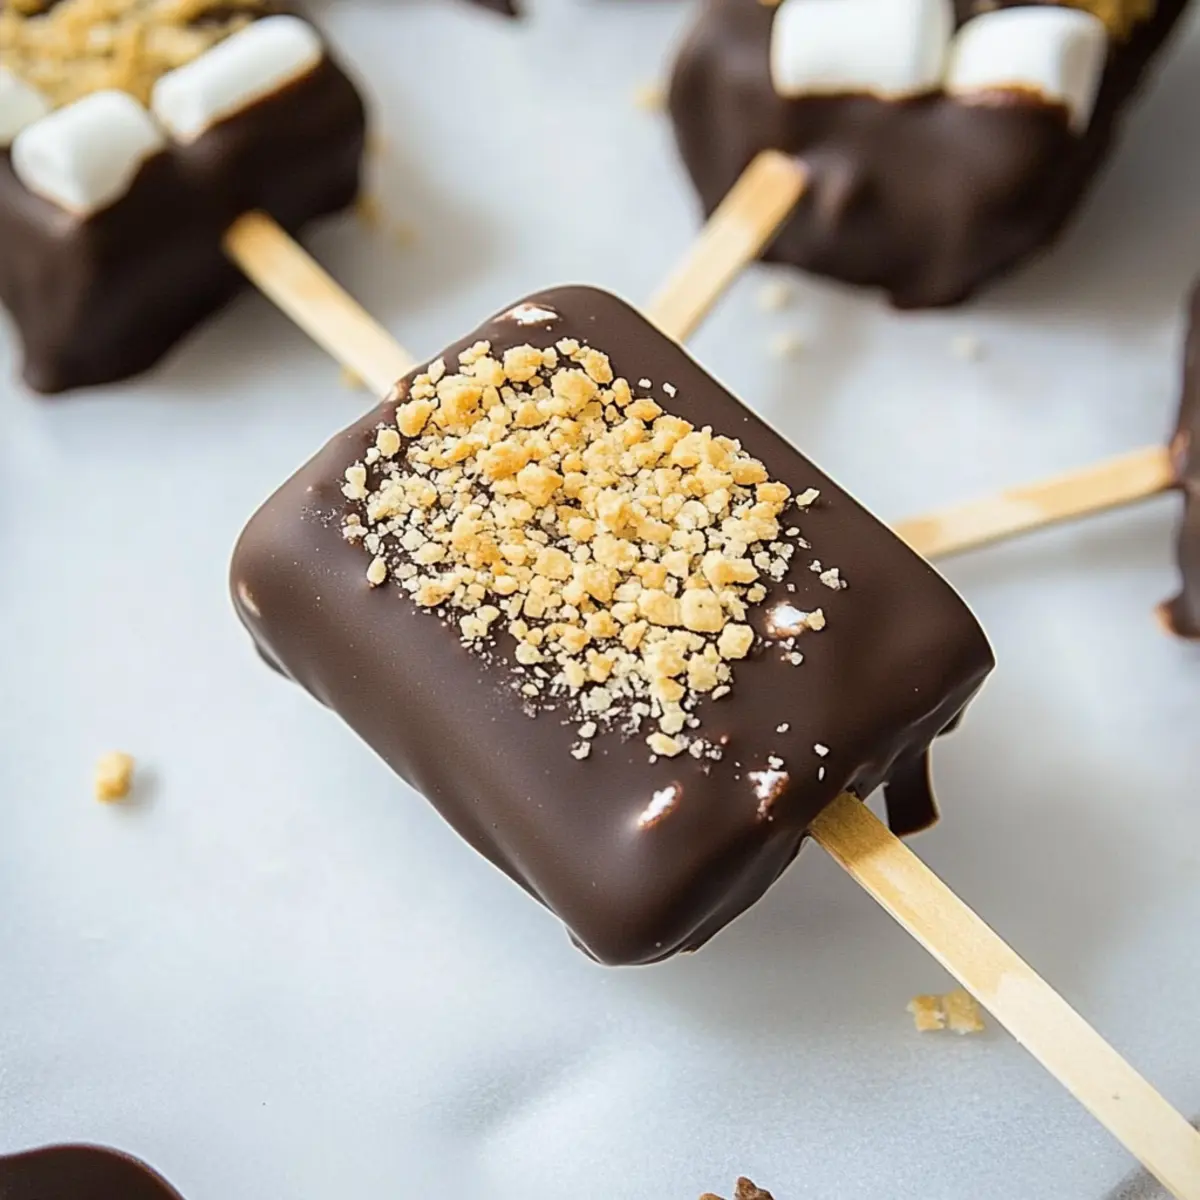
Carefully dip each graham cracker sandwich into the melted chocolate, ensuring it is completely coated. You can use a spoon to help cover all sides and get an even layer. Allow any excess chocolate to drip back into the bowl before returning the coated pops to the lined cookie sheet, ensuring they look neat and glossy.
Step 6: Setting
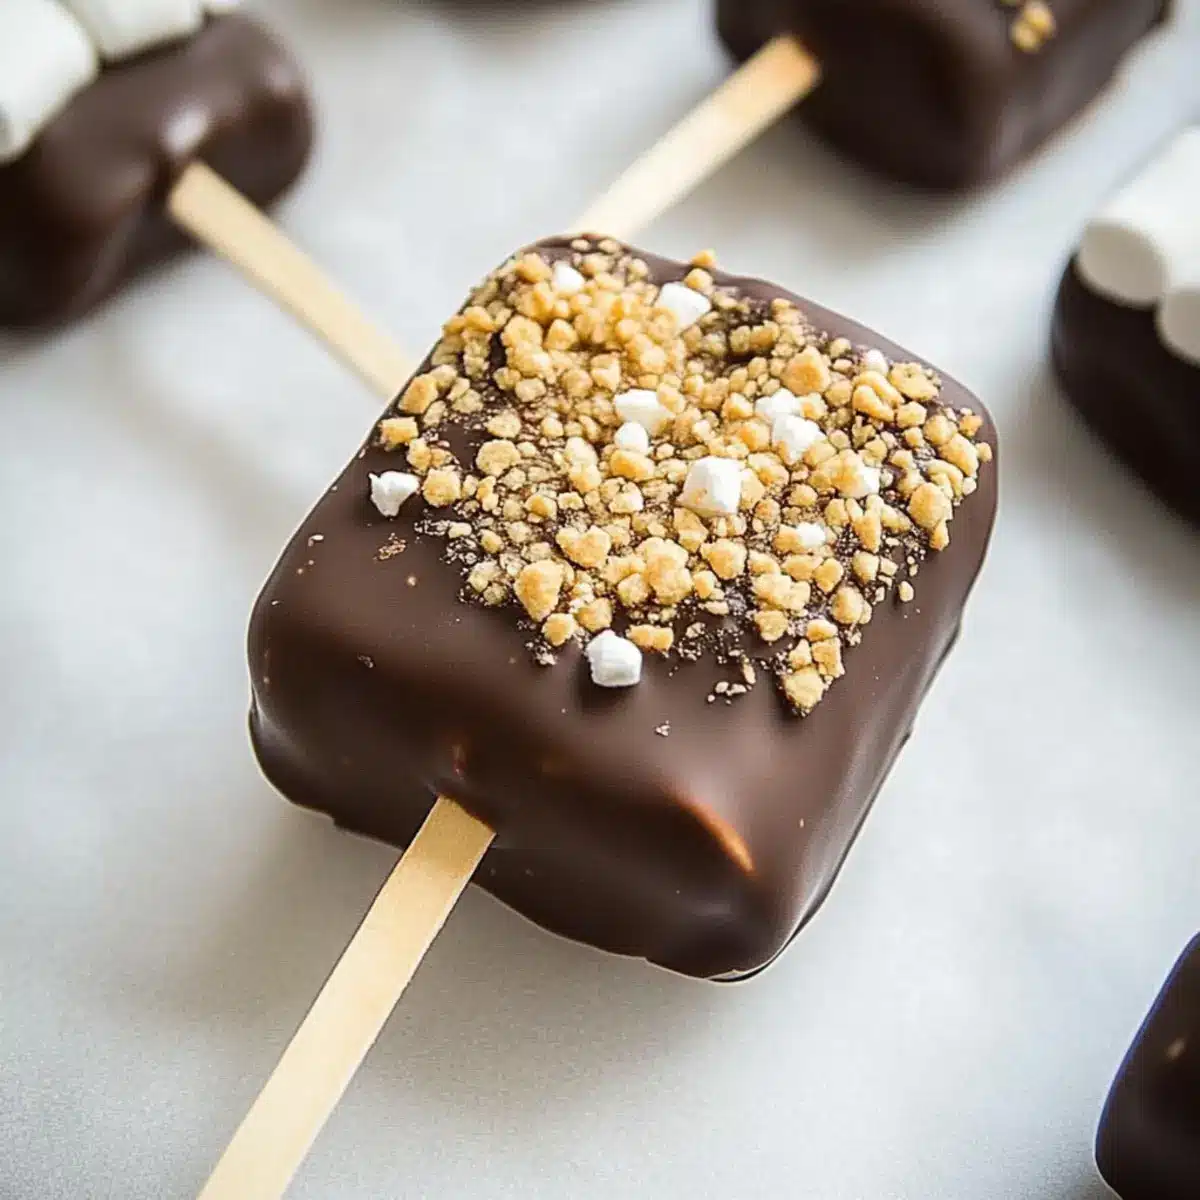
Place the chocolate-coated S’mores Pops in the refrigerator to help the chocolate harden. Let them chill for about 20-30 minutes. Keep an eye on them; the chocolate should feel firm to the touch when they are ready to eat. This cooling phase transforms them into delightful treats that are perfect for any occasion.
Step 7: Serving
Before serving your delicious S’mores Pops, let them sit at room temperature for 1-2 minutes. This will soften the chocolate slightly, ensuring a delightful bite. Arrange them on a platter for a stunning presentation, and watch as everyone enjoys these fun and tasty desserts!
S’mores Pops Variations & Substitutions
Feel free to unleash your creativity with these delightful S’mores Pops—every twist elevates the fun!
- Dairy-Free: Swap regular chocolate chips for dairy-free alternatives to accommodate lactose sensitivities. These pops will still taste incredible!
- Nutty Delight: Add crushed nuts like almonds or peanuts to the chocolate coating for an added crunch. This gives a textural boost and exciting flavor contrast!
- Gluten-Free: Use gluten-free graham crackers for a safe and delicious treat that everyone can enjoy. These pops can still have all their classic flavors!
- Flavor Infusion: Use flavored marshmallow creme, such as chocolate or strawberry, for a different taste profile. Your S’mores Pops can take on a whole new personality!
- Spicy Kick: Introduce a pinch of cayenne pepper or chili powder into the chocolate for a surprising heat boost that spices things up beautifully.
- Fruit Twist: Dip in a layer of crushed freeze-dried fruits before coating with chocolate for a fresh, fruity finish. Strawberries or raspberries are a delightful option!
- Flavored Chocolate: Experiment with fun, flavored chocolates (like mint or orange) to create a unique chocolate coating that adds an exciting twist to each pop!
- Decadent Caramel: Drizzle melted caramel over the chocolate-coated pops for a rich and indulgent surprise—this sweet addition takes them to another level!
Looking for more delicious ideas? Check out additional dessert recipes for more inspiration that’ll have your taste buds dancing with joy!
Make Ahead Options
These S’mores Pops are perfect for busy home cooks looking to save time while still delighting their family! You can assemble the pops up to 24 hours in advance by following the assembly steps and placing them in the freezer. Once set, wrap each pop individually in plastic wrap or store them in an airtight container to maintain their freshness. The chocolate coating can also be prepared up to 3 days ahead; simply melt the chocolate and refrigerate it until you’re ready to dip. When you’re ready to serve, just coat the frozen pops in the prepared chocolate, refrigerate for 20-30 minutes to set, and you’ll have effortlessly delicious S’mores Pops ready in no time!
Expert Tips for S’mores Pops
- Coating Thickness: Make sure your chocolate coating is thick enough for a satisfying crunch when bitten into; double-dipping is a great option!
- Freeze Properly: Don’t skip the freezing step; it helps the pops hold their shape and makes coating easier. A quick freeze for about 10 minutes is ideal.
- Temperature Control: Let the chocolate sit for a moment after melting to avoid burns; it should be warm but not too hot to handle.
- Toppings Galore: Get creative! Add crushed nuts or sprinkles after coating the pops for extra texture and visual appeal.
- Storage Advice: Keep your S’mores Pops in an airtight container in the fridge for up to a week to maintain their freshness; they disappear quickly, though!
What to Serve with S’mores Pops?
Indulge in a delightful experience that takes your S’mores Pops to the next level, creating unforgettable moments for all.
-
Creamy Vanilla Ice Cream: A scoop of vanilla ice cream adds a cool and creamy contrast to the crunchy pops, enriching every bite. Picture a scoop melting over a warm S’mores Pop for a truly heavenly combination!
-
Fruity Skewers: Juicy fruit skewers featuring strawberries, pineapple, or melon provide a refreshing balance to the rich chocolate and marshmallow. These vibrant colors and flavors will brighten your dessert display.
-
Hot Chocolate: Warm, rich hot chocolate creates the ultimate cozy pairing, enhancing those classic flavors while providing a comforting drink to sip as you enjoy the pops.
-
Chocolate Dipped Strawberries: These decadent treats mirror the flavors of the S’mores Pops and elevate your dessert experience with their elegant presentation and exquisite flavors.
-
Peanut Butter Dip: A creamy peanut butter dip transforms your pops into a whole new treat! The nutty flavor perfectly complements the sweetness of the chocolate and marshmallow.
-
Marshmallow Fluff Dip: Enhance the nostalgia with a nostalgic marshmallow fluff dip—it’s like an extra dose of gooeyness! Serve alongside for those who crave even more marshmallow goodness.
-
S’mores Snack Mix: For a fun twist, create a S’mores snack mix with graham cracker bits, mini chocolate pieces, and marshmallows. It’s perfect for munching while enjoying your S’mores Pops.
-
Sparkling Fruit Punch: A refreshing sparkling fruit punch adds a fizzy and fruity element to balance the richness of the pops, delighting your guests with every sip.
Each of these options will enhance the experience of enjoying your S’mores Pops, creating a festive atmosphere that’s perfect for any gathering!
Storage Tips for S’mores Pops
Fridge: Keep your S’mores Pops in an airtight container in the fridge for up to 1 week. This will help maintain their freshness and delicious texture.
Freezer: For longer storage, place the pops in the freezer for up to 2 months. Wrap them individually in plastic wrap and store in a sealed bag to prevent freezer burn.
Thawing: When ready to enjoy, remove the S’mores Pops from the freezer and let them thaw in the fridge for about 30 minutes before serving. This will ensure they are perfectly chilled but not too hard to bite into.
Reheating: Avoid reheating these pops, as the chocolate coating may lose its texture. Enjoy them as they are for the best experience!
S’mores Pops Recipe FAQs
What is the best way to select marshmallows for this recipe?
Absolutely! When choosing marshmallow creme, look for a jar that has a smooth texture and no visible lumps. If you opt for melted marshmallows instead, choose fresh ones that are soft and fluffy, without any dark spots or signs of excessive age.
How should I store S’mores Pops, and how long do they last?
To maintain their deliciousness, store your S’mores Pops in an airtight container in the fridge for up to 1 week. This keeps them fresh and helps the chocolate maintain its creamy texture. If you have leftovers, they’ll be perfect for that sweet treat later in the week!
Can I freeze S’mores Pops for later enjoyment?
Very much! To freeze your S’mores Pops, wrap each one individually in plastic wrap and place them in a sealed freezer bag. They can be stored for up to 2 months. When you’re ready to enjoy them, let them thaw in the fridge for about 30 minutes to ensure they retain the right texture—perfectly chilled but still easy to bite into!
What should I do if the chocolate coating is too thick?
If you find your chocolate coating too thick, it’s easy to remedy! Simply add a teaspoon of vegetable oil while melting the chocolate. Stir until smooth; this will help thin out the chocolate and give you that glossy, even coating you desire. Remember to dip the pops quickly after melting, as the chocolate will start to cool and thicken again.
Are there any dietary considerations I should be aware of with this recipe?
Absolutely! For those with allergies, be mindful of the chocolate chips you choose—some brands may contain nuts or be processed in facilities that handle them. For a nut-free version, look for allergy-friendly chocolate options. Additionally, you can experiment with gluten-free graham crackers if you have gluten sensitivities.
Can I customize the toppings for my S’mores Pops?
Very! After coating your S’mores Pops in chocolate, feel free to sprinkle crushed nuts, mini marshmallows, or colorful sprinkles on top immediately before the chocolate sets. This adds personality and flair, making your treats even more delightful! The more, the merrier!
Delicious S'mores Pops: Fun No-Bake Treat for Everyone!
Ingredients
Equipment
Method
- Begin by lining a cookie sheet with parchment paper to prevent sticking.
- Break graham crackers in half, spread marshmallow creme on top, insert a craft stick, and press another half on top.
- Freeze for about 10 minutes until firm.
- Combine chocolate chips and coconut oil in a microwave-safe bowl and melt in 30-second intervals until smooth.
- Dip each graham cracker sandwich into melted chocolate, ensuring all sides are coated.
- Chill the coated pops in the refrigerator for 20-30 minutes until chocolate is firm.
- Let pops sit at room temperature for 1-2 minutes before serving.
Leave a Reply