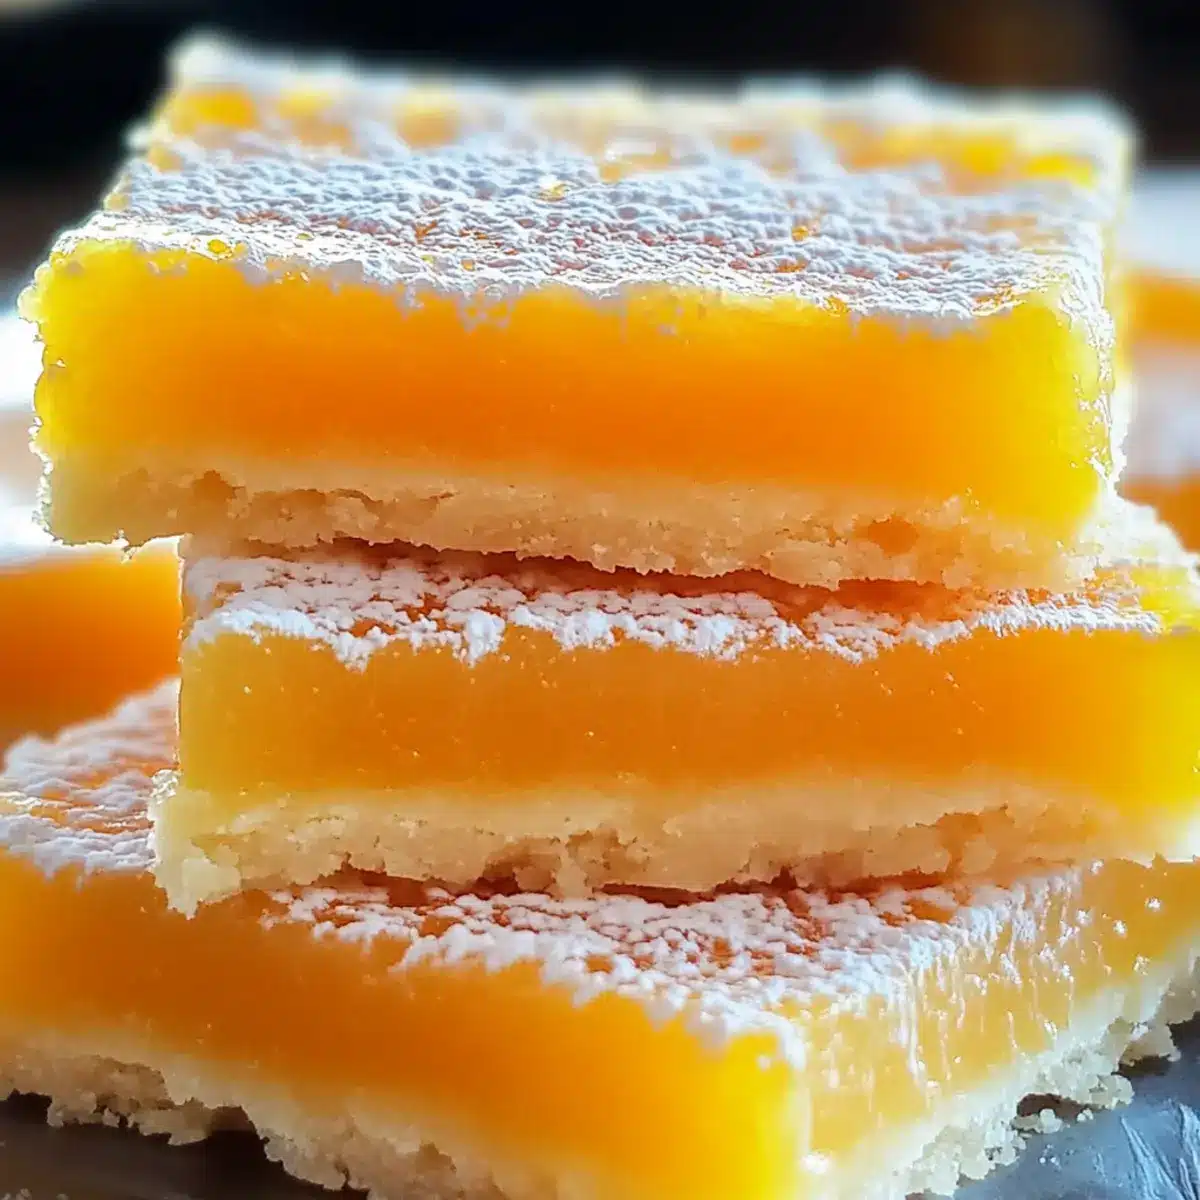
As I sifted through my pantry, a single, vibrant orange caught my eye, bursting with potential. This moment sparked a wave of creativity, leading me to whip up a batch of delightful Orange Bars—a zesty citrus dessert that effortlessly dances between cake and cookie. What I adore about this easy recipe is how quickly it transforms simple ingredients into a mood-lifting treat, perfect for any occasion. With just a handful of pantry staples, you can create these sun-kissed bars topped with a sweet glaze that adds a finishing touch of brightness. They’re not just a delicious indulgence; they’re a perfect crowd-pleaser that can brighten up any gathering. Ready to bring a little sun into your kitchen? Let’s dive into making these irresistible Orange Bars together!
Why Are These Orange Bars So Irresistible?
Bright, Zesty Flavor: These Orange Bars deliver a burst of citrusy delight with every bite, making them an instant mood-lifter.
Quick & Easy: Whipping up these bars takes minimal time and effort, perfect for weeknight baking or surprise guests.
Versatile Options: Feel free to experiment! Swap in lemon or lime juice for an exciting twist, just like my Cranberry Orange Shortbread for a seasonal flair.
Crowd-Pleaser: Their sweet glaze and soft texture make them a hit for gatherings and dessert tables, guaranteed to impress friends and family.
No-Fuss Baking: With simple pantry ingredients required, you’ll find making these bars wonderfully approachable, even for beginner bakers!
Orange Bars Ingredients
• A perfect blend of freshness!
For the Crust
- All-Purpose Flour – Provides the structure for the crust; ensure it’s sifted for a light texture.
- Granulated Sugar – Adds sweetness to both crust and filling; you can substitute with coconut sugar for a richer flavor.
- Unsalted Butter – Essential for richness and moisture; make sure it’s softened, not melted, for the right consistency.
- Large Eggs – Key for binding the ingredients together; using room-temperature eggs will yield better results.
For the Filling
- Fresh Orange Juice – Infuses the filling with vibrant citrus flavor; freshly squeezed juice is the best choice.
- Orange Zest – Amplifies the citrusy notes; avoid the bitter white pith for a pure taste.
- Cornstarch – Thickens the filling for that luscious, custardy texture; essential for the right consistency.
- Vanilla Extract – Complements the citrus flavors; you can replace it with almond extract for a different twist.
For the Glaze
- Powdered Sugar – Provides sweetness for the glaze; adjust the consistency with fresh orange juice to your liking.
Step‑by‑Step Instructions for Orange Bars
Step 1: Preheat and Prepare the Pan
Begin by preheating your oven to 350°F (175°C). While it heats up, take an 8×8 or 9×13 inch baking pan and grease it generously with butter or line it with parchment paper for easy removal later. This preparation ensures your Orange Bars won’t stick and will come out perfectly shaped.
Step 2: Combine Dry Ingredients
In a large mixing bowl, whisk together the all-purpose flour, granulated sugar, baking powder, salt, and vibrant orange zest. Blending these ingredients creates the foundation for your crust, ensuring a balanced sweetness and that lovely citrus aroma. Set this mixture aside as you move on to the wet ingredients.
Step 3: Mix Wet Ingredients
In a separate bowl, melt the unsalted butter and whisk it together with the large eggs until well combined. Make sure the butter is warm but not hot, as this helps to prevent cooking the eggs. Incorporate the wet mixture into your dry ingredients while being careful not to overmix; you want a tender texture for your Orange Bars.
Step 4: Spread the Batter
Now, pour the batter into the prepared baking pan, spreading it evenly using a spatula. Aim for a uniform layer that will serve as the base for your tangy filling. The crust should be smooth, creating a solid foundation for the luscious orange filling you’re about to prepare.
Step 5: Prepare the Orange Filling
In a clean mixing bowl, combine granulated sugar, cornstarch, fresh orange juice, zest, large eggs, and a splash of vanilla extract. Whisk until the mixture is completely smooth and well combined. This vibrant filling is the star of your Orange Bars, providing a refreshing citrus burst that complements the buttery crust beautifully.
Step 6: Assemble and Bake
Gently pour the orange filling over the batter, using a spatula to spread it if necessary while avoiding excessive disturbance of the layers. Place the pan in the preheated oven and bake for 25-35 minutes if using a 9×13 pan, or 35-45 minutes for an 8×8 pan. The filling should set, appearing slightly firm but still retaining a soft jiggle.
Step 7: Cool Before Glazing
Once baked, remove the pan from the oven and allow the Orange Bars to cool completely at room temperature. Cooling is crucial, as it allows the bars to set properly and makes glazing easier. Patience is key here; while tempting, glazing too soon can lead to a messy finish.
Step 8: Glaze and Cut
After the bars have cooled, prepare the glaze by mixing powdered sugar with a bit of fresh orange juice until you achieve your desired consistency. Drizzle the glaze over the cooled Orange Bars evenly and let it set. Once set, use a sharp knife to cut the bars into squares, and enjoy your delightful, sun-kissed treat!
Expert Tips for Orange Bars
-
Zest Wisely: Use a microplane to zest the oranges, avoiding the bitter pith for a sweeter flavor in your Orange Bars.
-
Avoid Overmixing: Be gentle when combining wet and dry ingredients; overmixing can lead to tough bars due to gluten development.
-
Cool Completely: Allow Orange Bars to cool thoroughly before glazing to prevent the glaze from melting and losing its definition.
-
Oven Positioning: Position your baking pan in the center of the oven for even baking, ensuring that every corner gets the right amount of heat.
-
Storage Tips: Keep your Orange Bars covered at room temperature for up to 3 days. For longer storage, refrigerate for up to a week or freeze unglazed for 2-3 months.
Storage Tips for Orange Bars
-
Room Temperature: Keep your Orange Bars covered at room temperature for up to 3 days to maintain freshness, ensuring they stay deliciously tender.
-
Fridge: Store in an airtight container in the fridge for up to a week if you want to enjoy them chilled; this also helps preserve their vibrant flavor.
-
Freezer: For longer storage, freeze unglazed Orange Bars in an airtight container or tightly wrapped in plastic wrap for up to 2-3 months. Thaw in the fridge before glazing.
-
Reheating: If desired, serve chilled or allow them to come to room temperature before enjoying; no need to reheat as they are delightful served cold!
Orange Bars: Exciting Variations Await!
Feel free to let your creativity shine with these Orange Bars by adding your own special twist!
-
Lemon Twist: Swap fresh orange juice with lemon juice for a bright, tart flavor that’s just as delightful. Lemon zest can amp up your citrus experience!
-
Lime Variation: Try using fresh lime juice and zest to give your bars a refreshing kick that pairs beautifully with the sweet glaze.
-
Almond Extract: Enhance the flavor by adding a splash of almond extract to the filling; its nutty notes complement the citrus beautifully.
-
Berries on Top: Add a colorful touch by garnishing with fresh berries before serving, creating a visually stunning dessert.
-
Gluten-Free Option: Substitute all-purpose flour with your favorite gluten-free flour blend for a delicious gluten-free treat that everyone can enjoy.
-
Chocolate Drizzle: For a decadent twist, drizzle melted dark chocolate over the glaze, taking these bars to a whole new level of indulgence.
-
Dairy-Free Delight: Replace the butter with coconut oil and use flax eggs for a dairy-free version that still packs a punch of flavor.
-
Citrus Medley: Experiment by mixing orange juice with grapefruit or tangerine juice for a unique and zesty flavor profile, reminiscent of my delightful Cranberry Orange Shortbread.
These variations invite you to explore and adapt the classic Orange Bars, making them your own!
Make Ahead Options
These Orange Bars are perfect for busy home cooks looking to save time! You can prepare the crust and filling up to 24 hours in advance. To do this, simply make the crust, bake it, and allow it to cool completely before chilling it in the refrigerator. Likewise, you can whisk together the filling ingredients (just hold off on baking). Cover both components tightly to prevent drying out. When you’re ready to enjoy, pour the filling over the chilled crust and bake as directed. This prep-ahead strategy ensures you’ll have these delightful Orange Bars just as fresh and delicious, ready to brighten your day with minimal last-minute effort!
What to Serve with Sunshine Orange Bars
These vibrant treats are perfect for a sunny brunch or a cozy evening treat, inviting you to enjoy them with delightful companions.
-
Fresh Whipped Cream: A dollop of lightly sweetened whipped cream adds a luxurious creaminess that balances the tangy citrus, perfect alongside each bite.
-
Herbal Tea: A warm cup of herbal tea, like chamomile or mint, complements the zesty sweetness of the Orange Bars, enhancing their refreshing flavor.
-
Coconut Macaroon Cookies: The chewy, coconutty goodness of macaroons offers a delightful contrast in texture to the soft bars, creating a delightful snack experience.
-
Fruit Salad: A side of fresh fruit salad brings additional freshness and a variety of flavors, enhancing the citrus notes and providing a colorful touch.
-
Sparkling Lemonade: The fizzy brightness of sparkling lemonade pairs beautifully with these bars, making your serving experience feel festive and cheerful.
-
Vanilla Ice Cream: Creamy vanilla ice cream melts over the warm bars, creating a luscious dessert that perfectly complements their vibrant flavor profile.
-
Coffee: A hot cup of coffee provides a comforting warmth against the bright citrus, making this pairing perfect for any breakfast or afternoon pick-me-up.
Orange Bars Recipe FAQs
How do I select ripe oranges for the filling?
Absolutely! Look for oranges that are firm, heavy for their size, and have smooth skin with a vibrant color. Avoid any with dark spots or wrinkles, as these could be indications of overripeness. Freshly squeezed juice from ripe oranges provides the best flavor, and using a microplane to zest them enhances the zingy citrus notes in your bars!
What is the best way to store leftover Orange Bars?
Very simple! After they’ve cooled completely, keep your Orange Bars covered at room temperature for up to 3 days. If you want to enjoy them for longer, transfer them to an airtight container and refrigerate for up to a week. This keeps them fresh and delicious. Just make sure they are tightly covered to maintain their moisture!
Can I freeze Orange Bars, and how?
Indeed! Freezing is a great option if you want to save some bars for later. Simply freeze the unglazed Orange Bars in an airtight container or well-wrapped in plastic wrap for up to 2-3 months. When you’re ready to enjoy them, thaw them in the refrigerator overnight, then glaze before serving for that perfectly sweet finish.
What should I do if my Orange Bars are too soggy?
If your Orange Bars turn out soggy, it’s possible they were underbaked or the filling was too runny. To prevent this, ensure the filling is set before removing them from the oven; it should have a slight jiggle but not be liquidy. If you find yourself with soggy bars, pop them back in the oven for an additional 5-10 minutes, keeping a close eye on them!
Can I make these Orange Bars dairy-free?
Absolutely! You can substitute the unsalted butter with a vegan butter alternative or coconut oil for a dairy-free version. For the eggs, I often recommend using a flax egg (1 tablespoon ground flaxseed mixed with 2.5 tablespoons water) for each egg, allowing it to sit for about 5 minutes. This will help bind the ingredients together just like eggs do!
Are there any common allergies I should consider with this recipe?
Definitely! Be mindful of potential allergies when baking. The main allergens in Orange Bars are eggs, gluten (from the flour), and dairy (from the butter). If you’re serving these to others, I recommend checking with guests regarding allergies. You can easily substitute gluten-free flour and use dairy-free alternatives as I mentioned to cater to those needs.
Delicious Orange Bars That Brighten Your Day
Ingredients
Equipment
Method
- Preheat your oven to 350°F (175°C) and grease an 8x8 or 9x13 inch baking pan.
- In a large mixing bowl, whisk together the flour, sugar, baking powder, salt, and orange zest.
- In a separate bowl, mix melted butter with eggs until well combined. Incorporate wet mixture into dry ingredients.
- Pour batter into the prepared baking pan and spread evenly.
- In another bowl, combine sugar, cornstarch, orange juice, zest, eggs, and vanilla. Whisk until smooth.
- Pour filling over batter and bake for 25-35 minutes for a 9x13 pan, or 35-45 minutes for an 8x8 pan.
- Cool completely at room temperature before glazing.
- Mix powdered sugar with orange juice for glaze, drizzle over bars, and cut into squares.
Leave a Reply