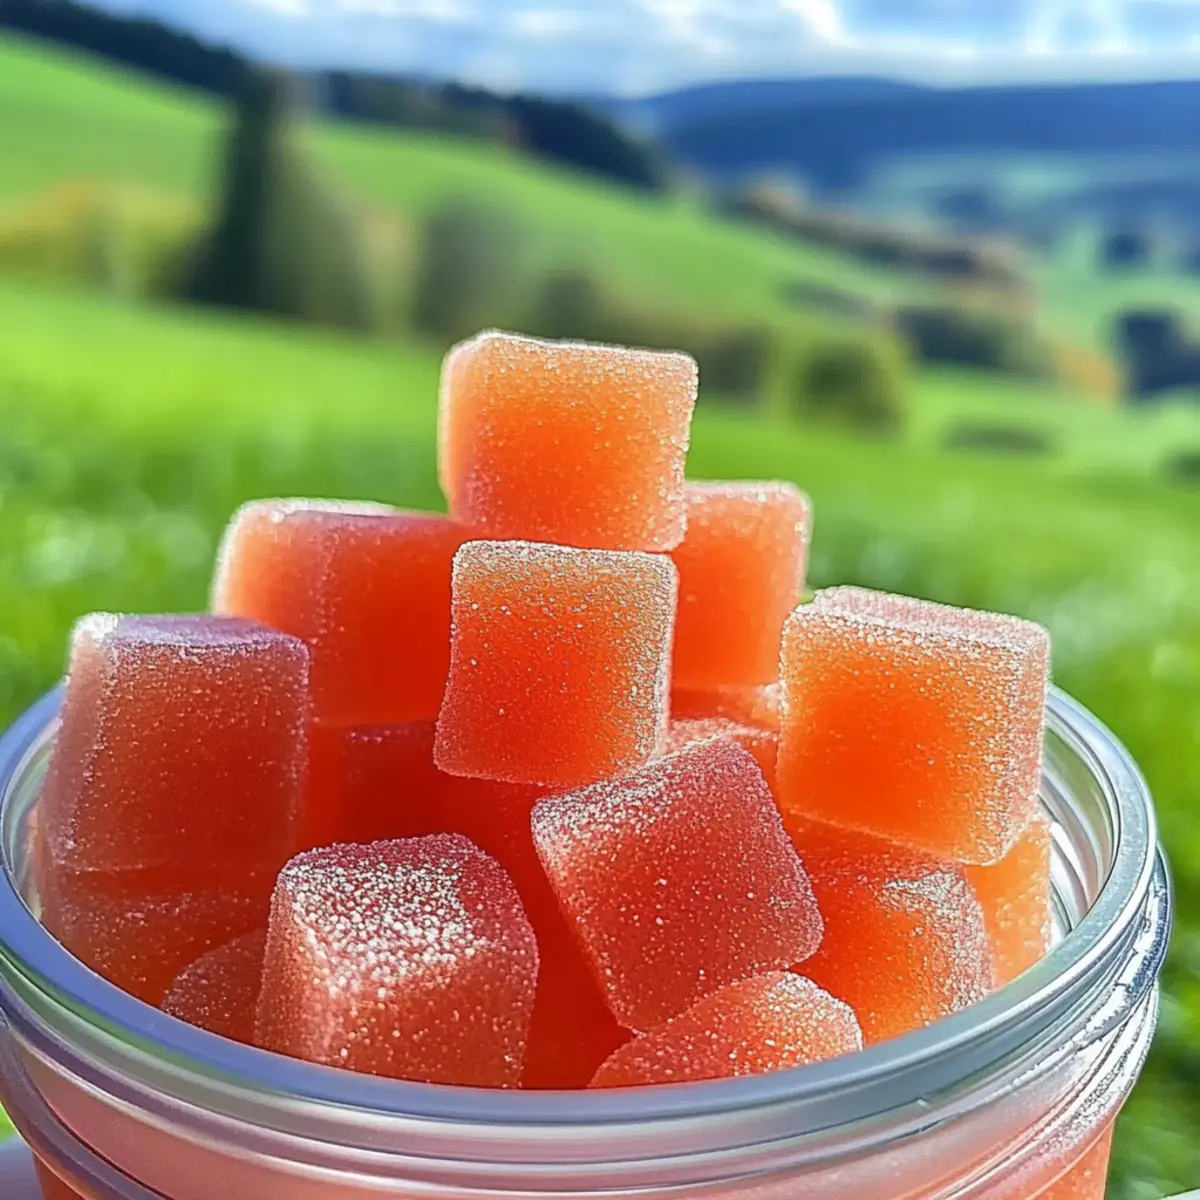
As I whisk together fruit and sweet memories, the kitchen fills with the vibrant scent of watermelon, instantly transporting me to sunny summer days. This is the magic of homemade sour watermelon gummies, where fresh ingredients transform into a delightful treat! In just about 15 minutes of active prep time, you can whip up these chewy little bites that not only satisfy that candy craving but also pack in real fruit goodness. You won’t just enjoy the refreshing taste; you’ll appreciate knowing exactly what’s in them—no more fast food guilt here! Plus, they’re a fantastic way to get kids involved in the kitchen and create lasting memories together. Are you ready to dive into the world of candy-making with me?
Why Make Homemade Sour Watermelon Gummies?
Freshness: There’s nothing quite like the taste of homemade candy, and these gummies are bursting with real watermelon flavor!
Quick and Easy: In just 15 minutes of prep, you can create a fun treat that darkens your kitchen with sweet aromas.
Healthier Alternative: With no artificial additives, these gummies let you control the sweetness, ensuring a guilt-free indulgence that’s far better than store-bought options.
Kid-Friendly Fun: Engage your little ones in the kitchen as you whisk together fresh ingredients; they’ll love making their own gummies!
Customizable Flavors: Not just limited to watermelon, you can play around with other fruit juices to create endless variations. For instance, check out my Savory Homemade Pasta for more kitchen adventures!
Homemade Sour Watermelon Gummies Ingredients
• All you need for your gummies!
For the Gummies
- Fresh Watermelon – The star ingredient provides a juicy sweetness; use about 4 cups of chunked watermelon, blended to yield 2 cups of juice.
- Unflavored Gelatin Powder – This is essential for achieving that perfect gummy texture; make sure it’s plain and unflavored for the best results.
- Fresh Lemon Juice – Adds the delightful tartness that balances the sweetness of the watermelon; opt for freshly squeezed juice for maximum flavor impact.
- Honey – This optional sweetener can enhance the flavor; adjust its quantity according to your taste preference.
Optional Enhancements
- Citric Acid – For an extra zing, add a small pinch to intensify the sourness of your homemade sour watermelon gummies.
- Alternative Juices – Swap watermelon for other fruit juices like strawberry or raspberry to explore new flavor realms!
- Agave Syrup or Maple Syrup – Consider these alternative sweeteners instead of honey for a different sweetness profile.
Step‑by‑Step Instructions for Homemade Sour Watermelon Gummies
Step 1: Blend the Watermelon
Start by blending 4 cups of chunked fresh watermelon in a high-powered blender until smooth, which should take about 1-2 minutes. You’ll want to see a vibrant, liquid consistency. This rich watermelon puree will serve as the base flavor for your homemade sour watermelon gummies.
Step 2: Strain the Juice
Next, strain the blended watermelon through a fine mesh sieve placed over a bowl. Use a spatula or the back of a spoon to press the mixture and extract as much liquid as possible. You should have about 2 cups of pure watermelon juice, free of any pulp and foam, providing a smooth texture for your gummies.
Step 3: Bloom the Gelatin
In a small bowl, pour half of the watermelon juice (1 cup) and sprinkle the unflavored gelatin powder over the surface. Let it sit for 5-10 minutes to allow the gelatin to bloom—a crucial step to avoid lumps later on. This will ensure that your homemade sour watermelon gummies achieve that perfect chewy texture.
Step 4: Heat the Remaining Juice
In a small saucepan, add the remaining watermelon juice (1 cup) and heat it over low to medium heat until it’s warm, but not boiling. This should take about 2-3 minutes. Gentle heating helps dissolve the gelatin without compromising its setting ability—look for steam rising but no bubbles breaking the surface.
Step 5: Combine and Whisk
Once warmed, carefully add the bloomed gelatin mixture to the saucepan. Whisk continuously until the gelatin completely dissolves, which should take about 1-2 minutes. The mixture will begin to thicken slightly, and you’ll have a smooth, combined mixture that sets the stage for your sour watermelon gummies.
Step 6: Add Lemon Juice and Sweetener
Remove the saucepan from heat and stir in the freshly squeezed lemon juice, along with honey if you desire extra sweetness. Blend these ingredients together for 1-2 minutes until fully incorporated. The fresh lemon adds that delightful tartness, balancing the sweetness of the watermelon perfectly in your homemade sour watermelon gummies.
Step 7: Pour into Molds
Pour the gummy mixture into your desired molds or a glass dish, filling them evenly. This step should be done carefully to avoid spills. Allow the mixture to cool briefly before placing it in the refrigerator, setting up the texture for your sour watermelon gummies.
Step 8: Chill Until Set
Refrigerate the filled molds for at least 2 hours, or until the gummies are firm to the touch. The longer they chill, the firmer they will be. This cooling phase helps everything bind together beautifully, resulting in bouncy, chewy candies that are bright and flavorful!
Step 9: Unmold and Serve
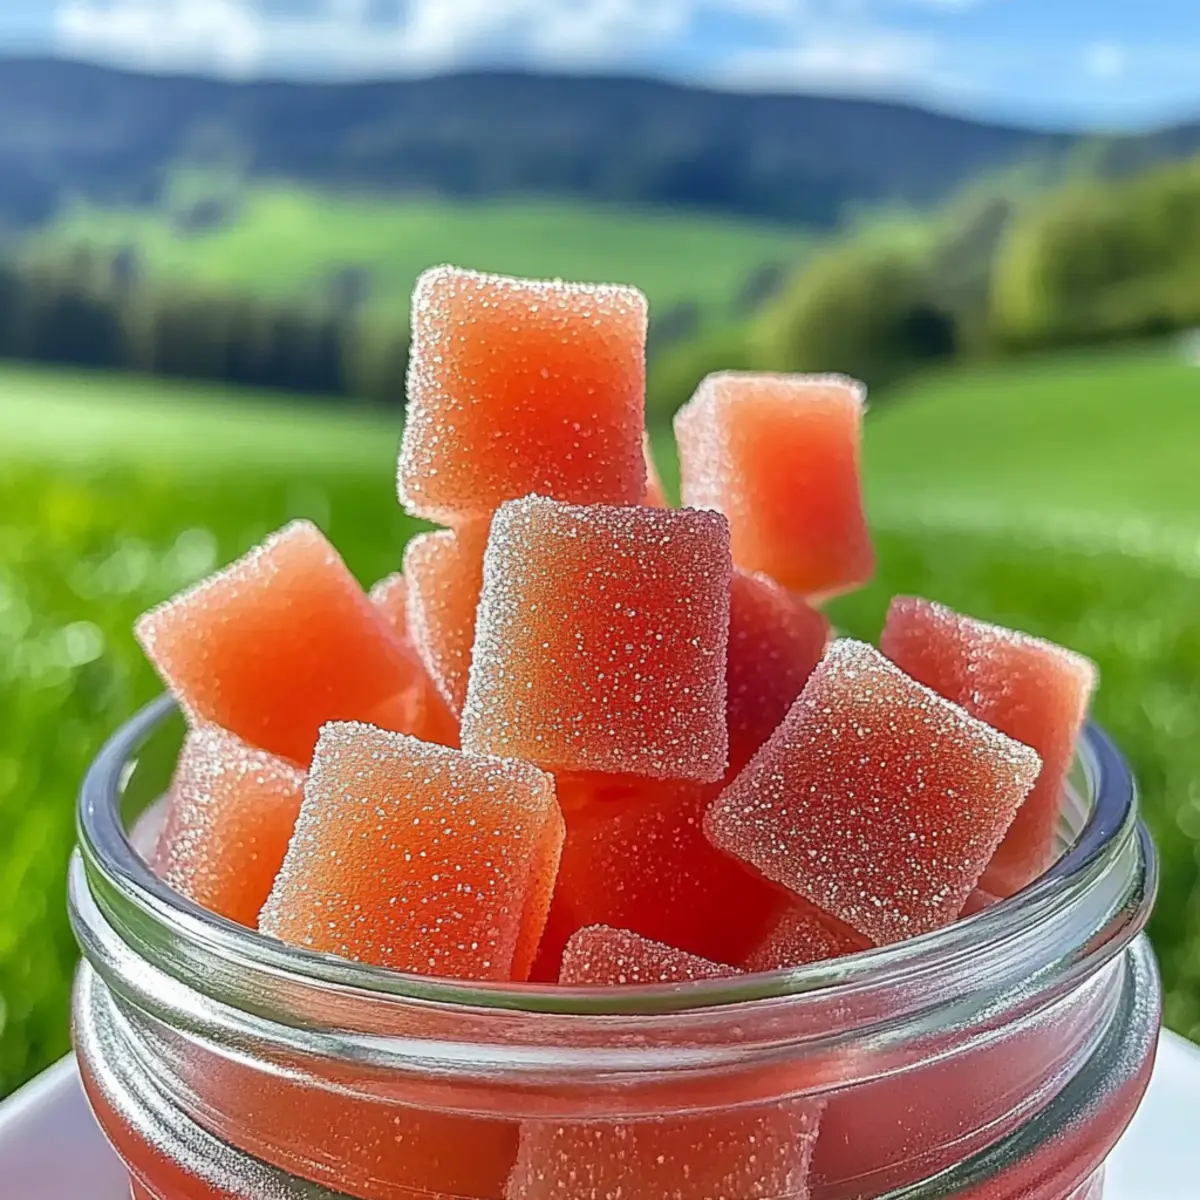
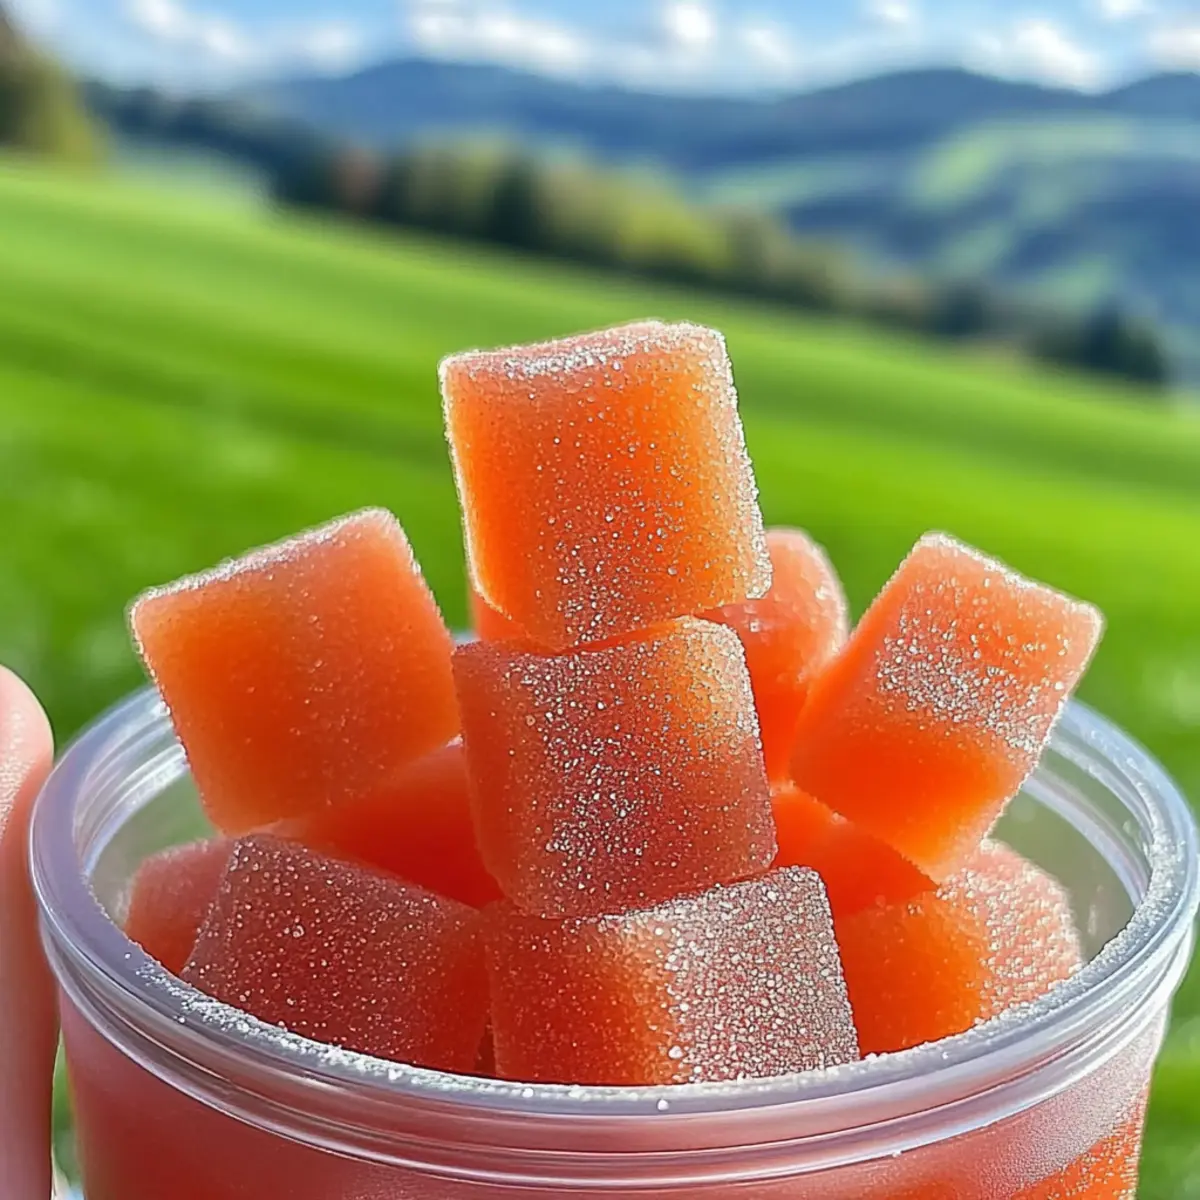
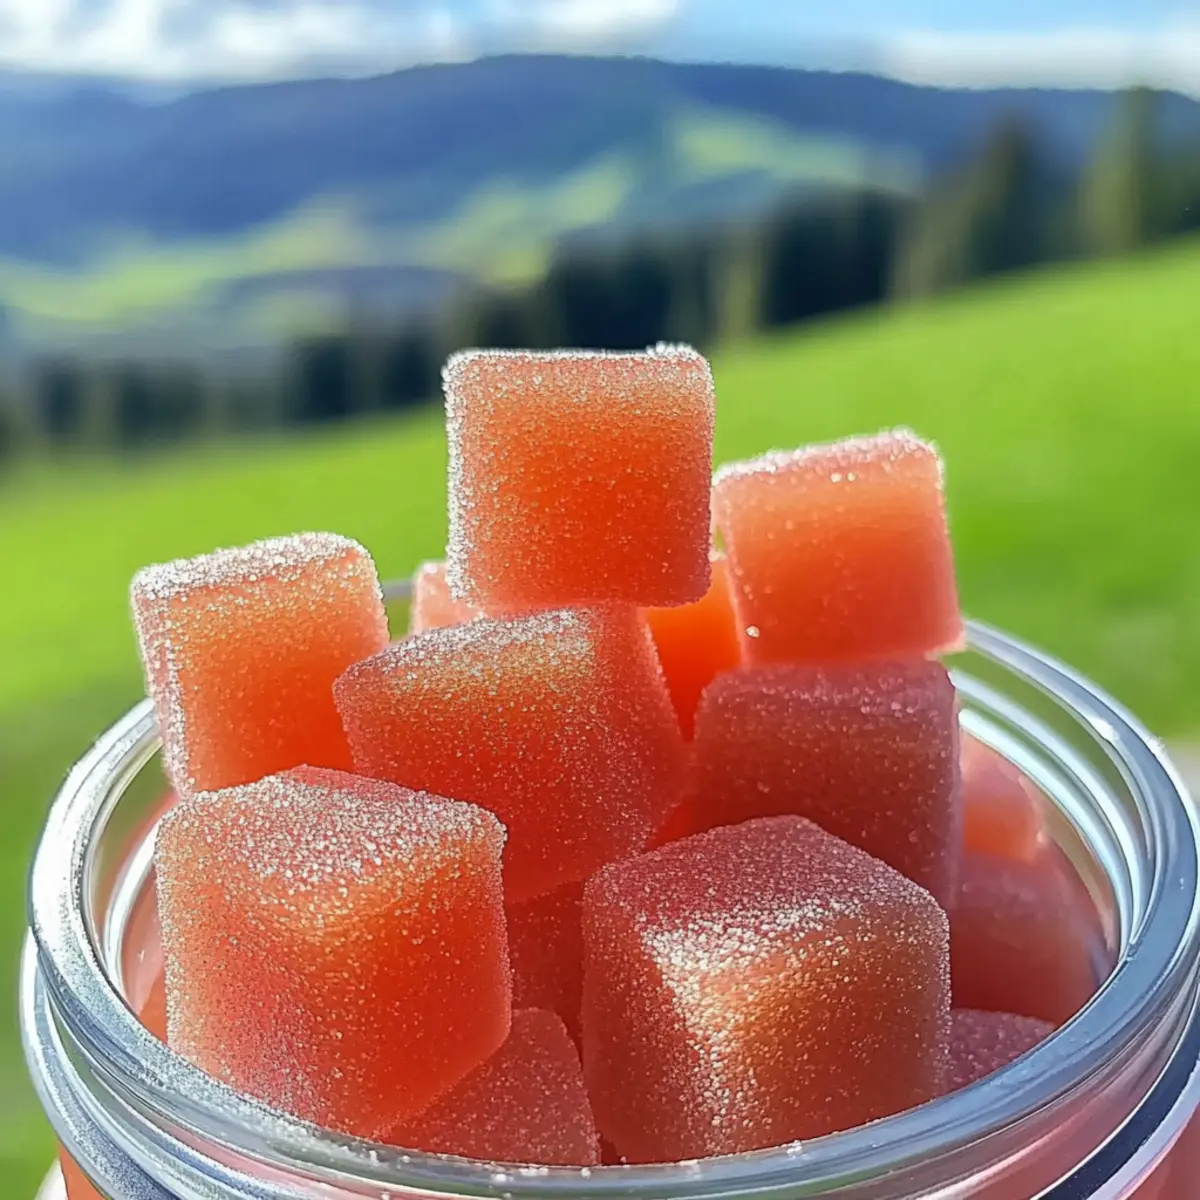
Once set, carefully remove the gummies from their molds or cut them into squares if you used a dish. These delightful homemade sour watermelon gummies should pop out easily, showcasing their playful shapes. Serve immediately or store them in an airtight container in the refrigerator for up to 1-2 weeks to enjoy later!
Homemade Sour Watermelon Gummies Variations
Feel free to let your creativity shine as you customize these delightful gummies with these tasty twists!
-
Extra Sour: Add a pinch of citric acid to the mixture for an intense sour kick that will make your taste buds tingle with delight.
-
Different Fruits: Swap watermelon juice for any favorite fruit juice, like strawberry or raspberry, to create exciting new flavors that will surprise your family.
-
Alternative Sweeteners: For a unique sweetness, use agave syrup or maple syrup instead of honey to suit your dietary preferences or sweet tooth.
-
Vegan Option: Replace gelatin with agar-agar to make your gummies completely plant-based while still achieving that fun, chewy texture.
-
Coconut Flavor: Add a splash of coconut extract for a tropical twist that will transport you to the beach with every chewy bite.
-
Layered Gummies: Create colorful layers by pouring in different fruit juice layers one at a time, letting each set before adding the next—visually stunning and deliciously fun!
-
Spicy Kick: For adventurous flavor seekers, introduce a dash of chili powder or cayenne to the mix for a unique sweet and spicy sensation.
-
Fun Shapes: Use themed molds to make gummies that are perfect for parties or holidays, creating memories that are just as sweet as the treats themselves.
As you explore these variations, remember, the magic of homemade sour watermelon gummies lies in the fun of creating together. You might also enjoy pairing these with a refreshing drink like my Italian Cream Soda or savoring them alongside my delightful Pumpkin Pie Flaky.
Make Ahead Options
These Easy Homemade Sour Watermelon Gummies are perfect for meal prep enthusiasts! You can prepare the gummy mixture (steps 1-6) and refrigerate it for up to 24 hours before pouring it into molds. Simply store it in an airtight container to maintain freshness and prevent any drying out. When you’re ready to finish the recipe, pour the mixture into molds, chill for at least 2 hours, and your delightful gummies will be just as delicious as if you made them from scratch that day! This way, you save time during busy weeks while still enjoying the fresh, fruity goodness that homemade sour watermelon gummies offer.
How to Store and Freeze Homemade Sour Watermelon Gummies
Fridge: Store your gummies in an airtight container in the refrigerator for up to 1-2 weeks. This keeps them fresh and chewy, ready for snacking!
Freezer: For longer storage, freeze the gummies in an airtight container. They can last for up to 3 months, but be sure to separate layers with parchment paper to prevent sticking.
Room Temperature: If you prefer to keep them at room temperature, consume them within a few days. Place them in a cool, dry spot away from direct sunlight to maintain consistency.
Reheating: There’s no need to reheat these delightful homemade sour watermelon gummies, as they are best enjoyed straight from the fridge or freezer!
What to Serve with Easy Homemade Sour Watermelon Gummies?
Indulging in candy-making at home is a joyful experience, especially when paired with delightful sides that enhance the sweetness.
-
Fresh Fruit Salad: A vibrant medley of seasonal fruits adds brightness to your table while complementing the watermelon flavors beautifully. The crisp textures balance the chewy gummies perfectly.
-
Creamy Yogurt Dip: This cool, creamy dip made with Greek yogurt and honey provides a refreshing contrast to the tangy gummies, creating a lovely bite with each mouthful.
-
Ice-Cold Lemonade: Nothing beats the summer heat like a tall glass of homemade lemonade, whose tartness pairs deliciously with the sweet and sour notes of your gummies. It’s the ultimate thirst quencher!
-
Cheese Platter: A selection of soft cheeses, such as brie or goat cheese, creates a surprising but delightful pairing. The creaminess of the cheese balances the chewy texture of the gummies wonderfully.
-
Dark Chocolate Dipped Pretzels: The salty crunch of pretzels dipped in dark chocolate offers a fun contrast to the sweetness of the gummies, appealing to those who enjoy a flavor adventure.
-
Sparkling Water with Mint: Refreshing sparkling water infused with mint provides a bubbly and invigorating drink option that cleanses the palate between bites of your homemade sour watermelon gummies.
-
Vanilla Ice Cream: Serving your gummies with a scoop of vanilla ice cream makes for a delightful dessert combo that delivers an explosion of flavors while creating an irresistibly creamy treat.
-
Fruit-Infused Iced Tea: This chilled tea, infused with slices of lemon and berries, is the perfect light beverage to serve alongside the gummies, enhancing each flavor without overwhelming the palate.
Expert Tips for Homemade Sour Watermelon Gummies
-
Juice Straining: Thoroughly strain the watermelon juice to ensure a smooth texture for your gummies. Any pulp can create a gritty bite.
-
Perfect Gelatin Bloom: Allow the gelatin to bloom properly before mixing. Not doing this can lead to lumpy, uneven gummies.
-
Heat Control: Always warm the juice gently and never boil it; boiling can ruin the gelatin’s setting ability, resulting in a softer gummy.
-
Storage Matters: Keep your homemade sour watermelon gummies in an airtight container to maintain firmness and freshness for 1-2 weeks.
-
Flavor Variations: Don’t be afraid to experiment with different fruit juices! Strawberry or raspberry juice can create exciting flavor twists.
Easy Homemade Sour Watermelon Gummies Recipe FAQs
How do I choose the best watermelon for this recipe?
Absolutely! When selecting a watermelon, look for one that feels heavy for its size and has a uniform shape. A good indicator of ripeness is the field spot—the area where it rested on the ground should be a creamy yellow. Avoid any watermelons with dark spots all over or blemishes, as these may indicate overripeness.
How should I store my homemade sour watermelon gummies?
I recommend storing your homemade sour watermelon gummies in an airtight container in the refrigerator. They will stay fresh and chewy for up to 1-2 weeks. Ensure the container is sealed well to keep out moisture and maintain the gummy texture.
Can I freeze homemade sour watermelon gummies?
Yes, definitely! To freeze your gummies, place them in an airtight container, separating layers with parchment paper to prevent sticking. They can be stored in the freezer for up to 3 months. Just remember to label them, so you know what delightful treat awaits!
What should I do if my gummies turn out too soft?
Very! If your gummies are too soft, they may not have been heated properly, or the gelatin didn’t bloom correctly. You can return them to the saucepan, add a bit more bloomed gelatin mixed with cold water, and gently heat the mixture again while whisking continuously until thickened. Then, pour them back into molds and refrigerate until set.
Are these gummies safe for kids and pets?
Yes, they’re safe for kids! However, keep in mind that some pets, especially dogs, shouldn’t have sweets. The honey content could be a concern for small pets. Always check for any allergies before sharing any homemade treats.
Delicious Homemade Sour Watermelon Gummies in Just 15 Minutes
Ingredients
Equipment
Method
- Blend the Watermelon: Blend 4 cups of chunked fresh watermelon until smooth.
- Strain the Juice: Strain the blended watermelon to extract about 2 cups of pure watermelon juice.
- Bloom the Gelatin: In a small bowl, pour 1 cup of watermelon juice and sprinkle gelatin over it. Let it sit for 5-10 minutes.
- Heat the Remaining Juice: In a saucepan, heat the other cup of watermelon juice until warm but not boiling.
- Combine and Whisk: Add the bloomed gelatin to the warm juice and whisk until completely dissolved.
- Add Lemon Juice and Sweetener: Stir in lemon juice and honey until fully incorporated.
- Pour into Molds: Pour the mixture into molds or a glass dish.
- Chill Until Set: Refrigerate for at least 2 hours until firm.
- Unmold and Serve: Carefully remove the gummies from molds or cut into squares.
Leave a Reply