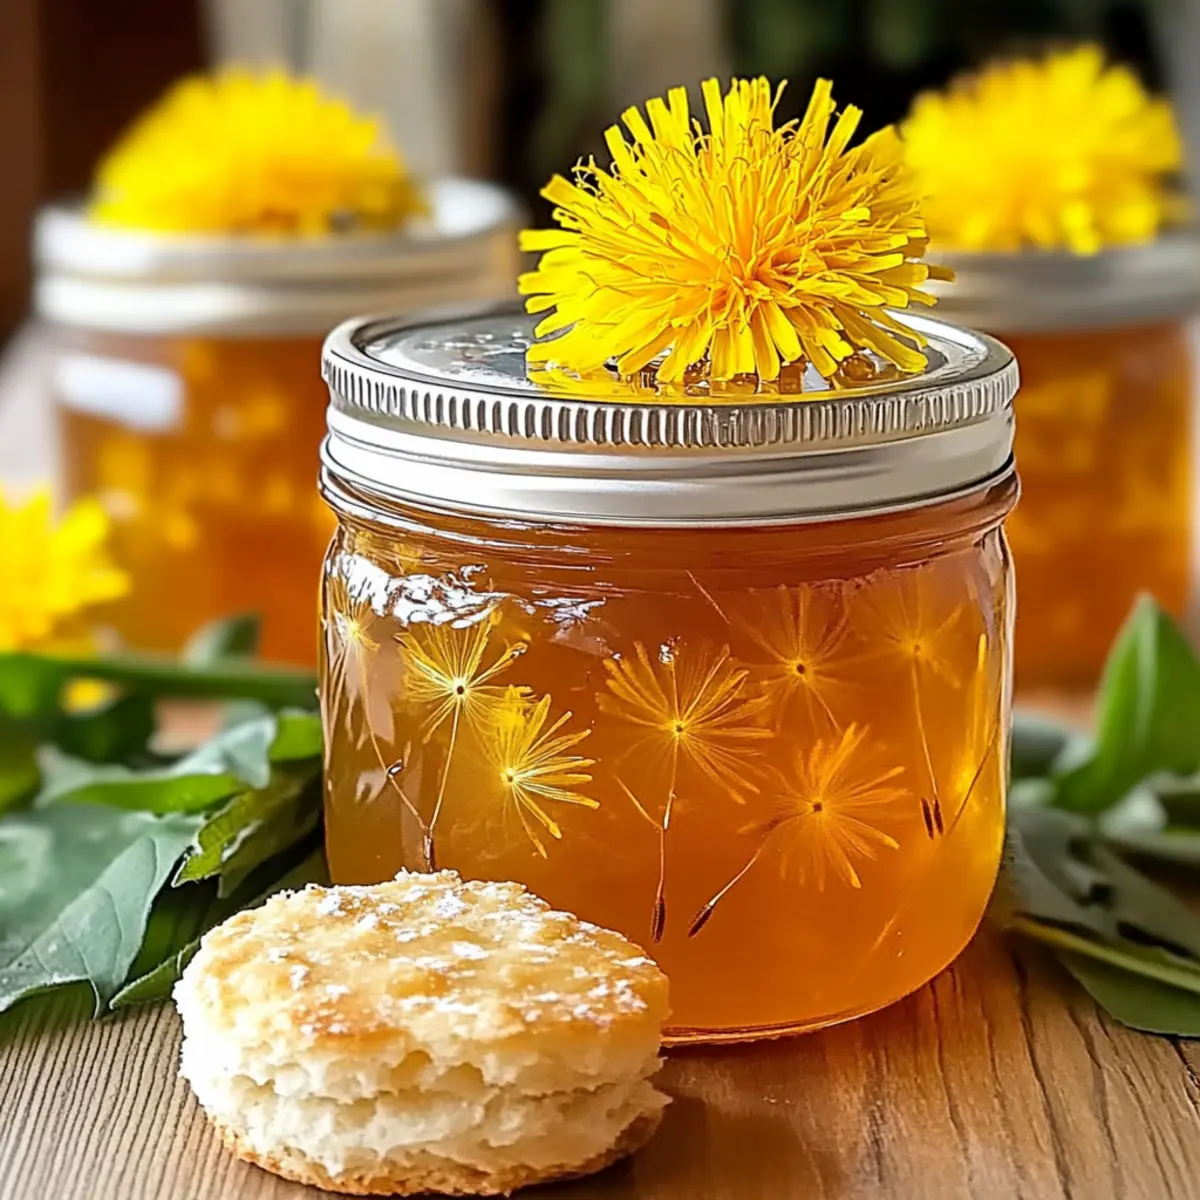
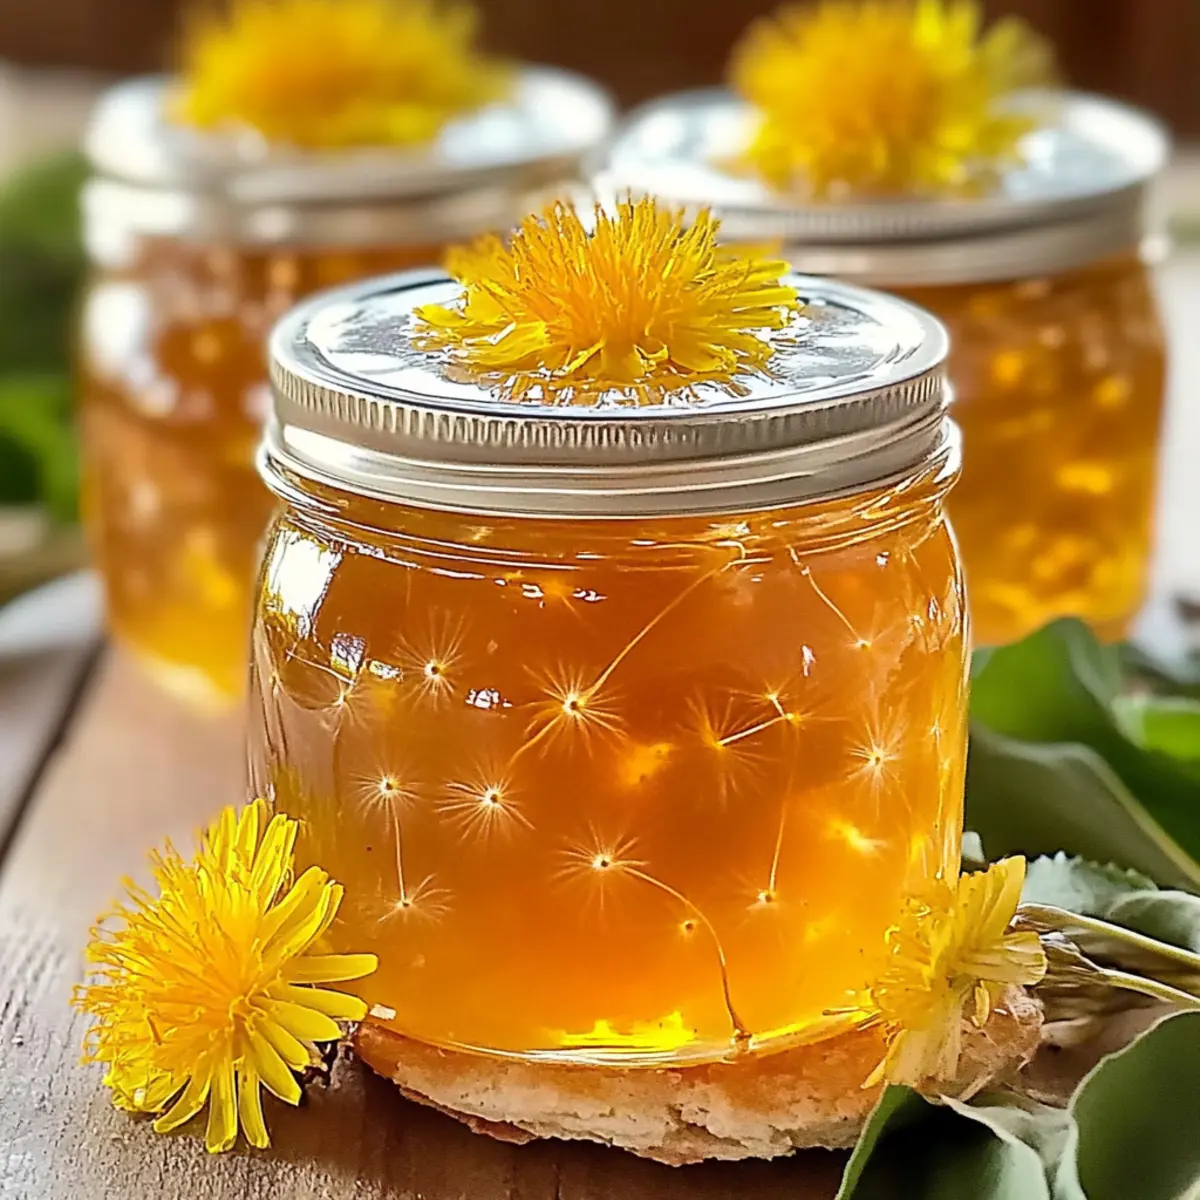
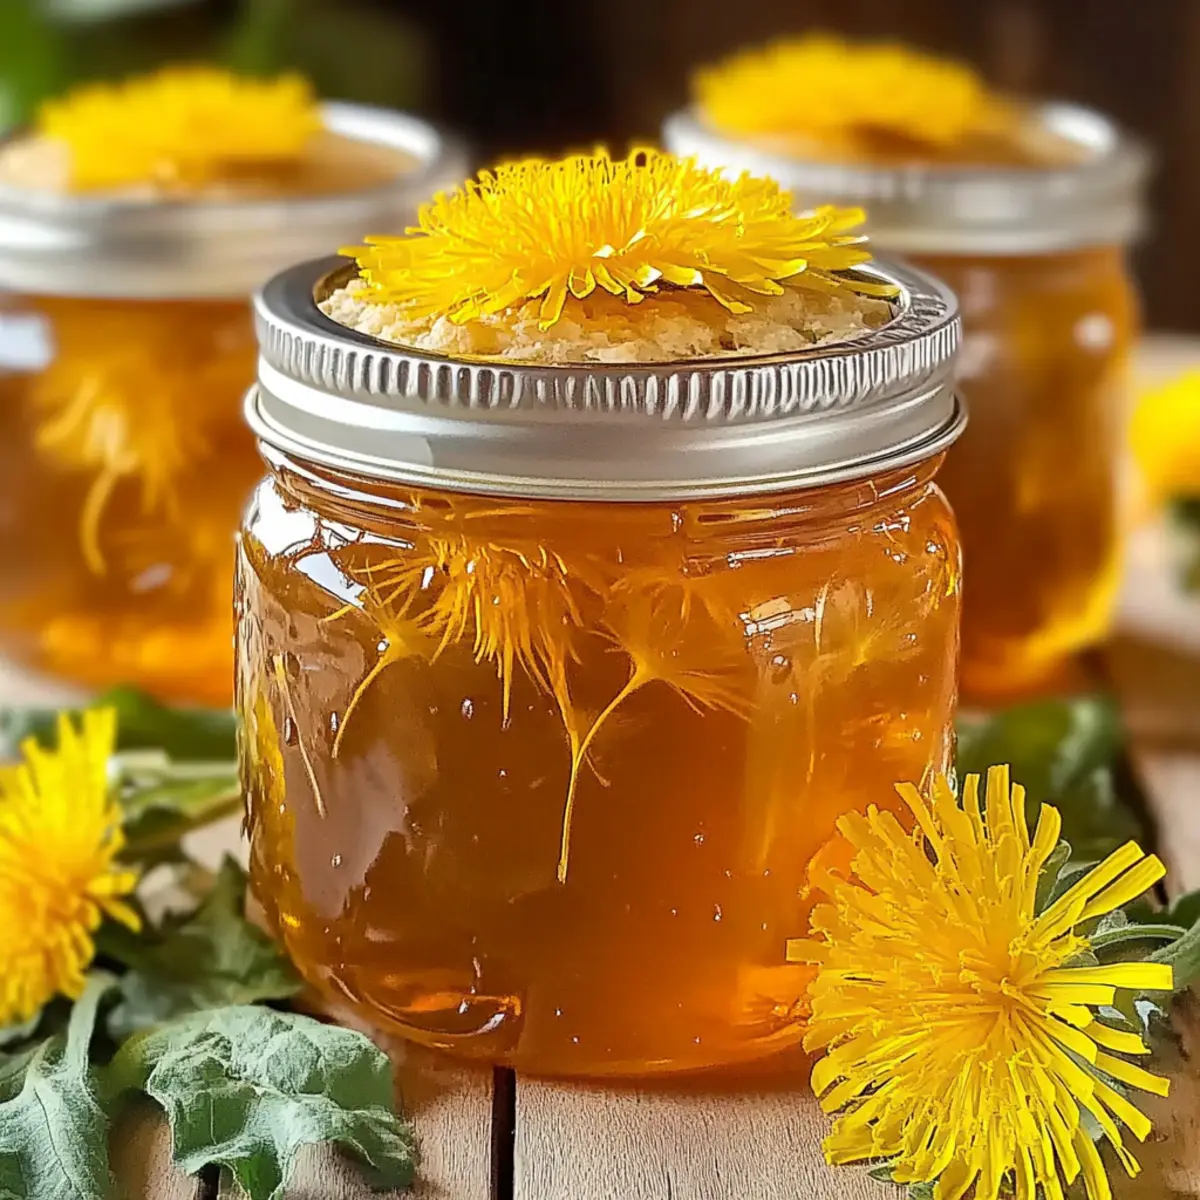
As I gathered the bright yellow dandelion petals swaying in the spring breeze, I felt a wave of nostalgia wash over me. There’s something magical about transforming these wildflowers into Homemade Dandelion Jelly, a delightful spread that brings the essence of nature right to your breakfast table. With just a few simple ingredients, you can whip up this seasonal preserve that’s not only low-calorie but also versatile, perfect for slathering on toast or enhancing your favorite desserts. Picture that stunning golden hue glistening in your pantry, a reminder of sunny days and the beauty of foraging! Are you ready to discover the enchanting flavors that await?
Why is Homemade Dandelion Jelly special?
Simplicity, making this jelly is a breeze, requiring just a few natural ingredients found in your backyard! Sweet, floral flavor that captures the essence of spring—dandelion jelly offers a unique taste that elevates any dish. Perfect for sharing, it makes an ideal gift, showcasing your culinary skills to friends and family. Versatile enough to use in various desserts or spread on toast, this jelly suits any occasion. Don’t miss out on exploring other delightful recipes like Savory Homemade Pasta or a refreshing twist with Pumpkin Pie.
Homemade Dandelion Jelly Ingredients
For the Jelly Base
- Dandelion Petals – The star of your homemade dandelion jelly; choose fully opened, bright yellow petals for the best sweetness.
- Water – Helps extract the delicate flavors and aroma from the dandelion petals.
- Lemon Juice – Provides essential acidity for preservation; feel free to swap with another acidic fruit juice if desired.
- Pectin – A crucial gelling agent that transforms your liquid into a luscious jelly.
- Sugar – Not only sweetens but also aids in the preservation of your delightful jelly.
Optional Flavors
- Herbs – Mixing in fresh mint or basil can add an exciting twist and depth to your homemade dandelion jelly.
- Citrus Zest – A sprinkle of lemon or orange zest could elevate the flavor profile for a refreshing kick.
With these simple ingredients, you’re well on your way to creating a charming homemade dandelion jelly that your family will love!
Step‑by‑Step Instructions for Homemade Dandelion Jelly
Step 1: Gather Dandelion Petals
Start by picking bright yellow dandelion petals from a pesticide-free area, ensuring you only select fully opened flowers. Rinse the petals under cool running water to remove dirt or insects, discarding any green parts to prevent bitterness. Aim for about 4 cups of loose petals, which will provide a rich base for your homemade dandelion jelly.
Step 2: Simmer the Petals
In a large pot, combine the rinsed dandelion petals with 4 cups of water. Bring the mixture to a rolling boil over medium-high heat, then reduce the heat to low and let it simmer for 30 minutes, stirring occasionally. You’ll notice the water turning a vibrant yellow color as it extracts the lovely flavors and aromas from the petals.
Step 3: Strain the Mixture
After simmering, remove the pot from heat and allow it to cool slightly. Using a fine mesh sieve or cheesecloth, strain the mixture into a bowl to catch the liquid and separate it from the petals. Press the petals gently to extract as much liquid as possible, discarding the used petals. You should have about 3 cups of bright yellow dandelion liquid.
Step 4: Combine with Lemon Juice and Pectin
Pour the dandelion liquid back into a clean pot, adding ¼ cup of lemon juice and 1 package of pectin. Stir the ingredients together well, and bring the mixture to a vigorous boil over medium-high heat. Keep stirring to prevent the mixture from sticking to the bottom of the pot, as you are preparing this flavorful base for your homemade dandelion jelly.
Step 5: Add Sugar and Cook
Once at a rolling boil, add in 4 cups of sugar all at once. Stir constantly until the sugar is fully dissolved, which should take about 1-2 minutes. Then, continue boiling the mixture for another 1-2 minutes, or until it thickens slightly. To check doneness, place a spoonful of jelly on a cold plate: it should hold its shape when cooled.
Step 6: Fill Sterilized Jars
Prepare sterilized jars while the jelly is cooking. Pour the hot dandelion jelly into the jars, leaving about ¼ inch of headspace at the top. Wipe the rims of the jars with a clean cloth to remove any residue, then seal each jar with a lid. Ensure the lids are securely fastened as this will help maintain freshness for your homemade dandelion jelly.
Step 7: Process the Jars
To ensure proper sealing, process the filled jars in a boiling water bath for about 5-10 minutes. Make sure the jars are submerged in boiling water, with at least an inch of water covering the tops. This step is crucial for preserving your homemade dandelion jelly and extending its shelf life.
Step 8: Cool and Store
Once the processing time is complete, carefully remove the jars from the water bath and place them on a kitchen towel or cooling rack. Allow the jars to cool completely at room temperature. After cooling, check the seals by pressing down on the center of each lid; if it pops back, refrigerate that jar. Store the sealed jars in a cool, dark place to enjoy your delightful homemade dandelion jelly later.

Expert Tips for Homemade Dandelion Jelly
-
Select Quality Petals: Ensure you only use bright yellow dandelion petals, as the green parts can introduce unwanted bitterness to your homemade dandelion jelly.
-
Proper Simmering: Simmer the petals long enough to extract full flavor—about 30 minutes is ideal. Don’t rush this process!
-
Check for Doneness: Use the cold plate method; if a spoonful holds its shape after cooling, you’ve achieved the right consistency for your jelly.
-
Sterilization Matters: Always sterilize your jars and lids properly before filling to prevent spoilage and ensure your homemade dandelion jelly stays fresh longer.
-
Sealing Check: After cooling, press down on jar lids. If they pop back, store them in the fridge and use first to avoid waste.
-
Experiment with Flavors: Feel free to infuse your jelly with herbs or citrus zest for unique flavor profiles that elevate your homemade dandelion jelly experience!
How to Store and Freeze Homemade Dandelion Jelly
Room Temperature: Store sealed jars of homemade dandelion jelly in a cool, dark pantry for up to 1 year. Ensure they are kept away from direct sunlight to maintain quality.
Fridge: After opening, keep the jelly refrigerated, where it can last for up to 3 weeks. Always use a clean spoon to avoid contamination.
Freezer: For long-term storage, freeze jelly in airtight containers for up to a year. Leave a bit of headspace as the jelly expands when frozen.
Reheating: If the jelly becomes firm, warm it gently in a saucepan over low heat until it reaches a spreadable consistency. Enjoy the delightful flavors of your homemade dandelion jelly!
What to Serve with Homemade Dandelion Jelly
Imagine the joy of creating a full meal that complements the vibrant floral notes of your now-glorious jelly.
- Warm Biscuits: Fluffy, buttery biscuits provide the perfect canvas for the floral sweetness, making for a comforting breakfast treat.
- Cream Cheese Crackers: Spread soft cream cheese on crisp crackers and top with dandelion jelly for a delightful appetizer that impresses guests.
- Yogurt Parfaits: Layer yogurt with fresh berries and a drizzle of dandelion jelly for a refreshing and healthy breakfast option bursting with flavor.
- Grilled Chicken Glaze: Brush on grilled chicken for an unexpected burst of sweetness that balances savory flavors beautifully.
- Pancakes or Waffles: Elevate your breakfast game—add a spoonful of jelly to warm pancakes or waffles for that quintessential morning treat.
- Minty Lemonade: Refresh the palate with a glass of mint-infused lemonade, which complements the floral notes of your homemade jelly perfectly.
- Cheese Board Pairing: Offer a selection of cheeses ranging from creamy brie to sharp cheddar, inviting guests to mix delicious flavors with the jelly.
- Scones with Clotted Cream: For an elegant twist, serve scones topped with clotted cream and a generous dollop of dandelion jelly.
- Fruit Salad: A light, refreshing fruit salad with citrus and berries offers a bright contrast to the sweet jelly, enhancing your meal’s freshness.
- Dark Chocolate Desserts: For dessert, consider pairing with dark chocolate treats to create an indulgent contrast, harmonizing sweetness with richness.
Homemade Dandelion Jelly Variations
Feel free to let your imagination run wild as you explore these exciting variations for your homemade dandelion jelly!
-
Citrus Twist:
Substitute lemon juice with orange or lime juice for a zesty flavor kick. This vibrant twist pairs beautifully with sweet and savory dishes alike. -
Herb-Infused:
Add a handful of fresh mint leaves or basil to the simmering petals for an aromatic touch. The infusion will bring an unexpected freshness to your jelly that’s delightful on biscuits or grilled meats. -
Chili Kick:
Incorporate a pinch of red pepper flakes or finely chopped jalapeño during the cooking process for a spicy surprise. It’s a fantastic way to add a hint of heat that contrasts with the sweetness! -
Berry Blend:
Mix in a cup of crushed strawberries or blueberries right before pouring into jars. This adds a delightful color and fruity flavor that everyone will adore. Combining dandelion with berries can evoke memories of sunny summer days! -
Lavender Essence:
Add a bit of culinary lavender when simmering the petals for a calming floral note. This variation is perfect for tea time or as a unique peanut butter and jelly sandwich twist. -
Vinegar Splash:
Try a splash of apple cider vinegar for a tangy, complex flavor profile. This unexpected twist can elevate your jelly into a wonderful glaze for meats or a salad dressing. -
Spiced Jelly:
Infuse with a few whole cloves or cinnamon sticks during the simmering stage. The warm spices add depth and perfect harmony to your springtime spread. -
Vanilla Extract:
Stir in a teaspoon of vanilla extract after cooking for a sweet, aromatic touch. This heavenly addition can boost desserts and pair perfectly with yogurt or pancakes.
With these variations, your homemade dandelion jelly can transform from traditional to extraordinary! Don’t forget to check out some delightful pairings like Pepper Jelly Cream that will inspire even more creativity in the kitchen. Enjoy your culinary adventures!
Make Ahead Options
Making Homemade Dandelion Jelly is a fantastic option for meal prep! You can gather and rinse the dandelion petals up to 24 hours in advance, storing them in the refrigerator in an airtight container to keep them fresh. Additionally, the dandelion liquid can be prepared and refrigerated for up to 3 days before cooking it with sugar and pectin. To maintain the vibrant flavor and prevent any bitterness, be sure to avoid storing any green parts of the flowers. When you’re ready to serve your delightful jelly, simply proceed with the final cooking steps—mix in the pectin, bring to a boil, and add sugar for an easy jelly-making experience that saves you time!
Homemade Dandelion Jelly Recipe FAQs
What kind of dandelion petals should I use for the jelly?
Absolutely! Use only fully opened, bright yellow dandelion petals for the best flavor. Avoid any green parts, as they can make the jelly taste bitter. Collect them from pesticide-free areas to ensure safety and flavor.
How long can I store homemade dandelion jelly, and what’s the best way to do it?
You can store sealed jars of homemade dandelion jelly in a cool, dark pantry for up to 1 year. If the jars are opened, keep them in the refrigerator, where they will last for about 3 weeks. Remember to always use a clean spoon to prevent contamination!
Can I freeze homemade dandelion jelly?
Yes! For long-term storage, pour the jelly into airtight containers or freezer-safe jars, leaving about 1 inch of headspace to accommodate expansion during freezing. Your jelly can last up to a year in the freezer and makes for a delightful treat anytime!
What should I do if my jelly isn’t setting properly?
If your jelly isn’t setting, it might need a little more time with the pectin. First, try refrigerating it for a couple of hours to see if it firms up. If it still hasn’t thickened, you can reheat the jelly in a saucepan, add a bit more pectin (following the instructions on the pectin package), and bring it back to a rolling boil for 1-2 minutes while stirring continuously.
Can I use dandelion jelly for other dietary preferences?
Very! Homemade dandelion jelly is a wonderful low-calorie spread suitable for various diets. Just be sure to check if anyone has allergies to the ingredients, especially if you’re using additional flavorings like citrus or herbs. Always label your jars, especially if gifting them to friends who might have dietary restrictions.
How do I know if my jars are sealed properly?
To check the seals, gently press down on the center of each lid after the jars have cooled completely. If it pops back, that jar didn’t seal correctly and should be refrigerated. Properly sealed jars will have a slight concave shape in the center and should maintain a tight seal, ensuring your homemade dandelion jelly stays fresh for months!
Homemade Dandelion Jelly – Spring's Sweet Floral Delight
Ingredients
Equipment
Method
- Start by picking bright yellow dandelion petals from a pesticide-free area, rinsing them under cool running water and discarding any green parts.
- In a large pot, combine the rinsed dandelion petals with 4 cups of water and bring to a rolling boil.
- After boiling, reduce heat and let it simmer for 30 minutes, stirring occasionally.
- Remove from heat and strain the mixture using a fine mesh sieve to separate the liquid from the petals.
- Pour the dandelion liquid back into a clean pot, add lemon juice and pectin, and bring to a vigorous boil.
- Once boiling, add in the sugar all at once and stir until dissolved, boiling for another 1-2 minutes until thickened.
- Pour the hot dandelion jelly into sterilized jars, leaving about ¼ inch of headspace, and seal with lids.
- Process the filled jars in a boiling water bath for about 5-10 minutes to ensure proper sealing.
- Cool the jars completely at room temperature and store them in a cool, dark place.
Leave a Reply