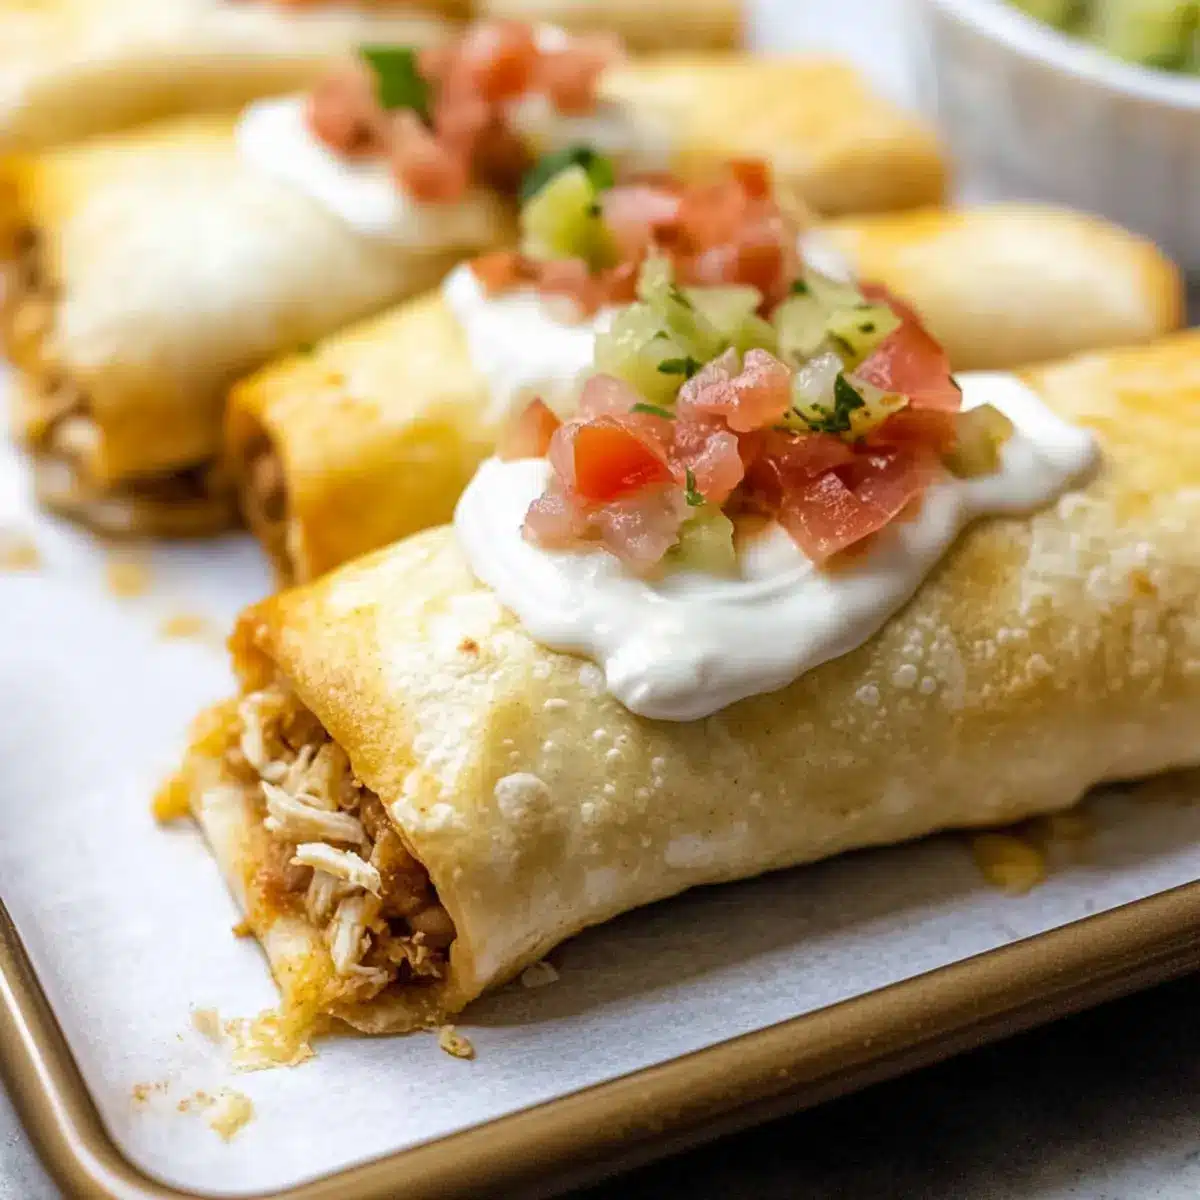
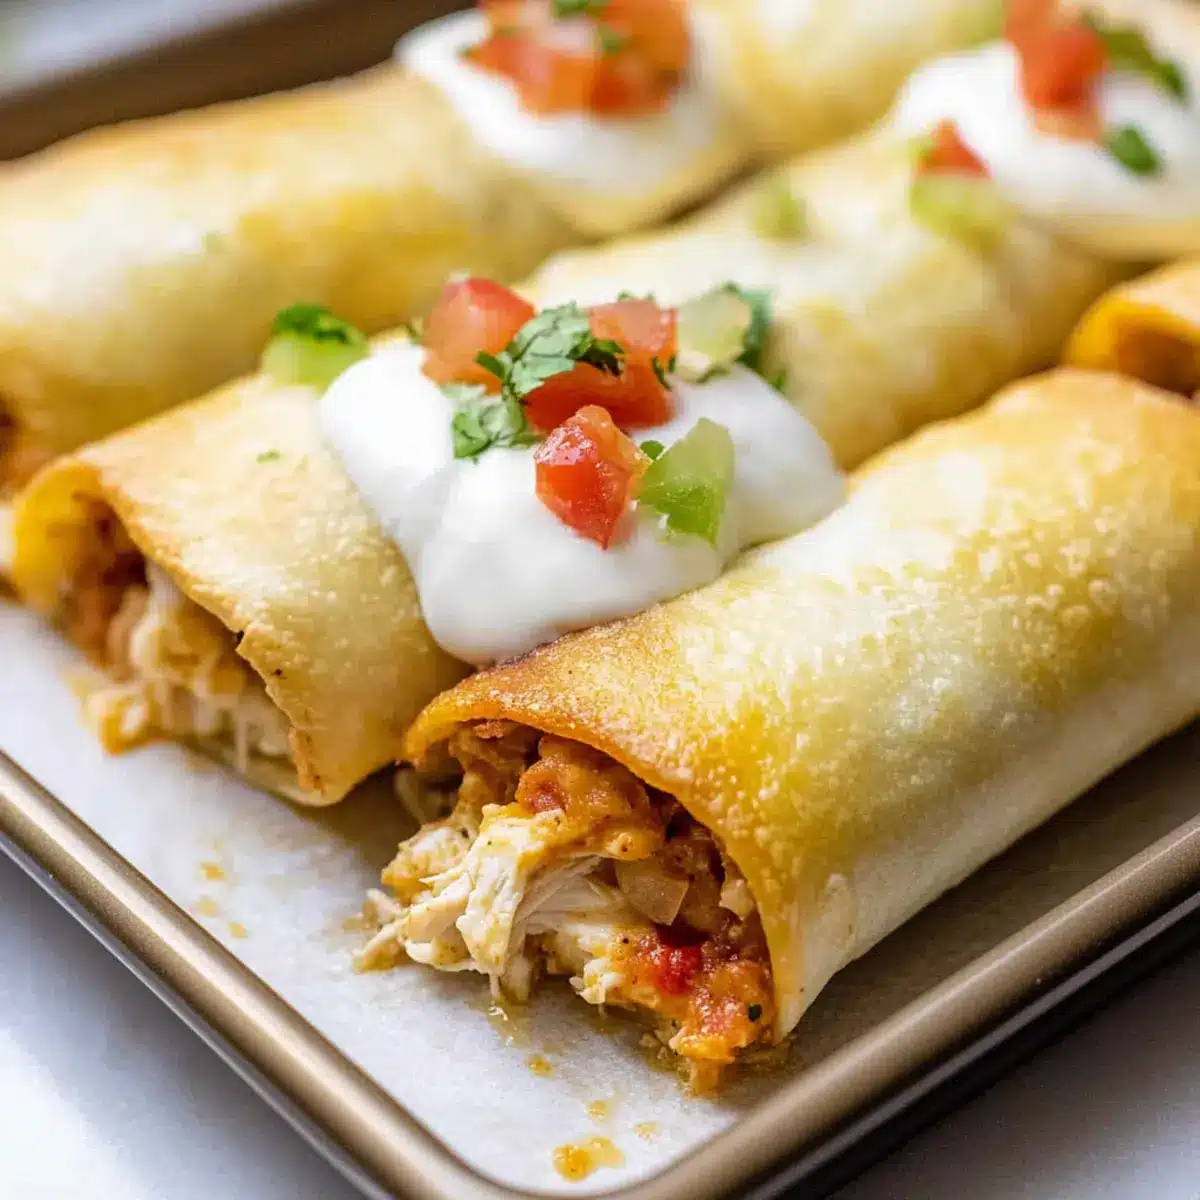
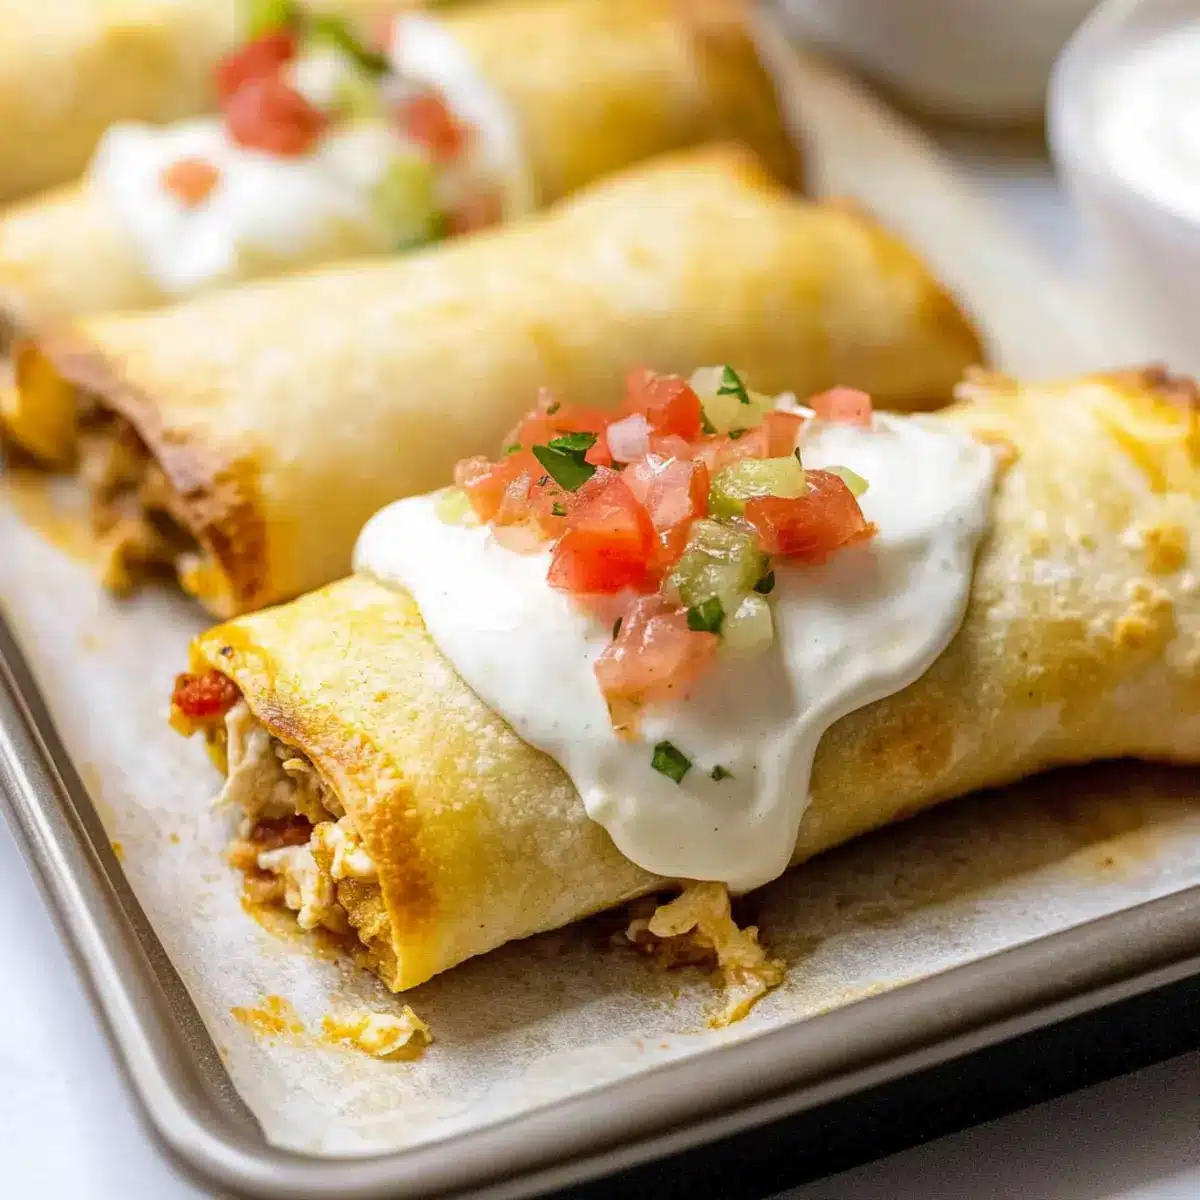
The delightful aroma of Tex-Mex cooking wafts through the air, promising a meal that will soon turn a simple weeknight into a tasty fiesta. Today, I’m excited to share my recipe for Easy Baked Chicken Chimichangas, a healthier spin on the classic dish that will keep you and your family coming back for more. With just 15 minutes of prep time and a quick 25 minutes in the oven, these scrumptious chimichangas deliver both crunch and comfort without the fuss of frying. Packed with protein and bursting with flavor, they’re perfect for busy schedules and picky eaters alike. So, are you ready to turn your kitchen into a warm, welcoming eatery? Let’s dive in!
Why Are Baked Chicken Chimichangas a Must-Try?
Quick and Easy: With just 15 minutes of prep and 25 minutes in the oven, these chimichangas offer a speedy dinner solution for busy families.
Healthier Alternative: Baked instead of fried, they provide all the comfort you crave without the guilt.
Family-Friendly Flavor: The savory chicken and creamy beans make this dish a hit amongst both kids and adults.
Versatile Filling Options: Feel free to switch up the protein or add extra veggies for a personalized touch! You might also love serving them with homemade toppings, just like with my recipe for Lobster Biscuit Chicken.
Crispy Finish: Brushing with butter before baking ensures a golden, crunchy exterior that rivals your favorite restaurant-style burrito.
Baked Chicken Chimichangas Ingredients
For the Filling
• Shredded Chicken – Provides protein and makes up the main filling. Substitution: Use rotisserie chicken to save time.
• Refried Beans – Adds creaminess and bulk to the filling. Substitution: Any preferred brand; homemade is also an option.
• Salsa – Introduces flavor and moisture to the mixture. Substitution: Choose your favorite variety; any salsa will work.
• Coriander – Optional spice for added warmth and nuttiness. Substitution: Can replace with an equal amount of cumin.
• Chili Powder – Enhances the Tex-Mex flavor profile. Substitution: Swap with taco seasoning if preferred.
• Shredded Cheese – Provides melty texture and flavor. Substitution: A Mexican cheese blend works best, but Pepper Jack or Monterey Jack can be used.
• Green Onions – Adds mild onion flavor and freshness. Substitution: Use ½ cup of diced onions for a stronger taste.
• Jalapeños – Contributes a spicy kick (if desired). Substitution: Remove seeds or omit if you prefer less heat.
For the Wrap
• Flour Tortillas – Acts as the wrapper for the filling. Substitution: Whole wheat tortillas can be used for a healthier option; avoid corn tortillas as they may crack.
For the Topping
• Butter – Helps achieve a crispy texture on top. Substitution: Use olive, avocado, or canola oil if preferred.
These Baked Chicken Chimichangas are not only a wholesome family meal but also a delightful way to enjoy a healthier Tex-Mex treat!
Step‑by‑Step Instructions for Baked Chicken Chimichangas
Step 1: Preheat Oven
Begin by preheating your oven to 400°F (200°C). This ensures that when your Baked Chicken Chimichangas are ready to go in, they will bake evenly and develop that delightful golden crunch. Prepare a baking sheet by lining it with parchment paper or lightly greasing it to prevent sticking.
Step 2: Prepare Filling
In a large mixing bowl, combine shredded chicken, refried beans, salsa, and the optional spices like coriander and chili powder. Stir in the shredded cheese, chopped green onions, and jalapeños for added flavor and moisture. This mix should be well-blended, creating a savory filling that embodies the essence of your Baked Chicken Chimichangas.
Step 3: Assemble Chimichangas
Lay out a flour tortilla on a clean surface. Spoon a generous amount of the prepared filling into the center, then fold the sides over the filling, followed by rolling it up tightly to form a burrito shape. Repeat this process for the remaining tortillas, making sure not to overfill to keep them intact while baking.
Step 4: Bake
Arrange the rolled chimichangas seam-side down on your prepared baking sheet. Brush each chimichanga generously with melted butter to achieve a crispy exterior. Bake in your preheated oven for 15 minutes; then, carefully flip them over and return to the oven for an additional 10 minutes, until they are golden brown and crispy.
Step 5: Cool and Serve
Once baked, remove the Baked Chicken Chimichangas from the oven and allow them to cool for a few minutes. This step is crucial, as it helps set the filling slightly before serving. Pair them with your favorite toppings like sour cream, guacamole, or salsa for a delightful finish to your meal.
Make Ahead Options
These Easy Baked Chicken Chimichangas are a fantastic choice for meal prep enthusiasts! You can assemble the chimichangas up to 24 hours in advance, wrapping each one tightly in plastic wrap before refrigerating to maintain freshness. Simply prepare the filling and roll them up, then store them seam-side down in a baking dish. When you’re ready to serve, preheat the oven to 400°F (200°C) and bake them directly from the fridge for an additional 5-10 minutes, ensuring a golden, crispy exterior just as delightful as if they were made fresh. This simple make-ahead option allows you to enjoy a delicious homemade meal with minimal effort on busy nights!
Baked Chicken Chimichangas Variations
Feel free to get creative and make this recipe your own with these tasty twists!
-
Vegetarian Option: Substitute shredded chicken with black beans, corn, and sautéed bell peppers for a hearty, plant-based filling. The gentle sweetness of corn mingles beautifully with the warmth of spices.
-
Spicy Twist: Add diced chipotle peppers in adobo sauce to the filling for a smoky, fiery kick that will wake up your taste buds!
-
Cheesy Delight: Mix in cream cheese with the shredded cheese for an extra creamy touch that melts deliciously into the filling.
-
Whole Wheat Health: Use whole wheat tortillas instead of flour tortillas to give a nutty flavor and boost the fiber content of your chimichangas.
-
Taco Style: Add in taco seasoning instead of chili powder for a classic taco flavor; it’s a fun way to mix it up! The spices will blend seamlessly, creating that familiar yummy taste.
-
Nutty Crunch: Sprinkle crushed tortilla chips or nuts on top of the filling before rolling for an unexpected, delightful crunch in every bite.
-
Zesty Pickle: For a tangy note, include some chopped pickled jalapeños in the filling, balancing out the savory flavors with a bit of zest.
-
Ultimate Dipping Sauce: Pair these chimichangas with a creamy avocado sauce or tangy sour cream for the perfect finishing touch. You might also enjoy them with a side of my flavorful Chicken Taco Soup for a wonderful pairing!
What to Serve with Easy Baked Chicken Chimichangas
Transform your Tex-Mex dinner into a delightful feast with these perfect pairings that will complement every savory bite.
-
Creamy Guacamole: This luscious avocado dip adds richness, balancing the crispy chimichangas with its smooth texture that brings the fiesta flavors together.
-
Zesty Mexican Street Corn: Grilled corn sprinkled with cheese, chili powder, and lime brightens up the meal with its sweetness and a touch of spice, making every bite sing.
-
Fresh Salsa Verde: A tangy green salsa made with tomatillos enhances the dish with its refreshing burst, making your chimichangas feel even more festive and flavorful.
-
Spanish Rice: Fluffy rice cooked with tomatoes and spices provides a comforting, earthy side, offering a heartwarming contrast to the crunchy chimichangas.
-
Black Bean Salad: A vibrant mix of black beans, corn, and fresh veggies gives a nutritious crunch that pairs beautifully with the baked chimichangas, offering a refreshing bite.
-
Chilled Margaritas: Sip on a crisp margarita to elevate your meal. The citrus tang cuts through the richness and adds to the vibrant Tex-Mex experience.
-
Crispy Tortilla Chips: These crunchy bites are perfect for dipping into guacamole or salsa, rounding out the meal with that satisfying texture everyone loves.
-
Churros for Dessert: End your feast with sweet churros dusted in cinnamon sugar. Their warm, soft insides create a delightful contrast to the chimichangas’ crispy exterior.
How to Store and Freeze Baked Chicken Chimichangas
Fridge: Store leftover Baked Chicken Chimichangas in an airtight container for up to 3 days to maintain their savoriness and crunch.
Freezer: For longer storage, wrap the assembled, unbaked chimichangas tightly in plastic wrap and aluminum foil. They can be frozen for up to 2 months.
Reheating: To enjoy later, bake frozen chimichangas at 375°F (190°C) for 25-30 minutes or until heated through and crispy. You can also microwave them for a quicker option, but they may lose some crunch.
Assembling in Advance: You can prepare the chimichangas a day ahead, refrigerate them before baking, and pop them in the oven just before mealtime, making dinner super easy!
Expert Tips for Baked Chicken Chimichangas
• Filling Balance: Avoid overfilling tortillas to ensure they roll and seal properly, which prevents any spillage during baking.
• Crispy Texture: Generously brush melted butter on top of the chimichangas before baking for that irresistible, golden crunch in your Baked Chicken Chimichangas.
• Even Cooking: Rotate the baking sheet halfway through the cooking time to ensure that all sides brown evenly and achieve that perfect crispiness.
• Fresh Ingredients: Use fresh herbs, like cilantro, for an extra burst of flavor. Dried spices can be effective, but fresh makes a difference!
• Creative Variations: Experiment with different fillings like ground beef or an array of veggies to customize your chimichangas exactly to your taste!
Baked Chicken Chimichangas Recipe FAQs
How do I choose the right chicken for the filling?
Absolutely! When selecting chicken, cooked, shredded chicken works best for this recipe. You can either use leftover roast chicken from a previous meal or save time by grabbing a rotisserie chicken from the store. Just make sure the chicken is tender and flavorful—this will enhance the overall taste of your chimichangas.
What is the best way to store leftover chimichangas?
Leftover Baked Chicken Chimichangas can be stored in an airtight container in the refrigerator for up to 3 days. Make sure they are completely cool before sealing to avoid condensation that could make them soggy. If you know you won’t finish them in that time, consider freezing them instead.
Can I freeze Baked Chicken Chimichangas?
Absolutely! To freeze, wrap the assembled but unbaked chimichangas tightly in plastic wrap and then in aluminum foil. This method helps to prevent freezer burn. They can be stored this way for up to 2 months. When you’re ready to enjoy, simply bake them from frozen—just increase the cooking time to about 25-30 minutes at 375°F (190°C).
What should I do if my chimichangas aren’t crispy?
If your chimichangas aren’t coming out as crispy as you’d like, there are a few troubleshooting tips to consider. First, make sure you are brushing them generously with melted butter before baking; this adds flavor and helps achieve that golden-brown texture you desire. Additionally, ensure that you’re not overfilling the tortillas, as this can make it difficult for them to brown properly. Lastly, flip the chimichangas halfway through baking for even crispiness.
Can I adjust the spiciness level in the chimichangas?
Very! If you’re making these Baked Chicken Chimichangas and want to control the heat, you can adjust the amount of jalapeños to your taste. Remove the seeds to lessen the heat, or omit them entirely if you prefer a milder flavor. Alternatively, you can add some hot salsa or spicy cheese for those who enjoy the kick!
Are these chimichangas suitable for various dietary needs?
Definitely! These Baked Chicken Chimichangas are adaptable. Use whole wheat tortillas for a healthier option or swap out the chicken with shredded beef or veggies if you’re catering to different dietary preferences. Just be aware of any allergies—like dairy or gluten—when choosing your ingredients. It’s easy to make these chimichangas work for everyone!

Baked Chicken Chimichangas for a Guilt-Free Tex-Mex Treat
Ingredients
Equipment
Method
- Preheat your oven to 400°F (200°C) and prepare a baking sheet by lining it with parchment paper or lightly greasing it.
- In a large mixing bowl, combine shredded chicken, refried beans, salsa, coriander, chili powder, shredded cheese, green onions, and jalapeños.
- Lay out a flour tortilla and spoon a generous amount of the filling into the center, then fold and roll it up tightly to form a burrito shape.
- Arrange the rolled chimichangas seam-side down on the baking sheet. Brush each chimichanga with melted butter. Bake for 15 minutes, flip, and bake for an additional 10 minutes until golden brown.
- Remove from the oven and cool for a few minutes before serving with your favorite toppings.
Leave a Reply