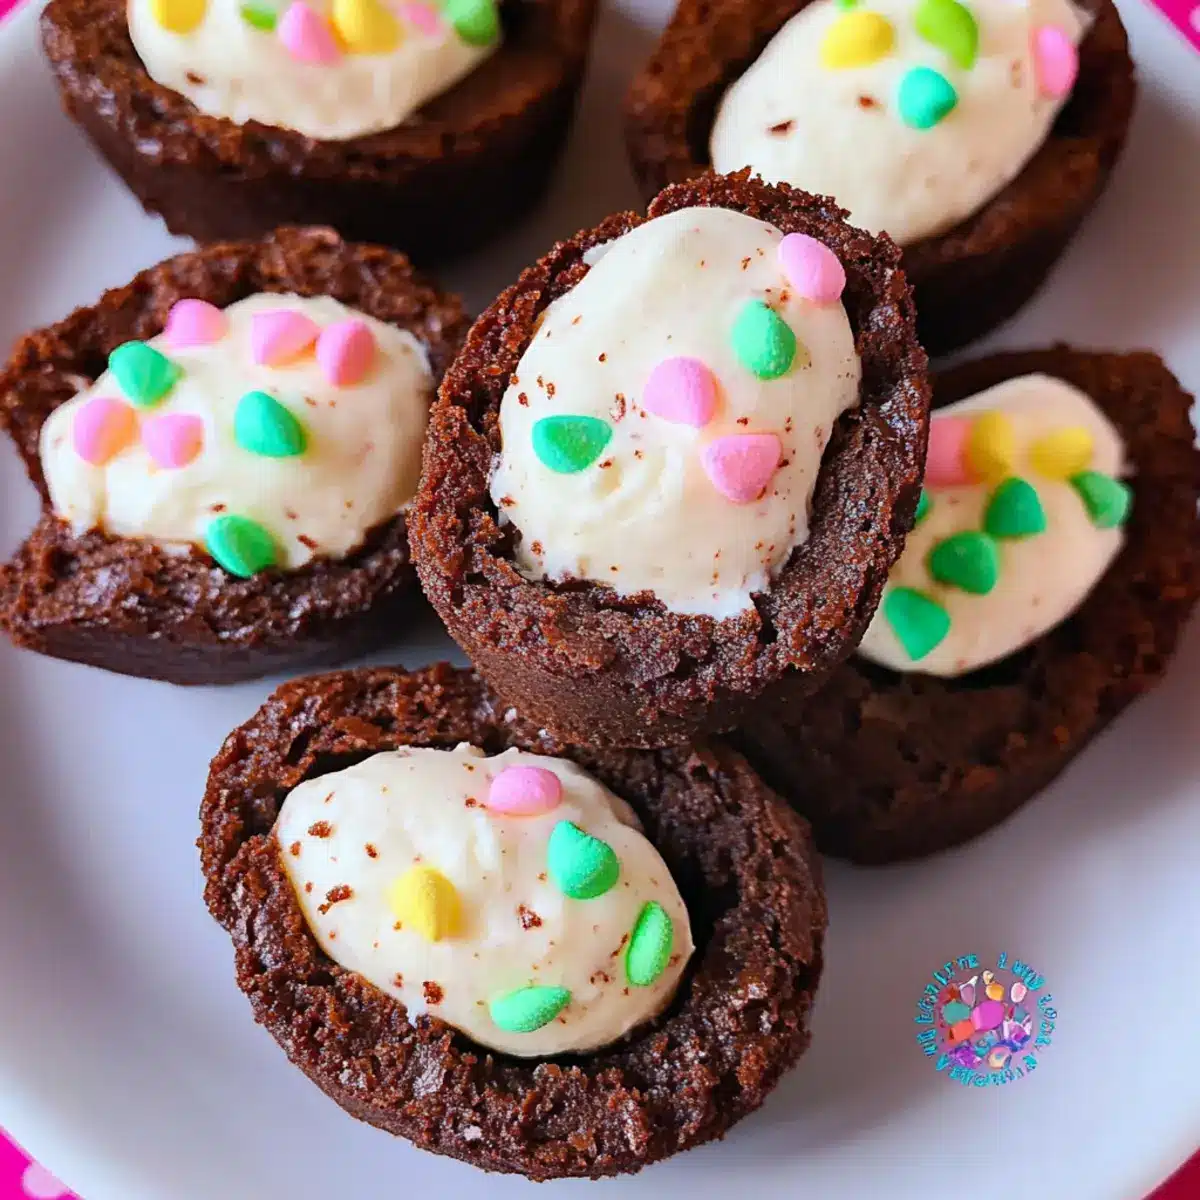
Easter is just around the corner, and the excitement of festive treats fills the air! One recipe that never fails to capture attention is my delightful Deviled Brownies. Shaped like eggs, these delectable little bites combine the rich depth of chocolate brownies with a creamy and tangy cream cheese filling. Not only are they an easy dessert that can be whipped up quickly, but they also bring a playful twist to your holiday celebrations. Plus, the customizable flavors mean you can create a version that suits every palate. Trust me, once you take a bite of these sweet delights, they’ll be the star of your spring gatherings. What unique flavor combination will you choose for your deviled brownies?
Why Are Deviled Brownies So Special?
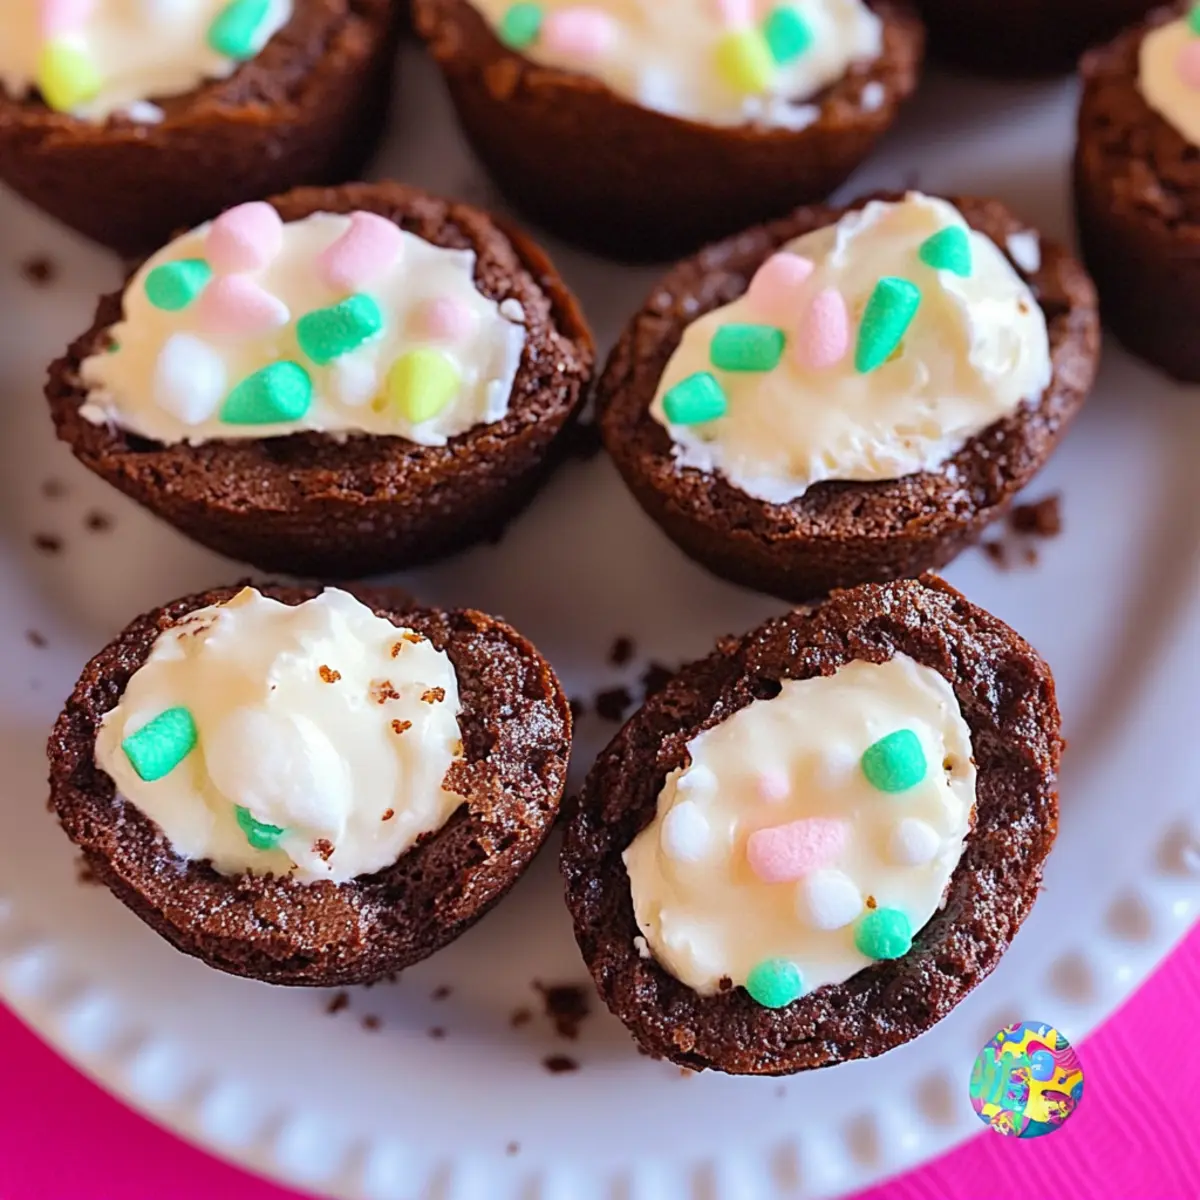
Delightful Presentation: These brownies aren’t just tasty; their egg shape makes them a fun and festive treat for any Easter gathering.
Customizable Flavors: With options like peanut butter or cookie butter, you can easily create flavors that cater to everyone’s taste buds.
Quick and Easy: Using a brownie mix means you can whip them up in no time, making them perfect for any last-minute dessert needs.
Crowd-Pleasing Treat: With their rich chocolate base and creamy filling, they’re sure to impress guests of all ages.
Perfect for Celebrations: These deviled brownies perfectly encapsulate the spirit of spring, bringing a joyful twist to your holiday table. Want to explore more delightful creations? Check out our top Easter desserts.
Deviled Brownies Ingredients
For the Brownie Base
- Brownie Mix – Use an 18.3 oz box mixed according to package instructions for a rich and sweet base.
- Water – Essential for creating the perfect batter consistency; follow the mix instructions.
- Oil – Adds moisture to the brownies for that fudgy texture; again, refer to the package for the exact amount.
- Eggs – Vital for binding the ingredients and elevating the brownie’s richness.
For the Creamy Filling
- Cream Cheese – Provides a luscious creaminess with a slight tang; soften it for easier mixing. Consider mascarpone for a change!
- Marshmallow Cream – Introduces sweetness and a fluffy texture; swap it with cookie butter if you’re looking for a twist in flavor.
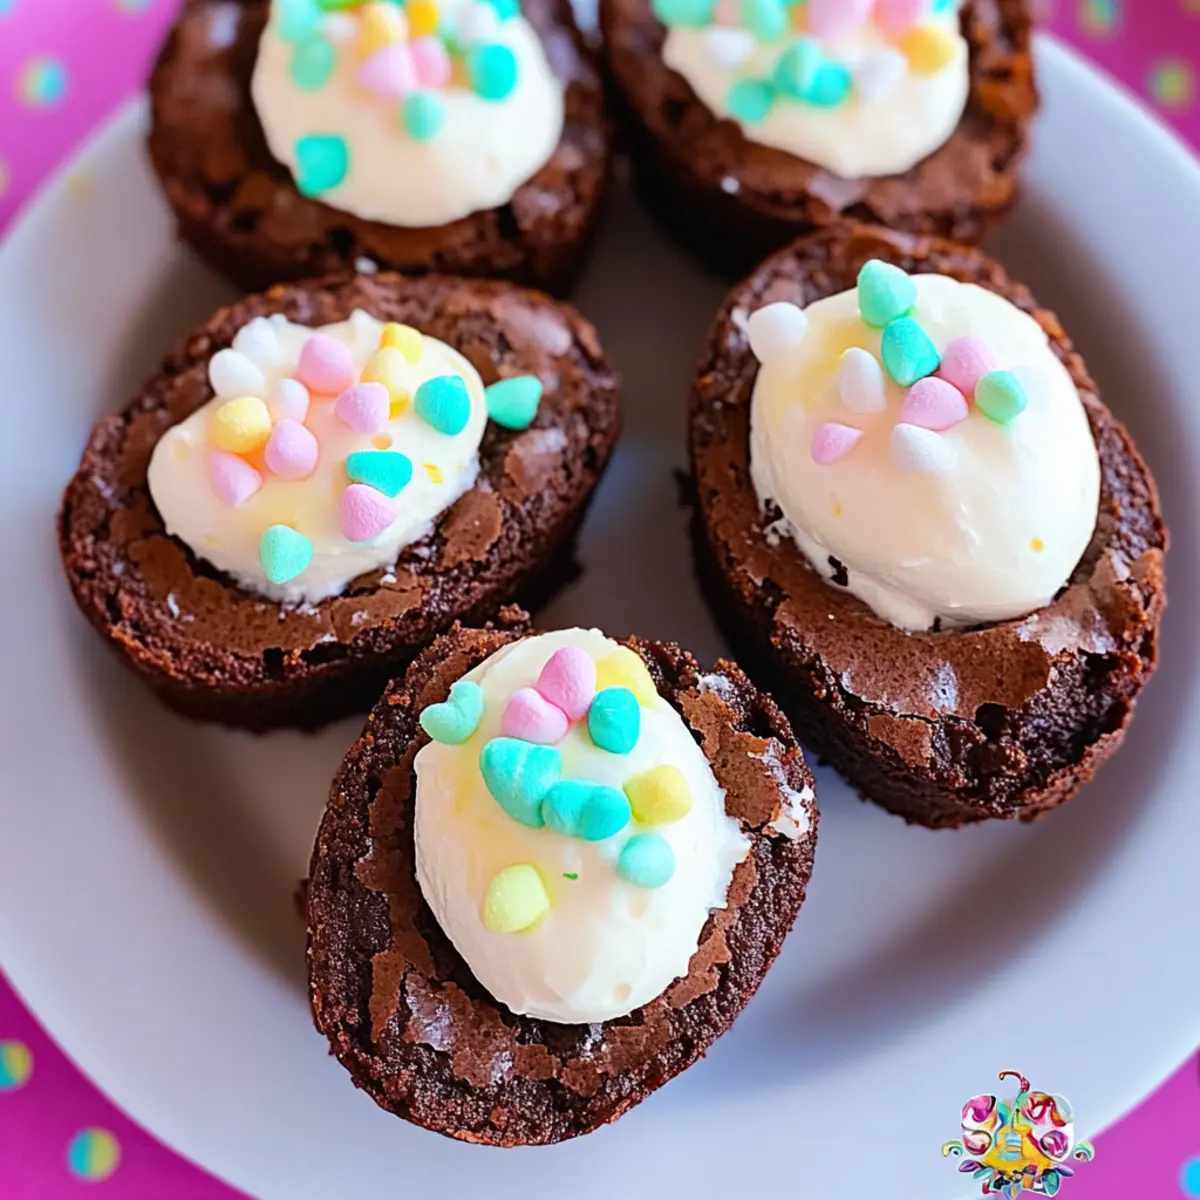
- Food Coloring (optional) – If you’re aiming for pastel colors suitable for Easter, add a few drops to your filling before piping.
For the Topping
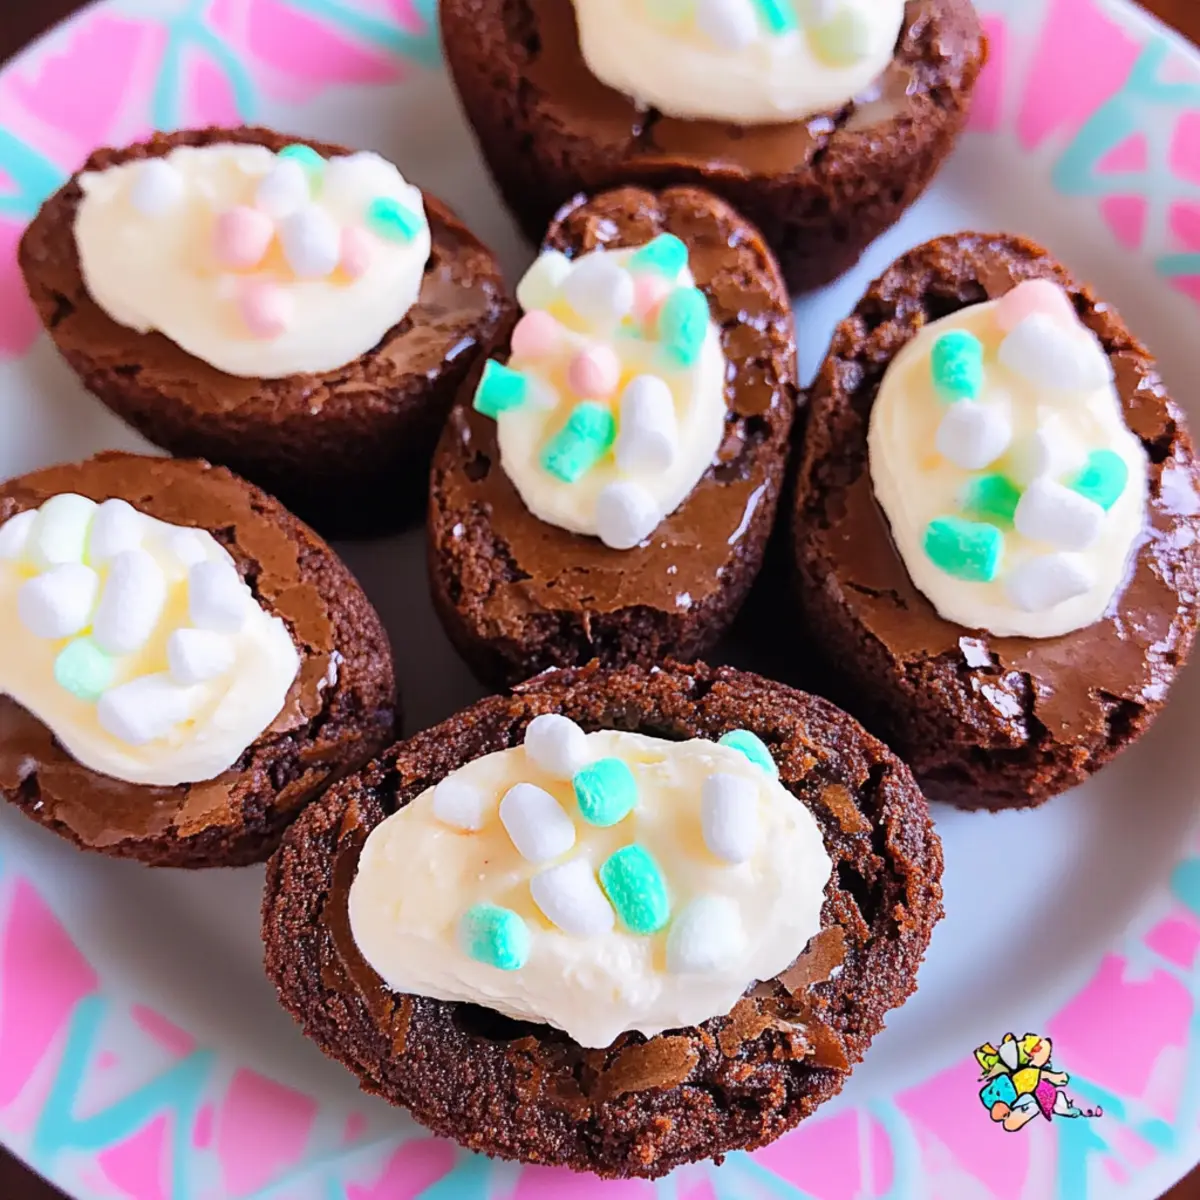
- Sprinkles – These are optional for that beautiful festive touch; avoid adding them until just before serving to keep them vibrant in appearance.
Let your creativity shine in the kitchen with these delightful deviled brownies — perfect for making memories this Easter!
Step‑by‑Step Instructions for Deviled Brownies
Step 1: Preheat the Oven
Begin by preheating your oven to 350°F (175°C). This step ensures that your chocolatey deviled brownies will bake evenly and achieve that perfect fudgy texture. While the oven warms up, you can gather your ingredients and prepare your baking equipment, making the process smooth and enjoyable.
Step 2: Prepare Brownie Batter
Next, in a large mixing bowl, combine the brownie mix with the required water, oil, and eggs following the package instructions. Stir vigorously until the mixture is smooth and well blended, with no dry spots. The batter should have a glossy chocolate appearance that looks invitingly irresistible, setting the perfect stage for your deviled brownies.
Step 3: Grease the Molds
As you finish mixing the batter, take your egg-shaped silicone molds and spray them generously with nonstick cooking spray. This step is crucial to ensure that the brownies release easily once baked, allowing their delightful egg shapes to shine. Feel free to set the molds aside while you get ready to fill them.
Step 4: Fill the Molds
Using a 2-tablespoon portion scoop, carefully pour the brownie batter into the prepared molds. Fill each mold until about ¾ full to allow space for rising. Pop the molds into the oven and bake for 24-26 minutes. Keep an eye out for that classic toothpick test; they’re done when a toothpick inserted into the center comes out clean.
Step 5: Create Divots
Once baked, remove your molds from the oven, and while the brownies are still warm, take a teaspoon and gently press it into the center of each brownie to create a small cavity. This will hold the creamy filling later. Be gentle to maintain the shape, and admire how cute your deviled brownie bases are turning out!
Step 6: Cool Brownies
Let the brownies cool completely in the molds. This typically takes about 15-20 minutes. Cooling is essential to ensure the brownies hold their shape when removed. Once cool, carefully pop them out of the molds and place them on a wire rack. They should look perfectly formed and ready for the next step!
Step 7: Make the Creamy Filling
In a mixing bowl, beat together the softened cream cheese and marshmallow cream until the mixture is smooth and creamy. This should take about 2-3 minutes with an electric mixer. The filling should be light, fluffy, and have a delightful sweetness that complements your rich brownie base, embodying the essence of deviled brownies.
Step 8: Fill Brownies
Now, it’s time to pipe the creamy filling into the divots of your cooled brownies. You can use a piping bag for easy application, making sure to fill each cavity generously. As you fill them, you’ll notice how the fluffy cream adds an irresistible contrast against the dense brownie, elevating each bite to a new level of deliciousness.
Step 9: Chill & Serve
Finally, refrigerate the filled deviled brownies until you’re ready to serve them, ideally for 30 minutes to allow the filling to set slightly. When it’s time to enjoy, you can add sprinkles for a festive touch, but remember to wait until just before serving. Enjoy the delightful combination of flavors that your Easter deviled brownies offer!
Make Ahead Options
These delightful Deviled Brownies are perfect for meal prep, allowing you to savor the sweet taste of homemade treats without the last-minute rush. To prep ahead, you can prepare the brownie base and divide it into the molds up to 24 hours in advance—just cover the filled molds with plastic wrap and refrigerate until you’re ready to bake. Once baked and cooled, make the creamy filling and pipe it into the brownies; they can be refrigerated for up to 3 days before serving. This allows the flavors to meld beautifully. When you’re ready to serve, simply add sprinkles and enjoy the joy of these delicious deviled brownies with minimal effort!
Deviled Brownies Variations & Substitutions
Get ready to jazz up your deviled brownies with delightful twists that will make your taste buds sing!
-
Nutty Flavor: Add 2-3 tablespoons of peanut butter to the cream filling for a rich, nutty touch of flavor.
-
Mascarpone Twist: Swap cream cheese for mascarpone to create an even creamier, Italian-inspired filling that’s irresistibly smooth.
-
Cookie Butter Delight: Use cookie butter instead of marshmallow cream for a spiced sweetness that adds a unique depth to your brownies.
-
Festive Colors: Consider using food coloring in pastel shades to tint your cream filling, making them more visually appealing for your Easter gathering.
-
Frosting Options: Replace the cream cheese filling with your favorite frosting to change up the flavor and texture, offering a different experience with every bite.
-
Seasonal Variations: Swap out sprinkles for seasonal toppings like crushed candies or seasonal fruits to enhance the aesthetic for different holidays.
-
Spicy Kick: Add a pinch of cayenne pepper or cinnamon to the brownie batter for a surprising twist that adds warmth and a hint of spice.
-
Vegan Options: Use a plant-based brownie mix and substitute the cream cheese with a dairy-free cream alternative for a vegan-friendly dessert.
These delicious variations are bound to encourage your creativity in the kitchen while delivering taste sensations that will steal the show! Want to explore more delightful dessert options? Check out our top Easter desserts or discover how to elevate your baking skills with simple ingredient swaps.
What to Serve with Easter Deviled Brownies
Transform your Easter gathering into a stunning feast by complementing your delightful deviled brownies with satisfying and vibrant side treats.
-
Fresh Fruit Salad: Combines bright, seasonal fruits for a refreshing contrast to the rich chocolate, balancing flavors beautifully. The sweetness of fruits like strawberries and oranges enhances the chocolate’s depth while adding a burst of color to your table.
-
Whipped Cream: A cloud of creamy goodness that pairs perfectly with the brownies’ richness, adding an airy and light element to every bite. Try flavored variations, like vanilla or almond, to customize the experience and elevate the dessert further.
-
Chocolate Mint Iced Tea: This cool drink offers a refreshing profile, contrasting beautifully with the sweetness of the brownies. The minty note enlivens and cleanses the palate, ensuring that each bite is just as delightful as the last.
-
Vanilla Ice Cream: A classic pairing, the creaminess of vanilla ice cream perfectly complements the fudgy texture of the brownies. Add a drizzle of warm chocolate sauce for a decadent treat that blends flavors wonderfully, turning every serving into an indulgent experience.
-
Mini Carrot Cakes: The spice and texture of carrot cake harmonize beautifully with the chocolate and cream cheese flavors in the brownies. Having these at your gathering will provide a delightful twist, carrying forward the joyful springtime theme effortlessly.
-
Lemonade Spritzers: Refreshing and bubbly, a lemonade spritzer adds a zesty kick that breaks through the richness of the brownies. The tangy notes will awaken your guests’ taste buds, perfectly contrasting the sweetness of your treats.
Elevate your dessert experience and watch your guests delight in the scrumptious harmony of flavors alongside those irresistible deviled brownies!
Expert Tips for Deviled Brownies
• Cool Before Filling: Ensure brownies are completely cool before adding the filling to prevent melting. This keeps your deviled brownies looking perfect!
• Use Quality Ingredients: Opt for high-quality cream cheese and chocolate mix for richer flavors. Trust me, it makes a noticeable difference in taste!
• Tint for Festivity: Consider tinting your cream filling with pastel food coloring to match the Easter theme. A little color adds fun and excitement!
• Custom Flavor Combinations: Don’t hesitate to experiment with flavors—mix in peanut butter or cookie butter for a unique twist on your deviled brownies.
• Careful with Sprinkles: Add sprinkles just before serving to ensure they maintain their vibrant color and freshness. This keeps your brownies visually appealing all the time!
Storage Tips for Deviled Brownies
Fridge: Keep deviled brownies in a covered container in the refrigerator for up to 3-4 days to maintain their freshness and flavor.
Freezer: If you want to store them longer, wrap each brownie individually in plastic wrap and place them in an airtight container. They can last up to 2 months in the freezer.
Thawing: To enjoy frozen deviled brownies, simply transfer them to the fridge for a few hours or let them sit at room temperature for about 30 minutes before serving.
Reheating: If you prefer warm brownies, gently warm them in the microwave for 10-15 seconds. This will give you that lovely, gooey texture again, especially when paired with their creamy filling!
Deviled Brownies Recipe FAQs
What type of brownie mix should I use for deviled brownies?
I recommend using an 18.3 oz box of your favorite brownie mix, prepared according to the package instructions. This provides a sweet and rich base for your deviled brownies, creating the perfect fudgy texture that pairs beautifully with the creamy filling.
How long can I store deviled brownies, and what’s the best way?
You can keep deviled brownies in a covered container in the refrigerator for up to 3-4 days. This helps retain their freshness and flavor. Make sure they are well sealed to avoid drying out or absorbing any odors from your fridge!
Can I freeze deviled brownies?
Absolutely! To freeze, wrap each brownie individually in plastic wrap and place them in an airtight container. They can last up to 2 months in the freezer. Just remember to label them with the date so you can enjoy them at their best!
What should I do if my filling is too runny?
If your cream cheese filling turns out too runny, simply add a bit more softened cream cheese, mixing thoroughly until you reach the desired consistency. Alternatively, you might try chilling the filling for about 15-20 minutes before piping it into the brownies; this can help firm it up a bit!
Can my pets eat deviled brownies?
It’s best not to share deviled brownies with pets, particularly due to the cream cheese and sugar content. Chocolate can also be toxic to dogs and cats, so be sure to keep these delightful treats safely out of their reach.
How can I customize the flavors of my deviled brownies?
The more the merrier! You can add 2-3 tablespoons of peanut butter to the cream filling for a nutty twist or swap the marshmallow cream with cookie butter for a unique flavor. This adaptability ensures you can create something for everyone’s taste buds at your gathering!
Deviled Brownies: Creamy Treats That Steal the Show
Ingredients
Equipment
Method
- Preheat the oven to 350°F (175°C).
- In a large mixing bowl, combine the brownie mix, water, oil, and eggs. Stir until smooth.
- Grease the egg-shaped silicone molds with nonstick cooking spray.
- Fill the molds with brownie batter until ¾ full. Bake for 24-26 minutes.
- Create divots in the middle of each brownie while still warm.
- Let the brownies cool completely in the molds for 15-20 minutes.
- Beat cream cheese and marshmallow cream until smooth and creamy.
- Pipe the creamy filling into the divots of the cooled brownies.
- Refrigerate until ready to serve, ideally for 30 minutes. Add sprinkles just before serving.
Leave a Reply