The scent of freshly baked chocolate chip cookies wafting through the house is enough to evoke memories of childhood and family gatherings. There’s something magical about those warm, gooey bites, which perfectly blend melty chocolate with a soft, chewy texture. This classic chocolate chip cookie recipe is not only easy to whip up, making it an ideal dessert for both novice bakers and seasoned home chefs, but it also offers a delightful twist with gluten-free options. Whether you’re satisfying a sweet craving or creating a treat for a family get-together, these cookies are sure to be a hit. So, why not grab your mixing bowl and give this recipe a try? Your taste buds—along with everyone around you—are in for a comforting surprise!
Why are these cookies a must-try?
Irresistible Aroma: The scent of baking cookies fills your kitchen with warmth, creating an inviting atmosphere that everyone loves.
Quick & Easy: Even novice bakers can master this recipe, making it a fantastic choice for a stress-free baking experience.
Customizable Options: With gluten-free and vegan substitutions available, everyone can enjoy their unique version of this classic treat.
Soft and Chewy Texture: Expect warm, gooey chocolate chips nestled in perfectly baked cookies that have crispy edges and soft centers.
Perfect for Sharing: Whether it’s at a family gathering or a casual get-together, these cookies are sure to impress and delight all your guests.
Try serving them warm with a glass of milk or alongside your favorite coffee for an even sweeter experience!
Chocolate Chip Cookie Ingredients
Indulge in the delightful process of creating these classic treats!
For the Cookie Base
- All-purpose flour – Provides structure; substitute with gluten-free all-purpose flour for a gluten-free option.
- Baking soda – Helps cookies rise; no substitutes necessary for best results.
- Salt – Enhances flavor; can reduce for low-sodium diets.
- Unsalted butter – Adds richness and chewiness; substitute with coconut oil for a dairy-free option.
For Sweetness
- Granulated sugar – Sweetens and gives texture; coconut sugar can be used for a lower glycemic index.
- Brown sugar – Adds moisture and caramel flavor; can substitute with granulated sugar if necessary.
For Binding
- Eggs – Binds ingredients and adds moisture; use flax eggs for a vegan alternative.
For Flavor
- Vanilla extract – Provides aromatic flavor; pure extract delivers the best quality.
For the Stars
- Chocolate chips – The signature ingredient for sweetness and texture; consider dairy-free chocolate chips for a vegan version.
Step‑by‑Step Instructions for Classic Chocolate Chip Cookies with Gluten-Free Option
Step 1: Preheat the Oven
Begin by preheating your oven to 350°F (175°C). This will ensure that your cookies bake evenly and achieve that delightful golden-brown color. While the oven warms up, gather your mixing bowls and baking sheets, as you’ll need these ready for the next steps.
Step 2: Whisk the Dry Ingredients
In a medium bowl, whisk together the all-purpose flour, baking soda, and salt until well combined. This step adds air and breaks up any lumps in the flour, ensuring a smooth cookie dough. Once combined, set this bowl aside as you prepare the wet ingredients, which will bring your Classic Chocolate Chip Cookies to life.
Step 3: Cream the Butters and Sugars
In a large mixing bowl, cream together the unsalted butter, granulated sugar, and brown sugar until the mixture is light and fluffy, about 2-3 minutes. You’ll know it’s ready when it looks pale and has a creamy texture. This step is crucial for achieving the soft and chewy texture characteristic of delicious cookies.
Step 4: Incorporate the Eggs and Vanilla
Next, add in the eggs one at a time, mixing thoroughly after each addition. Stir in the vanilla extract until fully incorporated. The egg mixture will not only bind your ingredients but will also add moisture. Keep an eye on the texture; it should be smooth and glossy, ready for the flour mix.
Step 5: Mix in the Dry Ingredients
Gradually add the whisked flour mixture to the creamed butter mixture, stirring until just combined. Be careful not to overmix, as this can lead to tougher cookies. Look for a dough that is slightly sticky but holds together well; this will ensure your Classic Chocolate Chip Cookies have the right texture.
Step 6: Fold in the Chocolate Chips
Gently fold in the chocolate chips using a spatula or wooden spoon, ensuring they are evenly distributed throughout the dough. This is where the magic happens—those delightful pockets of melty chocolate will create the ultimate cookie experience. Once combined, prepare to scoop the dough onto your baking sheets.
Step 7: Scoop the Cookie Dough
Using a rounded tablespoon or a cookie scoop, drop mounds of dough onto a baking sheet lined with parchment paper, leaving space between each mound, as they will spread while baking. Aim for evenly sized scoops to ensure consistent baking, so grab that scoop and start shaping your Classic Chocolate Chip Cookies!
Step 8: Bake the Cookies
Place the baking sheet in the preheated oven and bake for 10-12 minutes, or until the edges are golden brown while the centers remain soft. Keep an eye on them around the 10-minute mark to avoid overbaking. This step is crucial for achieving that chewy texture, which is the hallmark of a beloved chocolate chip cookie.
Step 9: Cool and Transfer
Once baked, remove the cookies from the oven and let them cool on the baking sheet for about 5 minutes. This cooling time allows the cookies to set before transferring them to a wire rack. They should look deliciously golden with slightly crisp edges and soft centers, ready to be enjoyed by the whole family.
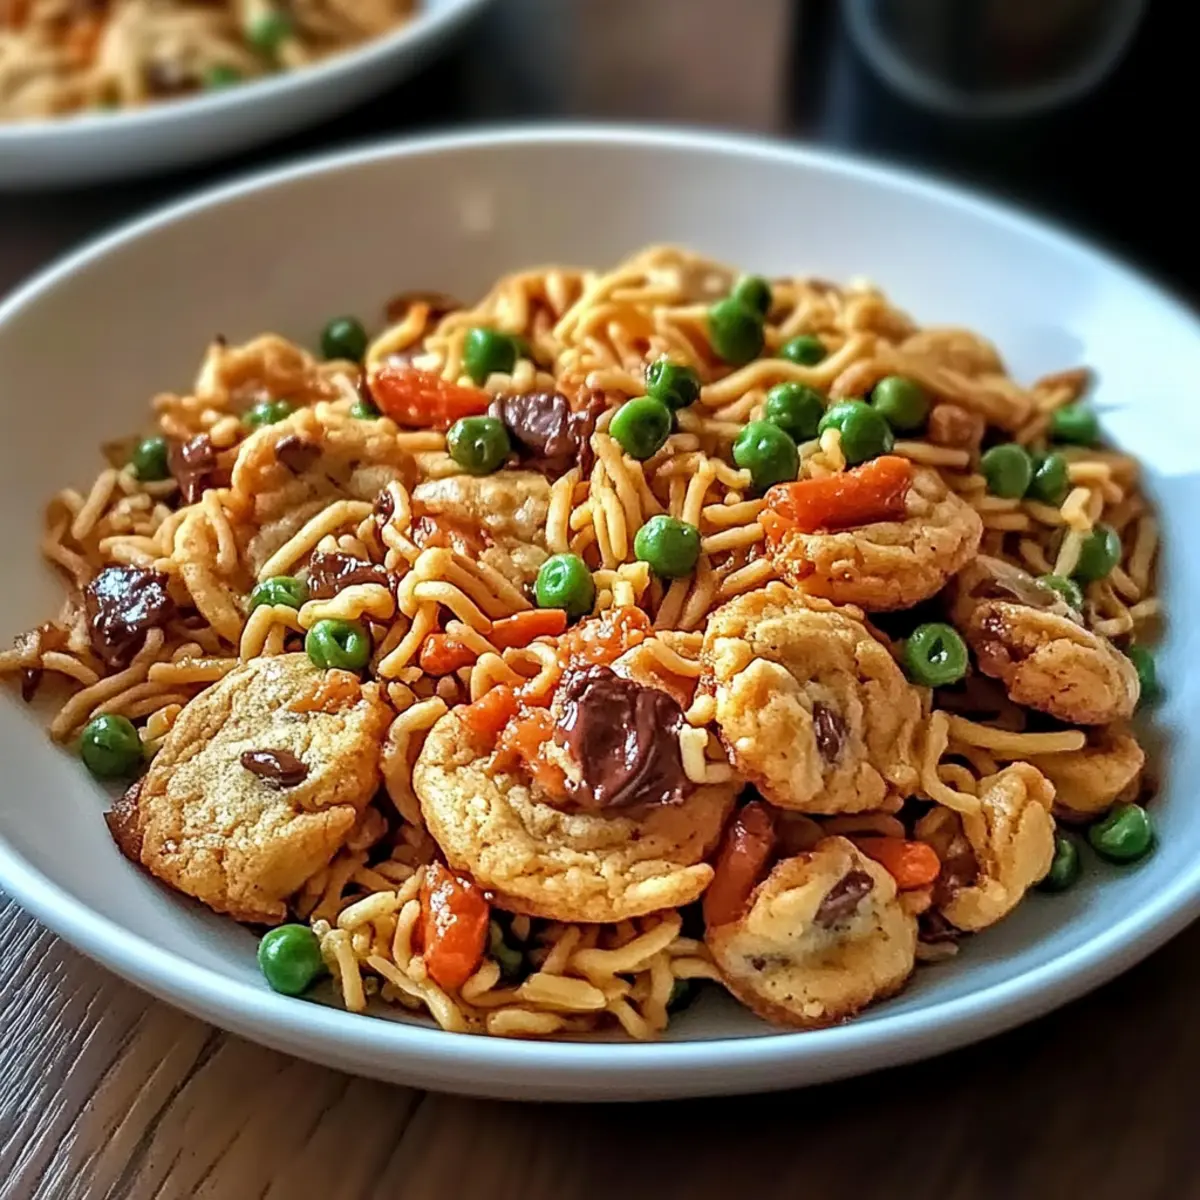
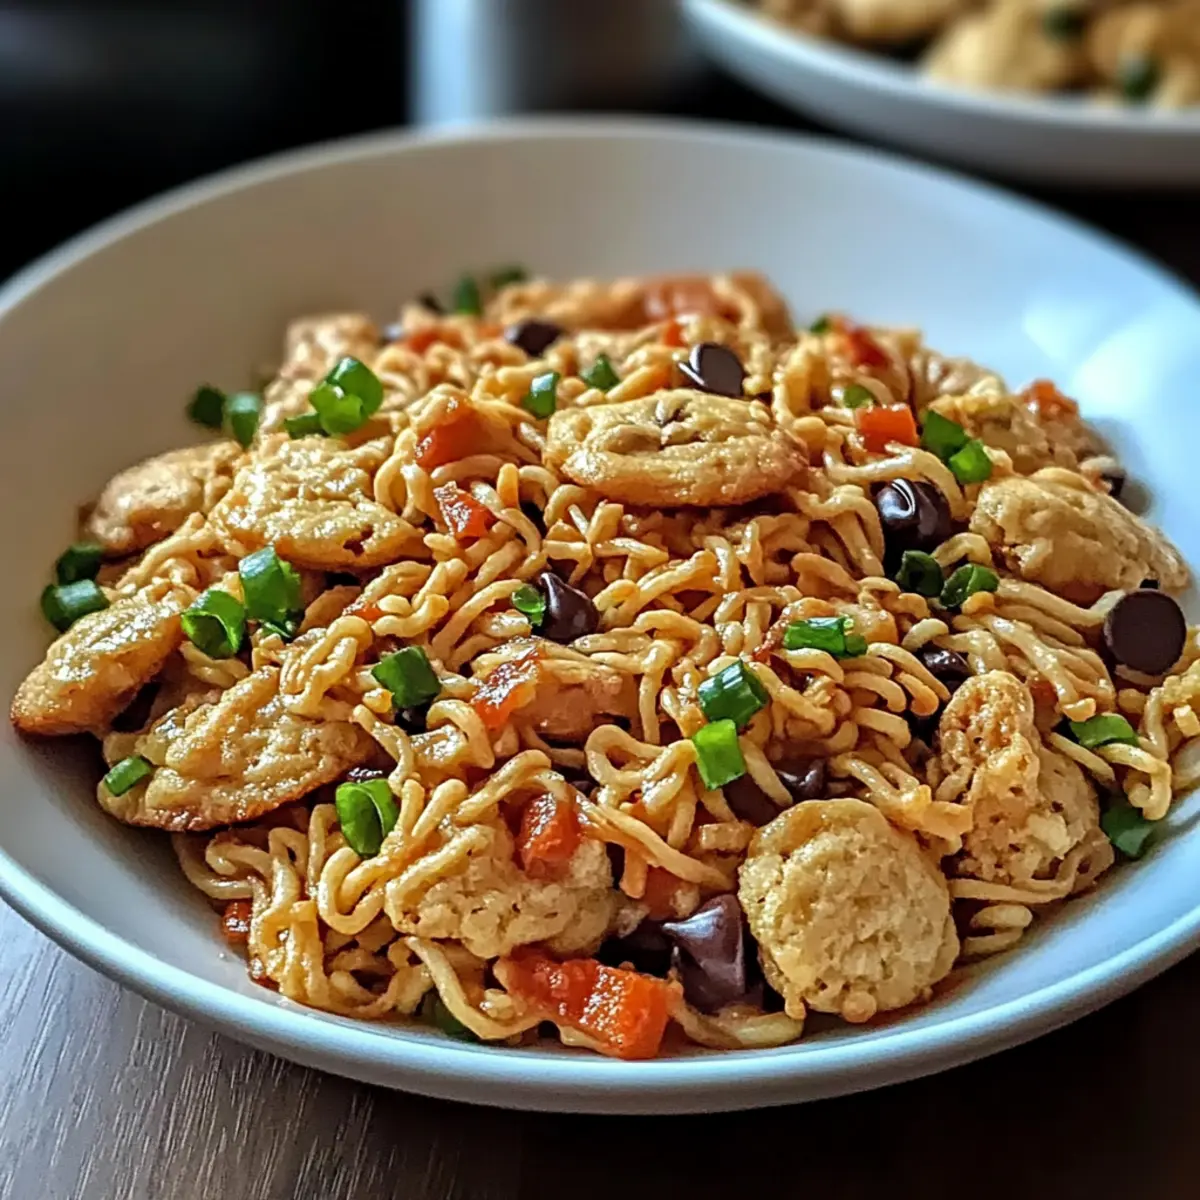
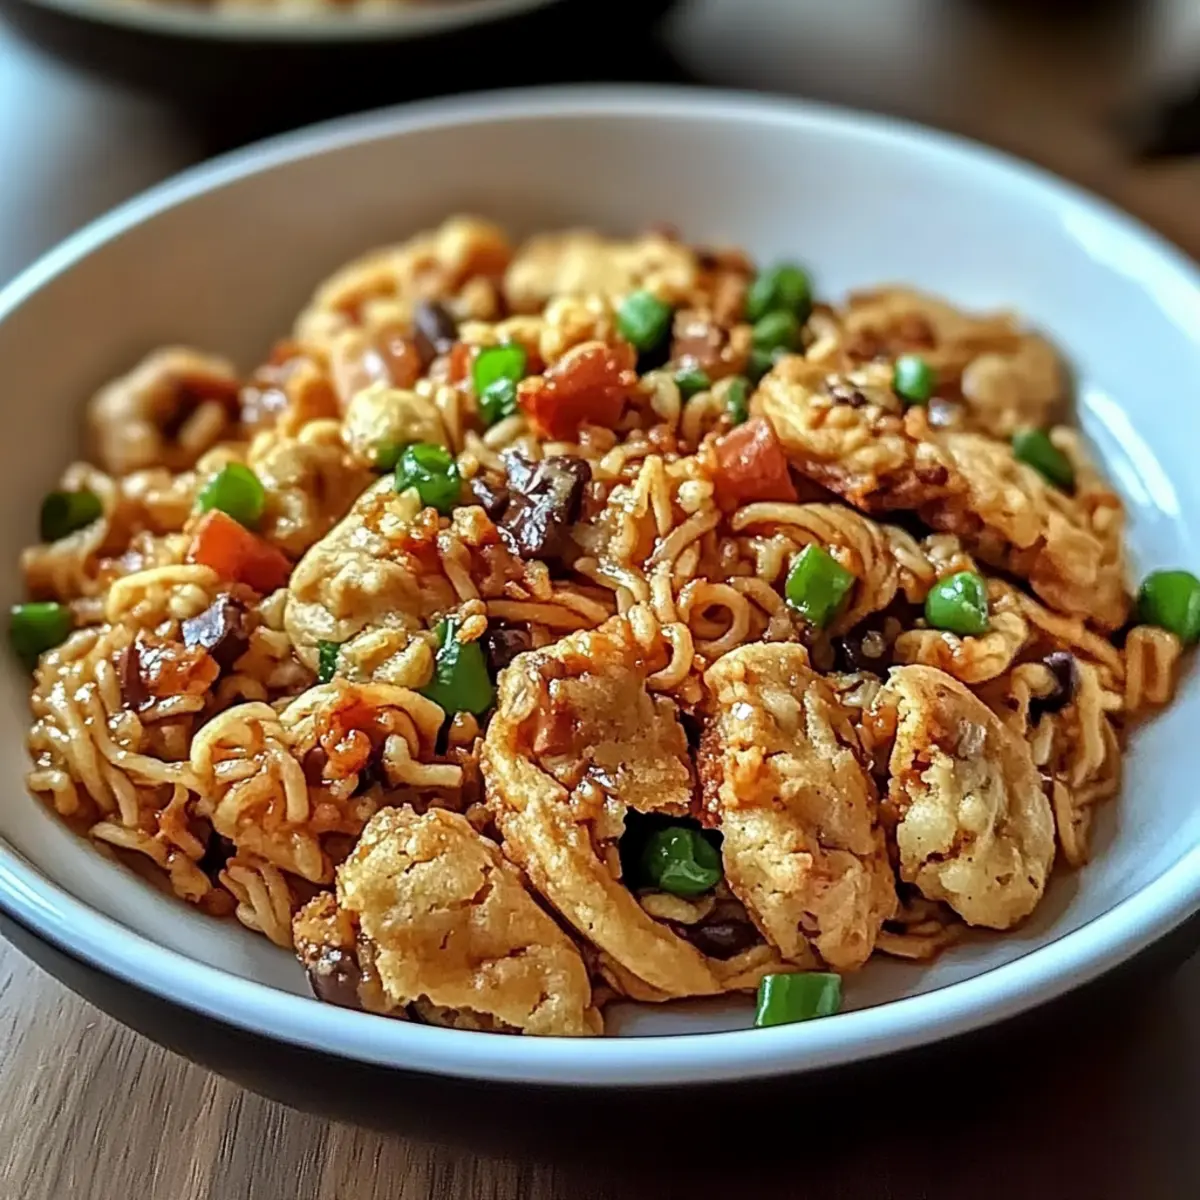
Quick & Tasty Chicken Ramen Stir Fry Variations
Feel free to explore these delightful twists and substitutions for your chicken ramen stir fry, making it uniquely yours!
-
Vegetable Boost: Add extra veggies like bell peppers, broccoli, or snap peas for a vibrant crunch.
-
Spicy Kick: Toss in a teaspoon of sriracha or a sprinkle of red pepper flakes for an added heat that ignites your taste buds.
-
Protein Swap: Substitute chicken with shrimp or tofu for a different protein source that caters to varying tastes.
-
Noodle Alternatives: Use whole wheat noodles or zucchini noodles for a healthier twist that keeps the dish satisfying.
-
Savoury Add-ins: Incorporate a spoonful of miso paste or oyster sauce for a deeper umami flavor in every bite.
-
Herb Freshness: Finish with fresh cilantro or green onions for a pop of color and a refreshing herbal kick.
-
Coconut Creamy: Replace half of the broth with coconut milk for a creamy, tropical flavor that brings warmth to the dish.
If you’re in the mood for some delicious chicken options, don’t forget to check out these recipes too: Roadhouse Butter Chicken or Cajun Garlic Chicken Wings. Enjoy making it your own!
What to Serve with Classic Chocolate Chip Cookies?
There’s nothing quite like pairing these comforting, warm delights with sides and beverages that enhance their sweetness and nostalgic charm.
-
Cold Glass of Milk:
The classic companion, milk perfectly balances the rich chocolate and buttery flavors, providing a cool contrast that everyone loves. -
Rich Coffee:
A steaming cup of coffee elevates your cookie experience, its bitterness beautifully complementing the sweetness of chocolate. It’s a match made in heaven! -
Vanilla Ice Cream:
A scoop of vanilla bean ice cream adds a creamy, decadent touch; the warmth of the cookies meets the coolness of the ice cream in every delightful bite. -
Fresh Berries:
Juicy raspberries or strawberries introduce a burst of freshness that cuts through the richness, creating a lovely textural contrast. -
Nutty Trail Mix:
A small bowl of nutty trail mix adds a crunchy element; the salty nuts beautifully balance the sweet, gooey cookies. -
Hot Cocoa:
Sipping on a cup of hot cocoa while enjoying your cookies offers a cozy experience that warms the heart, making it perfect for chilly days. -
Seasonal Fruit Salad:
A colorful fruit salad provides a refreshing touch that lightens the meal, contrasting the richness of the cookies for balanced enjoyment. -
Chocolate Milkshake:
For the ultimate treat, indulge in a thick chocolate milkshake; it’s a sweet, creamy delight that pairs harmoniously with your freshly baked cookies!
Make Ahead Options
These classic chocolate chip cookies are perfect for meal prep enthusiasts! You can prepare the dough up to 24 hours in advance by mixing all the ingredients and storing the dough tightly wrapped in plastic wrap in the refrigerator. Just remember to let it come to room temperature for about 10 minutes before scooping and baking. Alternatively, you can also scoop the dough into balls and freeze them for up to 3 months. This way, you can bake fresh cookies whenever the craving strikes—simply place the frozen dough onto a baking sheet straight from the freezer and add an extra minute or two to the baking time. Enjoy the convenience of cookie freshness without all the fuss!
Storage Tips for Classic Chocolate Chip Cookies
Room Temperature: Store cookies in an airtight container at room temperature for up to 1 week to maintain their soft and chewy texture.
Freezer: For longer storage, freeze the cookies in a single layer, then transfer to a freezer-safe bag or container for up to 3 months.
Reheating: To enjoy cookies warm, reheat in the microwave for about 10-15 seconds or use an oven set to 350°F (175°C) for 5 minutes.
Gluten-Free Note: Remember that gluten-free cookies may have a slightly different texture when stored, so keep this in mind when freezing or reheating.
Expert Tips for Classic Chocolate Chip Cookies
Chill the Dough: Chill the cookie dough for at least 30 minutes before baking to prevent spreading and ensure thicker cookies.
Use Room Temperature Butter: Make sure your butter is softened to room temperature for easy creaming, as melted butter can lead to greasy cookies.
Watch the Mixing: Avoid overmixing the dough after adding flour; this can lead to tough cookies instead of the soft, chewy texture you desire.
Check Your Oven: Invest in an oven thermometer to ensure your baking temperature is accurate; an oven that’s too hot can ruin your cookies.
Experiment with Variations: Explore gluten-free options and other substitutions, ensuring everyone can enjoy these delightful cookies, regardless of dietary needs.
Store Properly: Keep your cookies in an airtight container at room temperature for maximum freshness and softness; they can last up to a week!
Classic Chocolate Chip Cookies Recipe FAQs
What type of flour should I use for the best results?
I recommend using all-purpose flour for a classic texture, but you can substitute it with gluten-free all-purpose flour if you’re catering to gluten restrictions. Be sure to check that your gluten-free option contains xantham gum as it helps with the cookie’s structure.
How should I store leftover cookies?
Store your cookies in an airtight container at room temperature for up to 1 week. This will keep them soft and chewy. If you’d like to enjoy them longer, freeze them by laying them flat in a single layer on a baking sheet to freeze individually before transferring them to a freezer-safe bag or container for up to 3 months.
Can I freeze the cookie dough?
Absolutely! To freeze the cookie dough, scoop individual mounds onto a baking sheet lined with parchment paper and freeze until solid. Then, transfer those frozen mounds into a freezer-safe bag, separating layers with parchment paper. When you’re ready to bake, simply place them on a baking sheet and bake from frozen; just add an extra minute or two to the baking time.
What can I do if my cookies turn out flat?
If your cookies are flat, it could be due to using melted butter instead of softened butter, or not using enough flour. Make sure your butter is at room temperature—not melted—and consider adding an extra tablespoon of flour to your mixture to help them hold their shape. Also, chilling the dough for at least 30 minutes can prevent spreading, which I highly recommend!
Are there any dietary considerations I should be aware of?
Yes! If someone has a nut allergy, be cautious with the chocolate chips, as some may be processed with tree nuts. For gluten-free friends, ensure all your ingredients are certified gluten-free. Additionally, you can use flax eggs as an egg substitute for a vegan option; just mix 1 tablespoon of ground flaxseed with 2.5 tablespoons of water and let it sit for 5-10 minutes until it thickens.
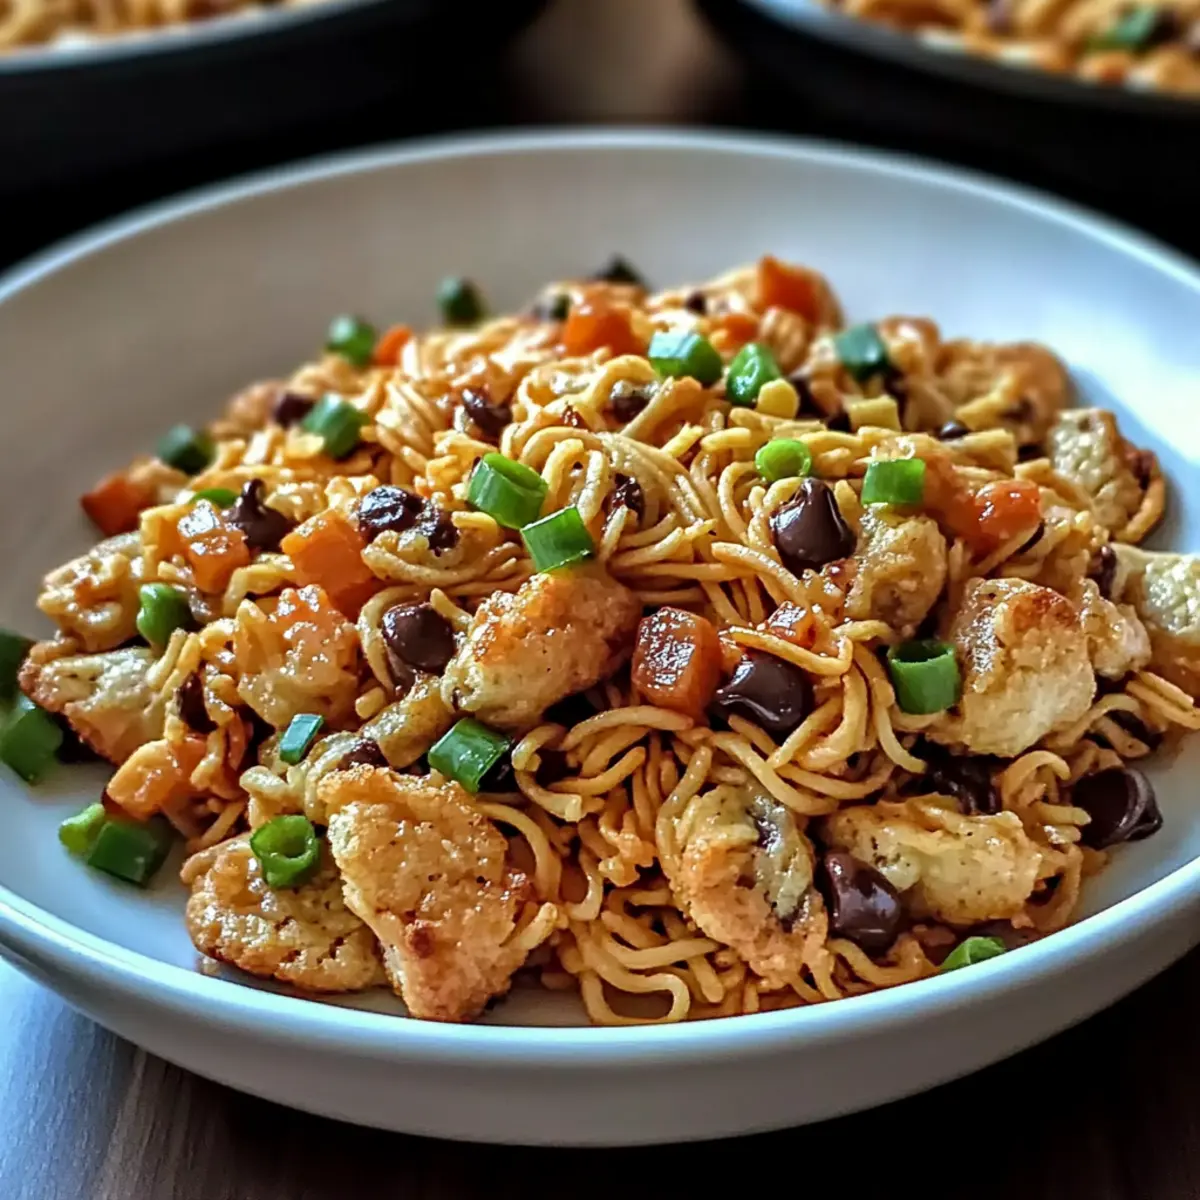
Quick & Tasty Chicken Ramen Stir Fry for Busy Weeknights
Ingredients
Equipment
Method
- In a large skillet, heat sesame oil over medium-high heat.
- Add minced garlic and ginger, sautéing until fragrant.
- Add sliced chicken breast and cook until browned.
- Stir in broccoli, bell peppers, and carrots; cook until tender.
- Meanwhile, cook ramen noodles according to package instructions; drain.
- Add cooked noodles to the skillet along with soy sauce; toss to combine.
- Serve immediately and enjoy your quick stir fry!
Leave a Reply