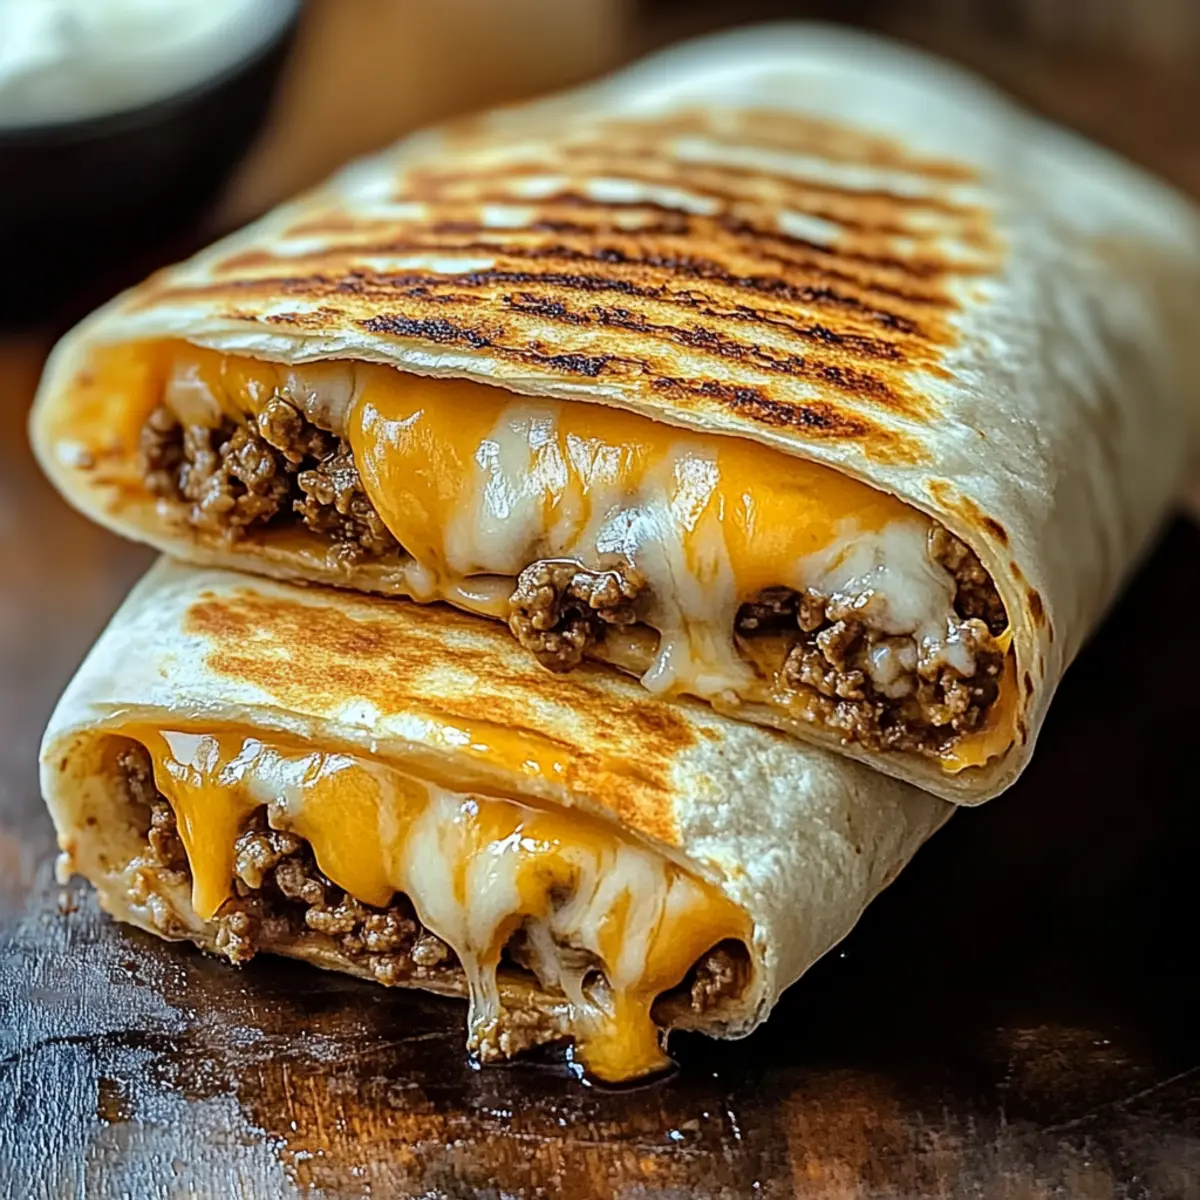
As I stood in my kitchen, the aroma of sizzling beef and melting cheese wafted through the air, instantly transporting me to my favorite fast-food haunt. With this Easy Grilled Cheese Burrito, a crave-worthy Taco Bell copycat, you can savor those familiar flavors right at home. This recipe isn’t just about taste; it captures the joy of cooking with minimal effort, taking under 30 minutes from start to finish. Plus, you can customize it to your heart’s content, making it perfect for everyone at the table—kids and adults alike! Whether you’re craving a comforting meal after a long day or want to impress friends at a casual gathering, this burrito will leave everyone asking for seconds. Curious about how to recreate this fast-food favorite in your own kitchen? Let’s dive in!
Why is this Grilled Cheese Burrito a Must-Try?
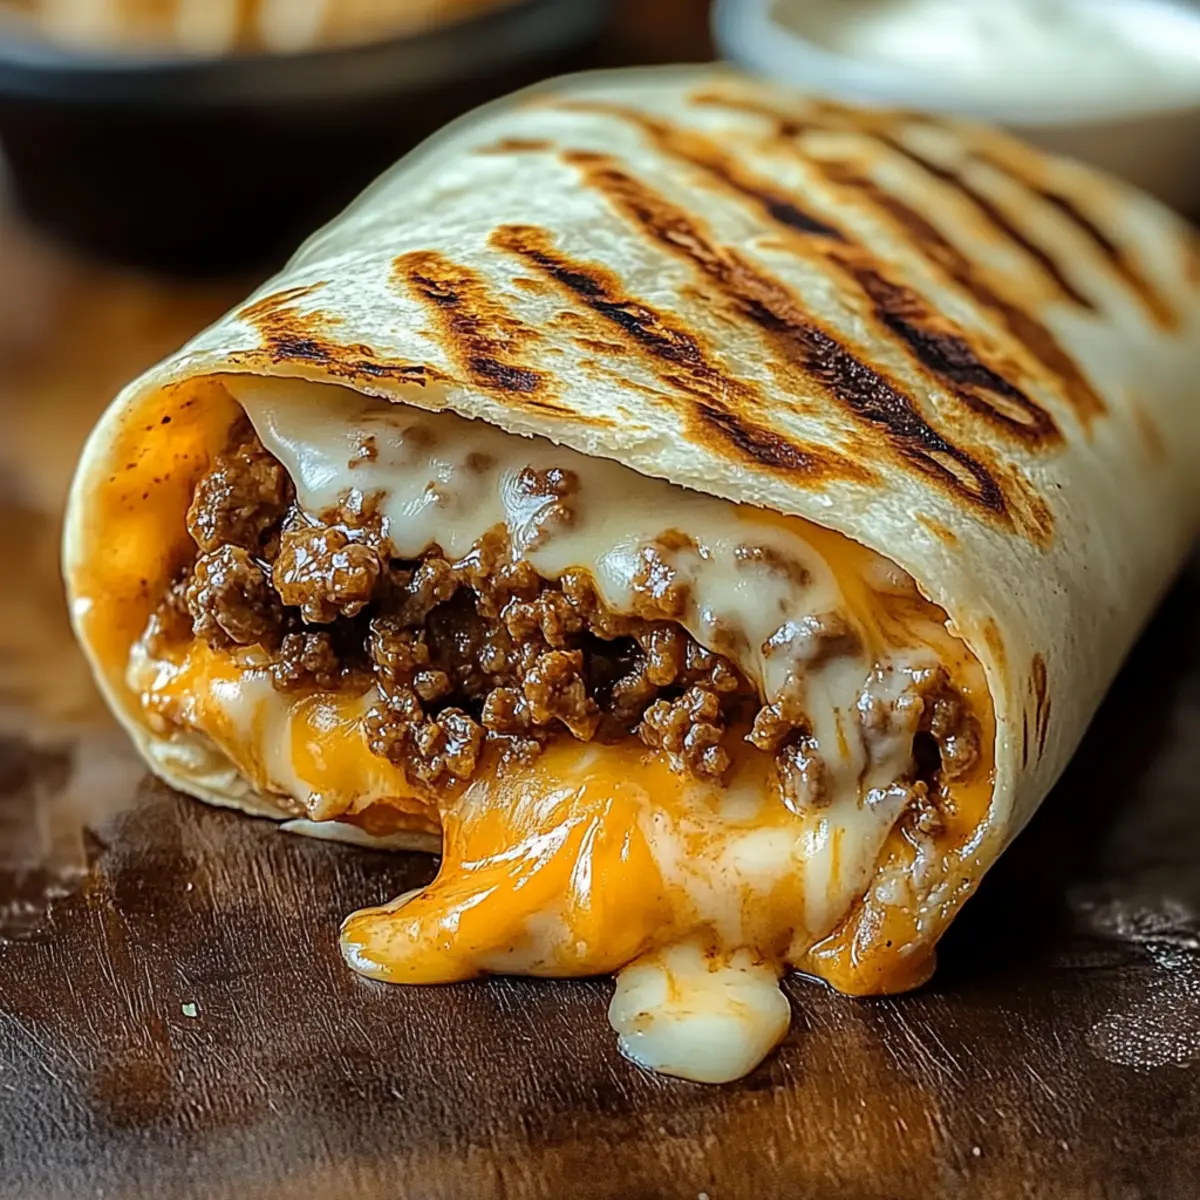
Satisfying, every bite of this burrito brings together the perfect combination of seasoned beef, gooey cheese, and zesty sauces that will make your taste buds dance.
Customizable to fit your preferences, whether you want a vegetarian twist with black beans or an extra protein boost with grilled chicken, this recipe covers it all.
Quick and Easy, you can whip this up in under 30 minutes, making it an ideal weeknight meal or a fun weekend treat.
Crowd-Pleasing, your family and friends will adore this Taco Bell-inspired delight—perfect for gatherings or parties.
Don’t forget to pair your burrito with a fresh salsa or creamy guacamole for a complete experience, just like my delicious Grilled Salsa Verde!
Grilled Cheese Burrito Ingredients
• Let’s gather everything you need to make your own delicious Grilled Cheese Burrito!
For the Filling
- Ground Beef – Your main protein; substitute with chicken or a meat substitute for a vegetarian option.
- Taco Seasoning – Brings a burst of flavor; feel free to use a pre-packaged mix or whip up your own!
- Cooked White Rice – Adds bulk and texture; any rice variety works, or try cauliflower rice for a lighter twist.
- Sour Cream – Provides creaminess; plain yogurt can stand in perfectly if needed.
- Nacho Cheese Sauce – Offers that cheesy goodness; you can use homemade or dairy-free alternatives for a vegan option.
- Chipotle Sauce – Infuses smokiness and heat; hot sauce or salsa can be tasty substitutions.
- Shredded Cheddar Cheese – Adds richness; any melty cheese will work wonders here.
- Shredded Mozzarella – Brings extra stretchiness to your burrito; swap with additional cheddar for a twist.
For the Wrap
- Large Flour Tortillas – Encapsulates all the deliciousness; consider whole wheat or gluten-free options if desired.
- Butter or Oil – Essential for grilling, though cooking spray can lighten things up.
With these Grilled Cheese Burrito ingredients on hand, you’re all set to create a meal that’s sure to satisfy!
Step‑by‑Step Instructions for Easy Grilled Cheese Burrito
Step 1: Cook the Beef
Begin by browning 1 pound of ground beef in a skillet over medium heat for about 8–10 minutes, ensuring it’s fully cooked and no longer pink. Drain excess grease, then sprinkle in taco seasoning along with a splash of water, stirring well. Let it simmer for 5 minutes until the beef is well-coated and flavorful, then remove it from heat and set aside.
Step 2: Warm the Tortillas
While the beef simmers, take your large flour tortillas and warm them in a dry skillet or wrap them in a damp paper towel before microwaving for about 20 seconds. This step is crucial for softening the tortillas, making them pliable, and preventing them from tearing during assembly of the Grilled Cheese Burrito.
Step 3: Assemble the Burrito
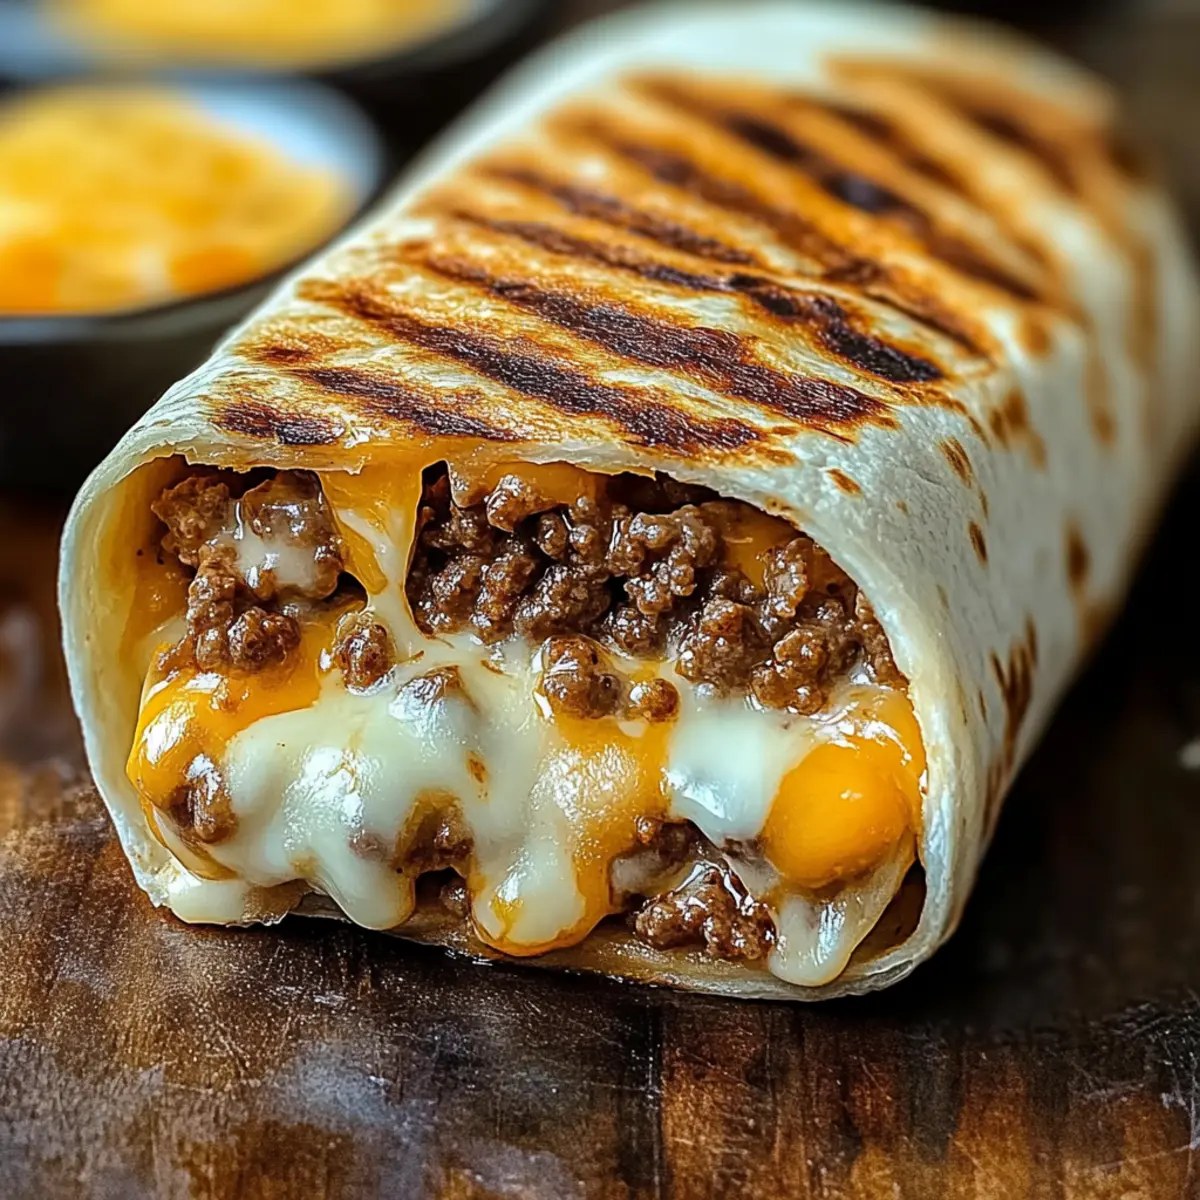
On each warm tortilla, start with a generous scoop of cooked white rice, followed by a layer of your seasoned beef mixture. Next, drizzle with nacho cheese sauce and a splash of chipotle sauce for that extra kick. Finish the filling by adding a dollop of sour cream and a handful of shredded cheddar and mozzarella cheese to achieve that gooey richness.
Step 4: Grill the Burrito
Heat a skillet over medium heat and add a bit of butter or oil to prevent sticking. Place the assembled burrito seam-side down in the skillet and cook for about 3–4 minutes until the bottom is crispy and golden brown. Carefully flip the burrito using a spatula and grill the other side for an additional 3–4 minutes to ensure both sides are perfectly crisp and the cheese melts beautifully.
Step 5: Slice and Serve
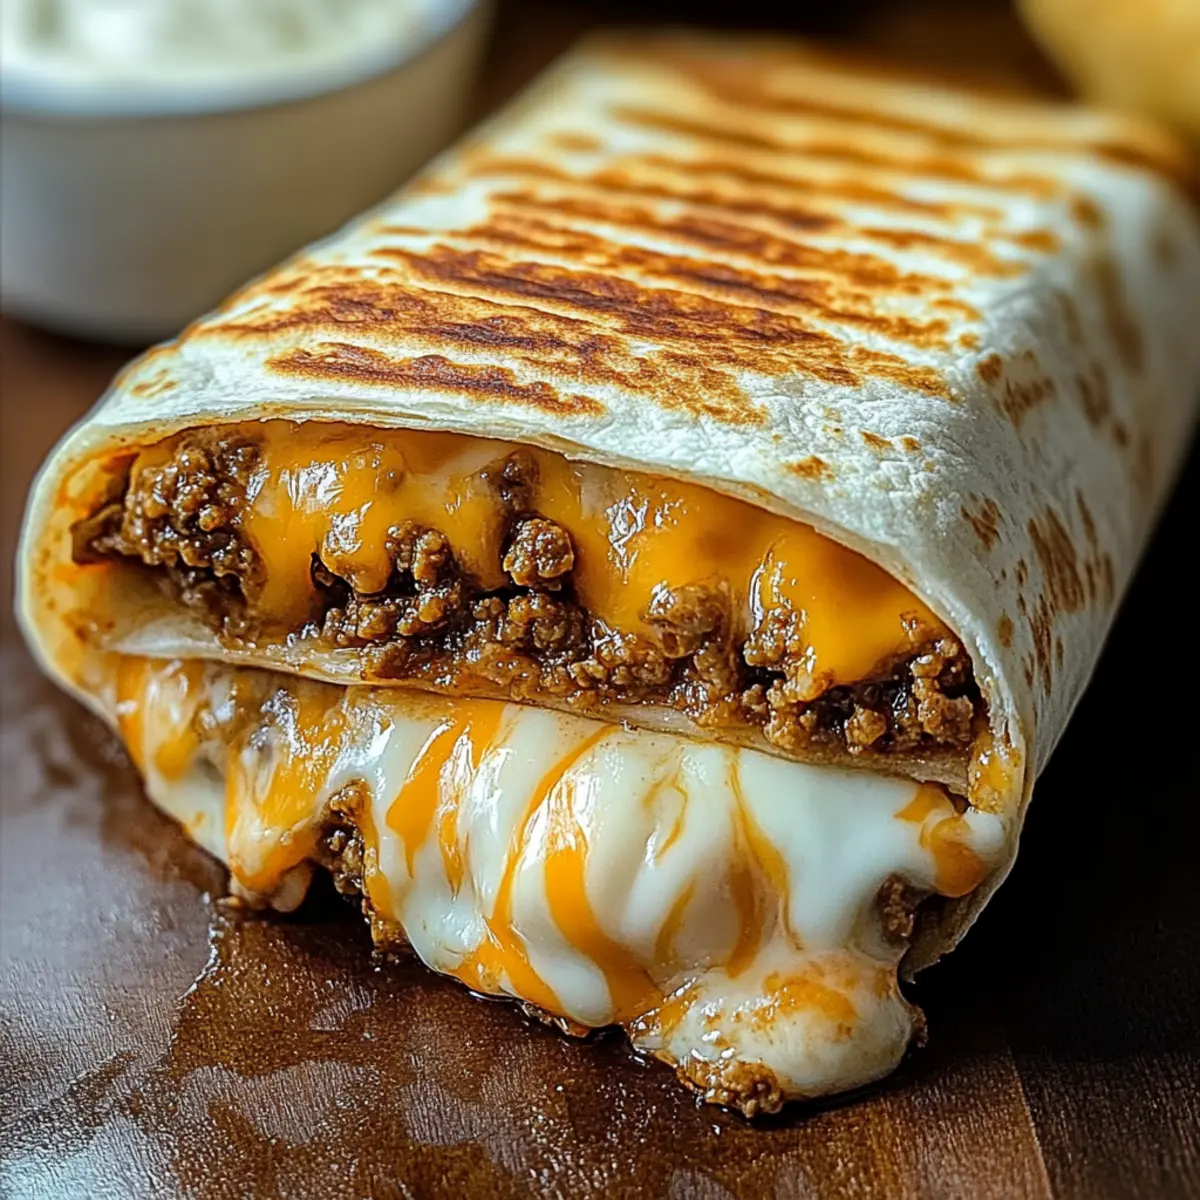
Once both sides of the Grilled Cheese Burrito are nicely browned, remove it from the skillet and let it cool slightly for a minute. Slice it in half to reveal the delectable layers inside. Serve immediately, perhaps with a side of fresh salsa or guacamole for that perfect dipping experience. Enjoy your homemade comfort food!
How to Store and Freeze Grilled Cheese Burrito
- Fridge: Store any leftover Grilled Cheese Burrito in an airtight container for up to 3 days to maintain its freshness and flavor.
- Freezer: For longer storage, wrap each burrito tightly in plastic wrap and place them in a freezer-safe bag. They can be frozen for up to 2 months.
- Reheating: To enjoy again, thaw in the refrigerator overnight and reheat in a skillet over medium heat for about 5-7 minutes, flipping halfway, until crispy.
- Avoiding Sogginess: If reheating from frozen, bake in a preheated oven at 350°F (175°C) for 15-20 minutes, or until heated through, ensuring a crispy exterior.
What to Serve with Easy Grilled Cheese Burrito?
Pair your delicious burrito with vibrant sides and drinks to create an unforgettable meal experience.
-
Fresh Guacamole: Creamy and rich, it adds an extra layer of flavor that complements the spices in the burrito.
-
Spicy Salsa: The bright acidity and heat from fresh salsa provide a refreshing contrast, enhancing each flavorful bite.
-
Crispy Tortilla Chips: A delightful crunch adds texture, perfect for scooping up any leftover guacamole or salsa for a complete snacking experience.
-
Mexican Street Corn Salad: This dish brings sweetness from corn and a zesty kick, balancing the savory richness of the burrito beautifully.
-
Zesty Lime Rice: Light and fragrant, lime rice adds a citrusy punch that enhances the overall flavor profile of your meal.
-
Cool Sour Cream Dip: A dollop of sour cream offers a creamy respite from the spicy chipotle sauce within the burrito, making every bite enjoyable.
-
Chilled Lemonade or Iced Tea: A refreshing drink option to cleanse your palate, both beverages pair wonderfully with the bold flavors of the burrito.
-
Chocolate Chip Cookies: End your meal on a sweet note—these classic treats are irresistible and perfect for sharing!
Grilled Cheese Burrito Variations & Substitutions
Feel free to explore these delightful variations that will make your Grilled Cheese Burrito even more exciting and personalized!
- Vegetarian: Swap ground beef for black beans or seasoned tofu for a hearty, meat-free option. This twist provides a fulfilling, plant-based flavor that everyone can enjoy.
- Extra Protein: Boost your burrito by adding grilled chicken or turkey. This variation enhances the protein content while keeping all the delicious flavors intact.
- Spicy Kick: Elevate the heat by including sliced jalapeños or a sprinkle of crushed red pepper within the filling. The added heat will tantalize your taste buds and awaken your senses!
- Different Cheeses: Experiment with cheese blends like pepper jack for a tangy twist or gouda for a smoky flavor. Mixing and matching cheeses can lead to exciting new taste experiences!
- Cauliflower Rice: For a low-carb version, substitute traditional rice with cauliflower rice. This lighter option lets you savor all the goodness while keeping things healthy.
- Crunchy Texture: For an added crunch, throw in some finely chopped bell peppers or crispy bacon bits. This subtle change adds a textural contrast that makes each bite delightful.
- Herbed Cream Cheese: Spread a layer of herbed cream cheese on the tortilla before adding the fillings. This creamy layer infuses a zesty twist and an extra velvety texture.
As you dive into making this recipe, consider pairing these delightful burritos with a fresh batch of my Strawberry Cheesecake Cookies or treat yourself to a slice of my Caramel Brownie Cheesecake for dessert! Enjoy creating your custom burrito masterpiece!
Make Ahead Options
These Grilled Cheese Burritos are perfect for busy weeknights when you need a quick, satisfying meal! You can prepare all the filling components—seasoned beef, rice, and sauces—up to 3 days in advance. Just store them in airtight containers in the refrigerator to keep everything fresh. When you’re ready to serve, simply warm the fillings in a skillet or microwave and assemble the burritos. Grill them right before serving to ensure the tortillas stay crispy and the cheese melty, creating that delightful texture we all love. This way, you can enjoy homemade fast food flavors with minimal effort and maximum flavor!
Expert Tips for the Best Grilled Cheese Burrito
- Perfectly Warm Tortillas: Warm your tortillas just enough to make them pliable, preventing tears during assembly. This ensures a beautiful and sturdy Grilled Cheese Burrito.
- Flavor Boost: Always let your cooked beef cool slightly before assembly to enhance its flavor. This promotes better cheese melting and overall taste.
- Don’t Overstuff: Avoid the urge to overfill your burrito, as this can lead to bursting. Stick to a moderate amount for a neat and tidy wrap.
- Press for Crispness: Gently press down on the burrito while grilling. This ensures the cheese adheres better to the filling, creating a truly gooey experience.
- Skillet Space: Grill only a couple of burritos at a time, keeping your skillet from overcrowding. This allows for even cooking, making your Grilled Cheese Burrito perfectly crispy all around.
Grilled Cheese Burrito Recipe FAQs
How do I choose the right ground beef?
Absolutely! Look for ground beef that is bright red and has a good amount of marbling for flavor. If you see any dark spots or it feels slippery, it may not be fresh. For a healthier option, you can also consider using lean ground turkey or ground chicken as substitutes.
How should I store leftovers?
To store your leftover Grilled Cheese Burrito, place it in an airtight container and refrigerate for up to 3 days. This will help keep the flavors intact and maintain its texture. When you’re ready to enjoy, I recommend reheating it in a skillet over medium heat for the best crispy results.
Can I freeze the Grilled Cheese Burrito?
Yes! To freeze your burrito, wrap each one tightly in plastic wrap and then place them in a freezer-safe bag. They can be stored in the freezer for up to 2 months. When you’re ready to eat, thaw them in the refrigerator overnight and then reheat in a skillet. For crispy perfection, grill for about 5-7 minutes on medium heat, flipping halfway through.
What if my burrito bursts while grilling?
Very! If you find your burrito bursting, it could be due to overstuffing. Stick to the recommended portions, and avoid packing it too full. If it does burst, don’t worry! You can still pop it in the oven with some foil around it for a few minutes to help it hold its shape while reheating.
Are there any dietary considerations for this recipe?
I often make this dish adaptable for various diets! For those avoiding meat, you can easily switch the ground beef with black beans, lentils, or even diced vegetables. Additionally, if there are dairy allergies, opt for dairy-free cheese sauces and sour cream alternatives like plain coconut yogurt. Just make sure to check labels for any potential allergens!
Ultimate Grilled Cheese Burrito Recipe You’ll Crave Daily
Ingredients
Equipment
Method
- Brown the ground beef in a skillet over medium heat for about 8-10 minutes. Drain excess grease, add taco seasoning and a splash of water, then simmer for 5 minutes.
- Warm the large flour tortillas in a dry skillet or microwave for about 20 seconds to make them pliable.
- On each tortilla, add cooked white rice, seasoned beef mixture, nacho cheese sauce, chipotle sauce, sour cream, and shredded cheeses.
- Heat a skillet over medium heat, add butter or oil, place the burrito seam-side down, and grill for 3-4 minutes on each side until crispy.
- Remove from the skillet, let cool slightly, slice in half, and serve immediately.
Leave a Reply