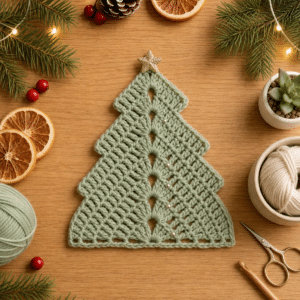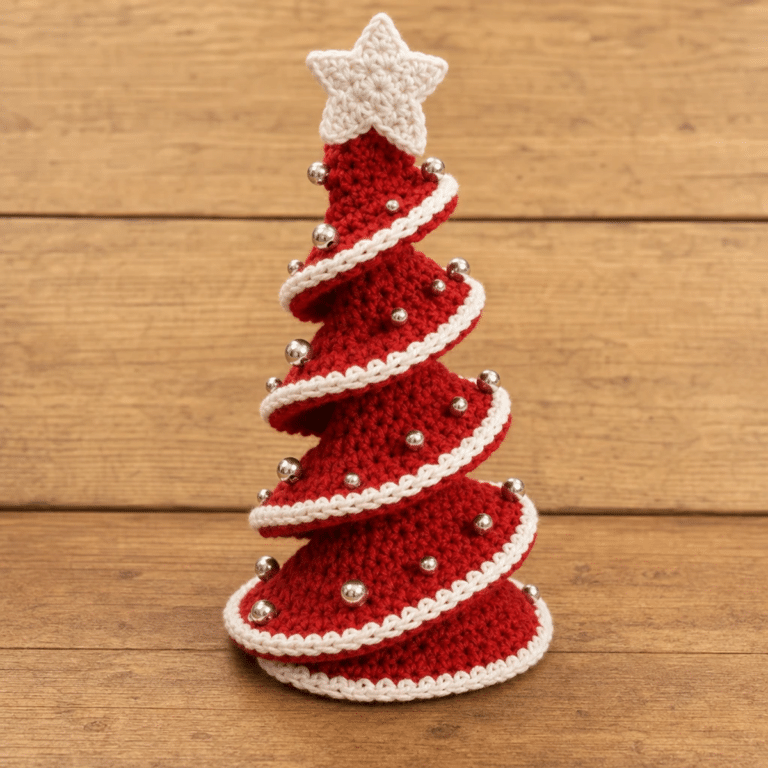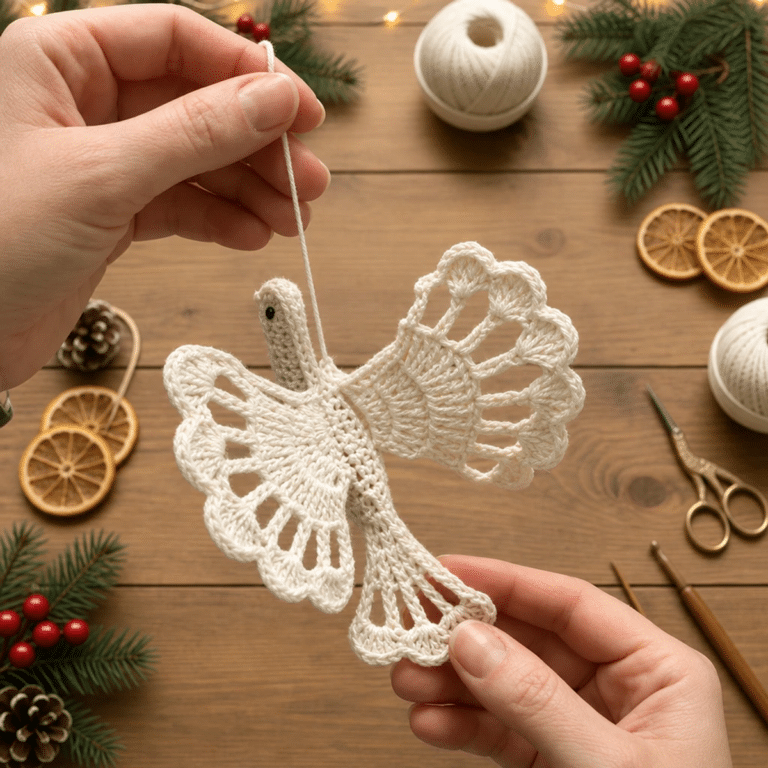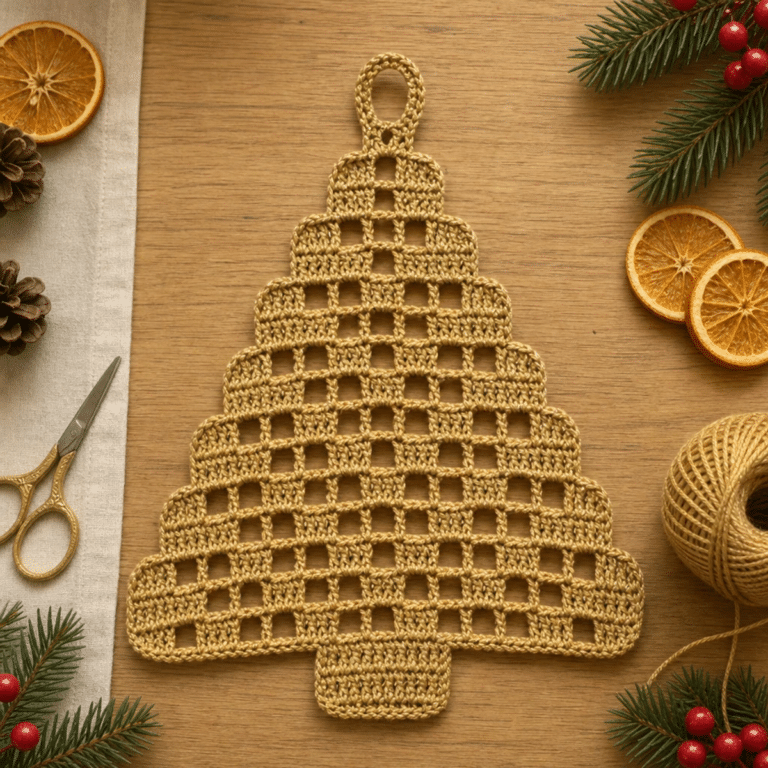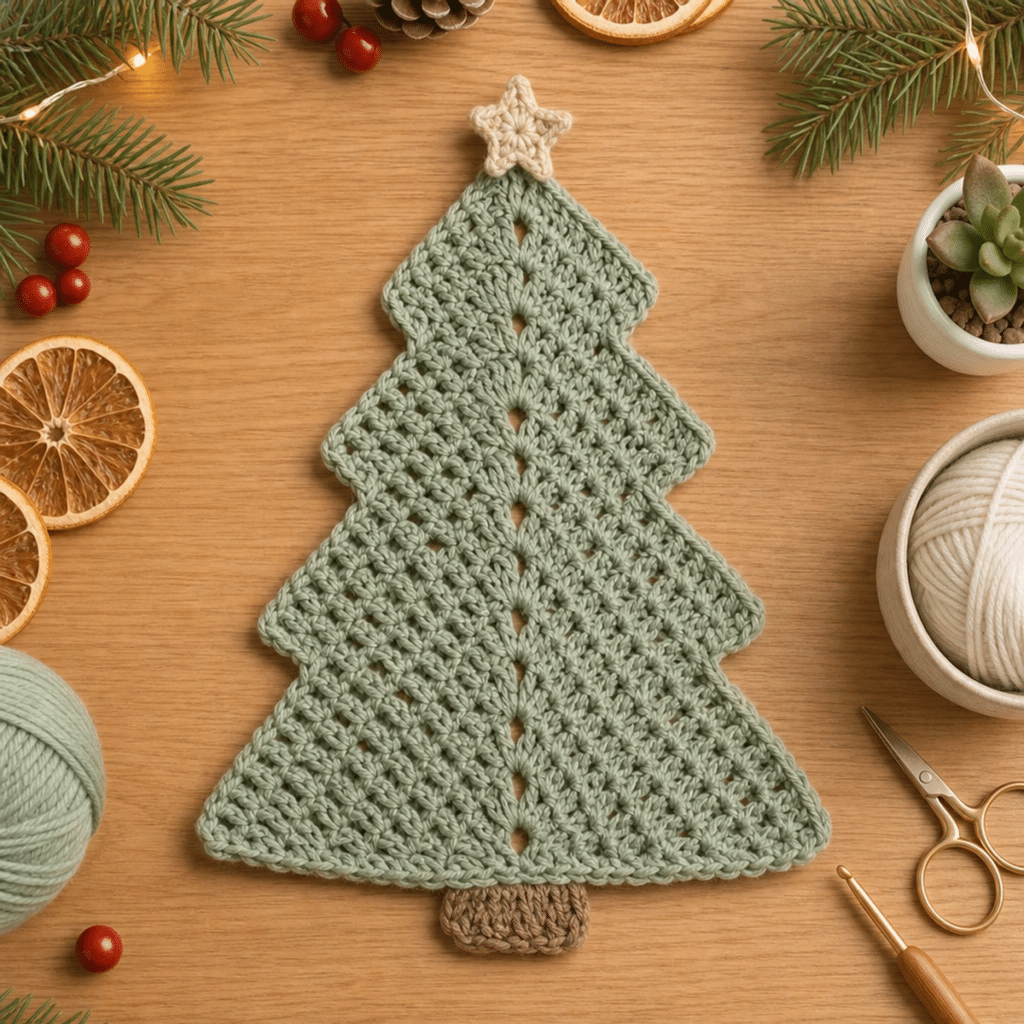
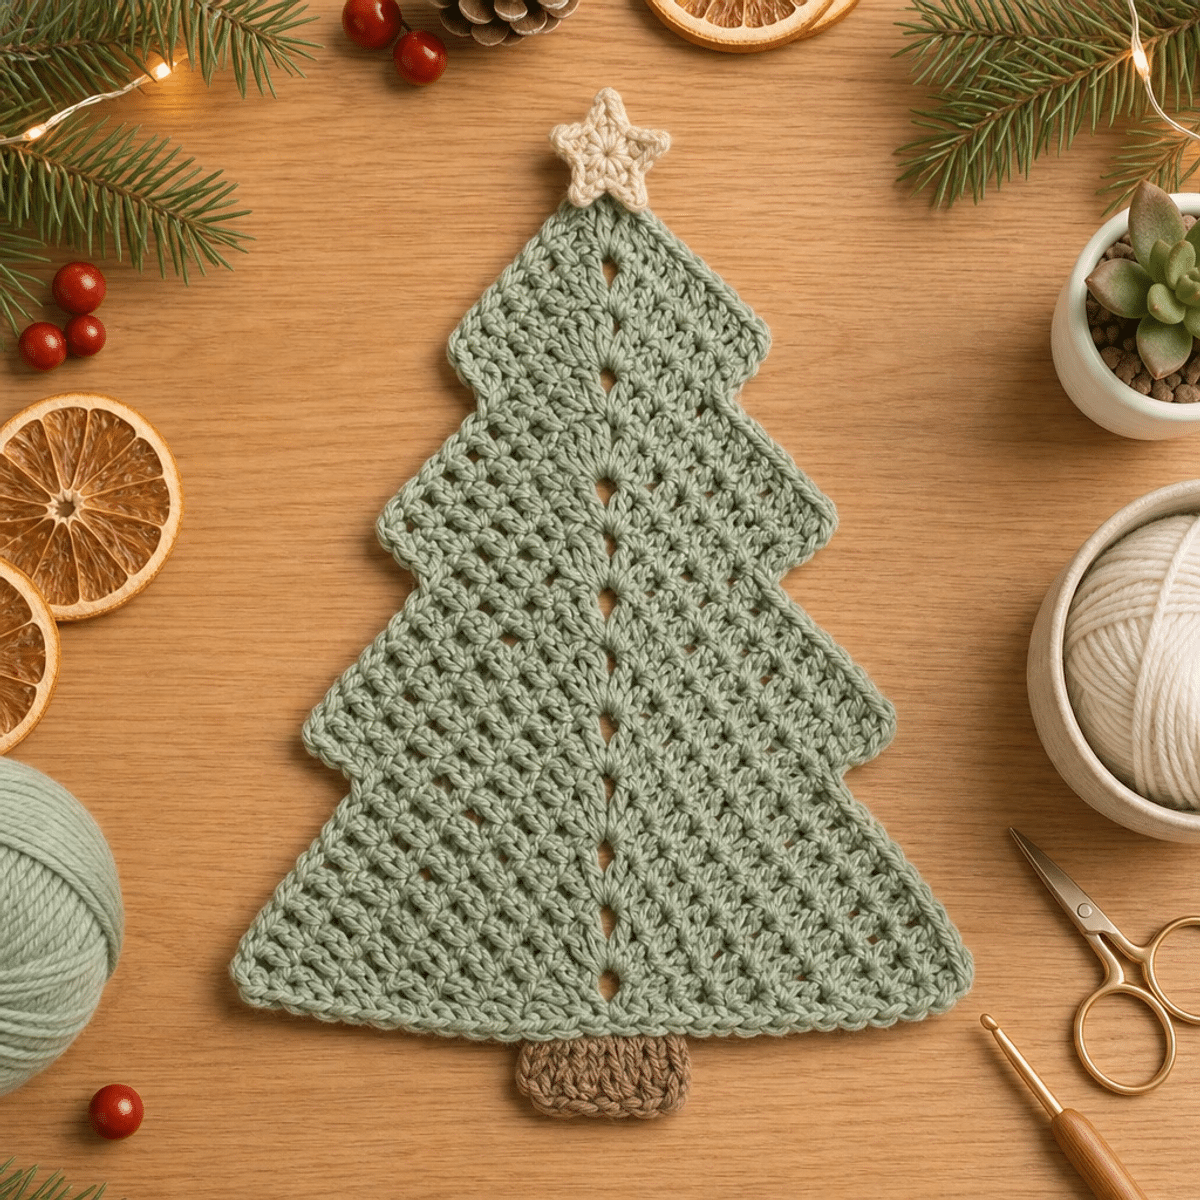
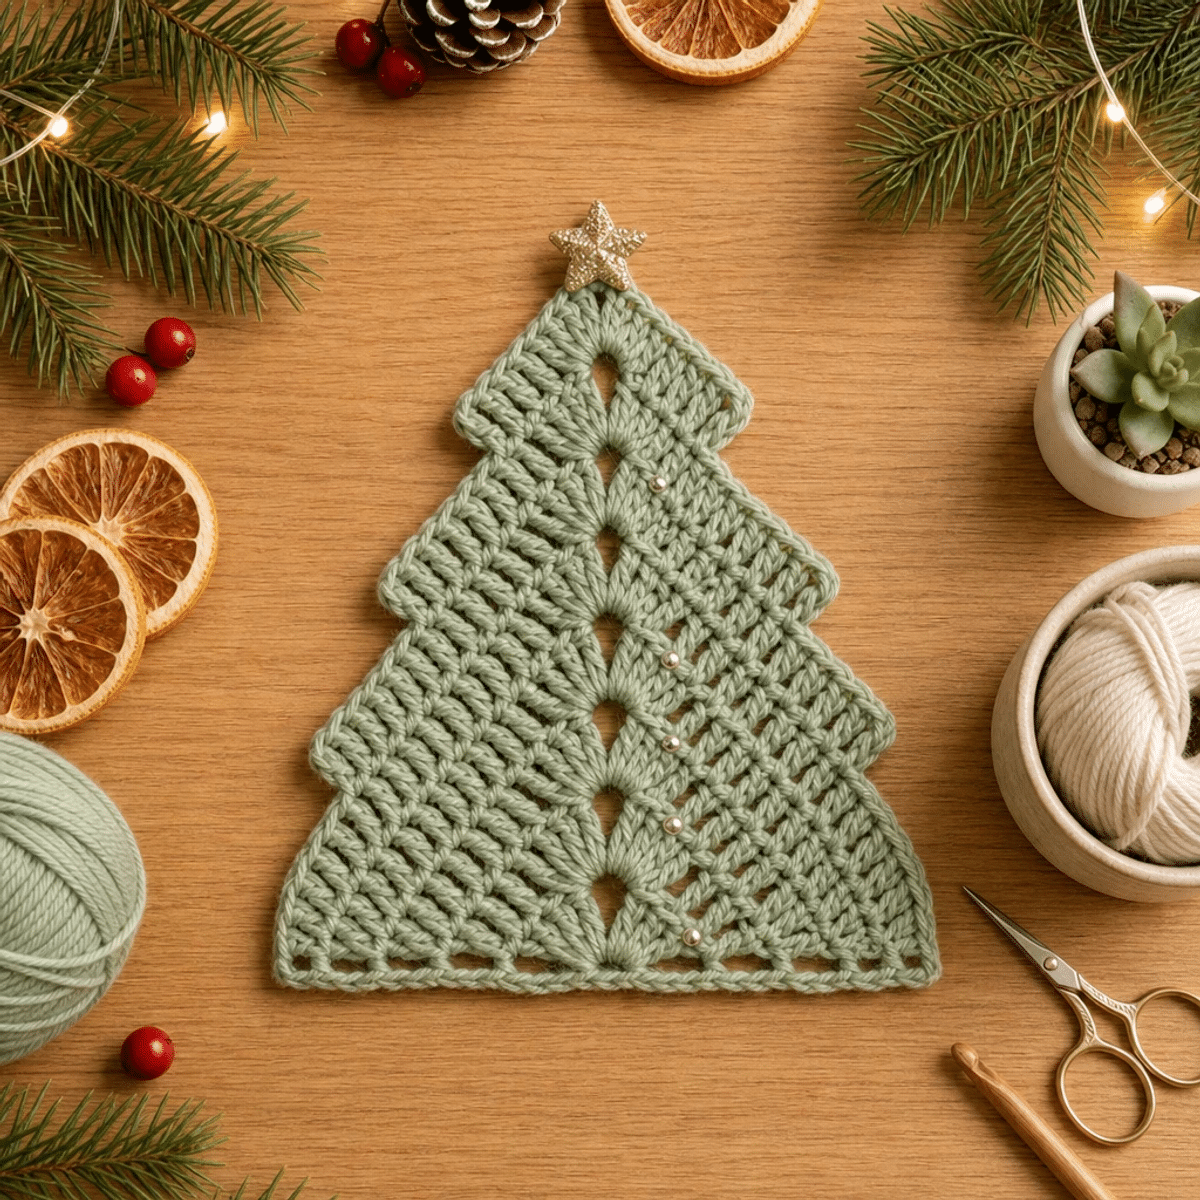
Is there anything more heartwarming than crafting a handmade treasure just in time for the holidays? This season, I'm excited to share the Alberello di Natale Verde Salvia all’Uncinetto—a delightful sage green crocheted Christmas tree that adds a cozy touch to your festive decor. Using just a 4 mm hook and medium cotton yarn, this charming project stands at about 18 cm tall, making it a perfect size for display or as a unique gift embellishment. One of the best parts? This tree whips up quickly, allowing even beginners to embrace the joys of crochet. Plus, its lovely texture, enhanced by delicate decorative holes, ensures it stands out as a seasonal favorite. So grab your yarn and hook, and let’s create something magical together!
Alberello di Natale Verde Salvia Materials & Tools
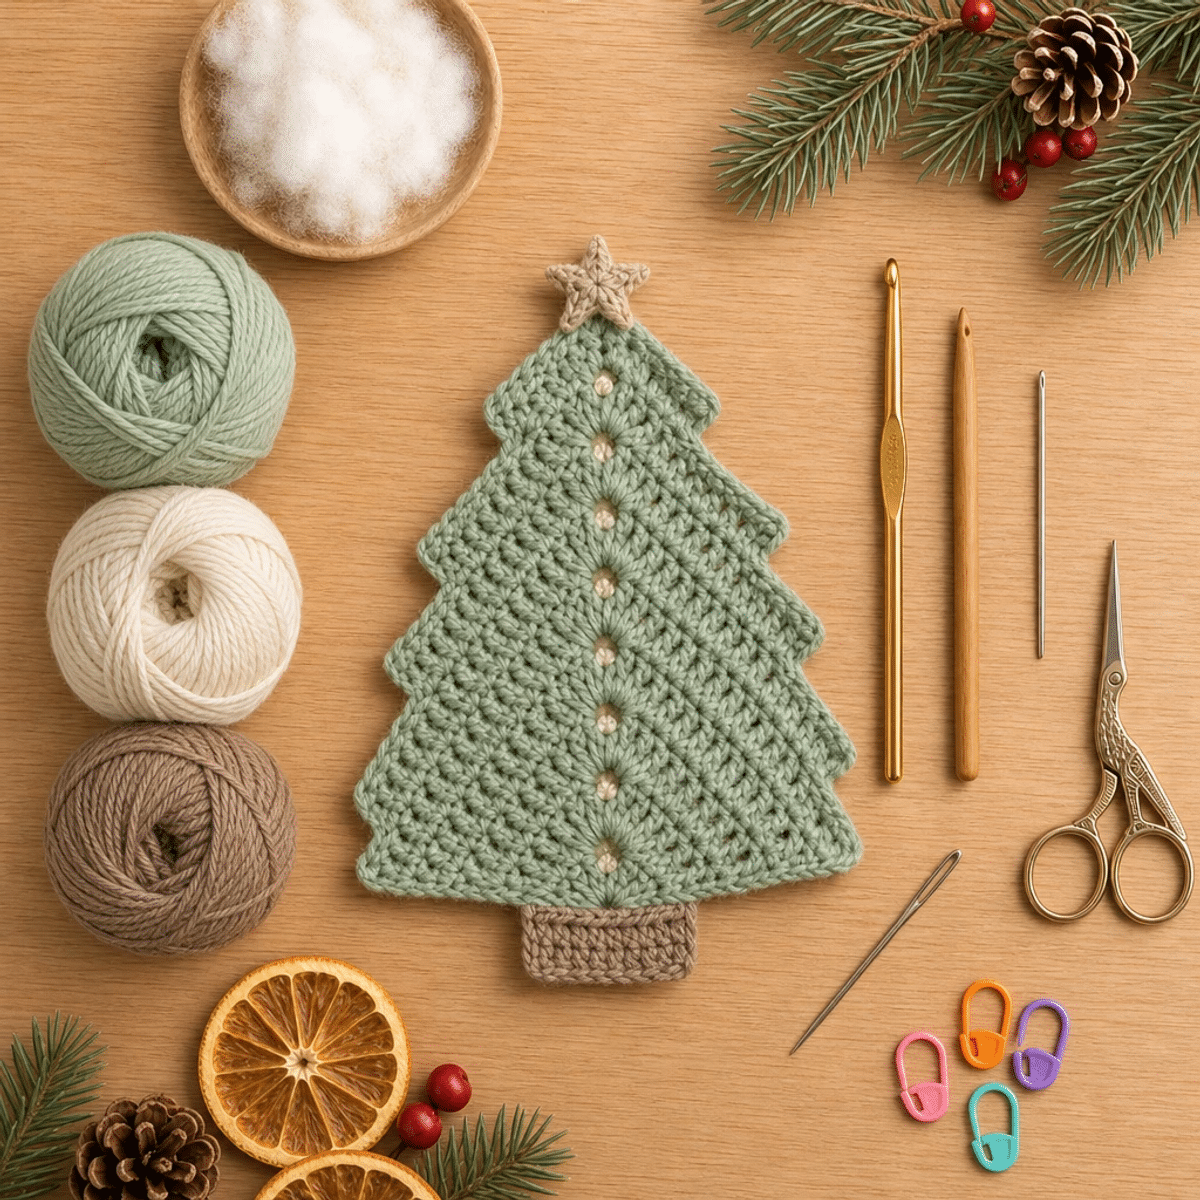
- Sage Green Cotton Yarn – You'll need enough medium cotton yarn to complete this cozily textured tree; about 50 grams should suffice.
- 4.0mm (G) Hook – This size hook is perfect for achieving the right tension and stitch definition for your Alberello di Natale Verde Salvia all’Uncinetto.
- Yarn Needle – A must-have for weaving in ends and securing your wooden star ornament at the top.
- Scissors – Keep these handy for snipping yarn, especially when finishing up your project.
- Wooden Star Ornament – A charming touch to your tree, fix it at the top with a few secure stitches or suitable fabric glue for durability.
Why Craft the Alberello di Natale Verde Salvia?
Heartwarming Joy: Creating this festive tree is like wrapping yourself in warmth! With its beautiful sage green, it brings a cheerful touch to any holiday decor.
Beginner-Friendly: Using basic stitches like single and double crochet, this pattern is accessible even for newcomers to crochet.
Quick to Complete: You'll love how fast this project comes together, making it perfect for last-minute gifts or festive decorations.
Textured Delight: The clever use of decorative holes adds dimension, enhancing the overall aesthetic appeal, perfect for showcasing your crochet skills.
Perfect for Gifting: Standing at 18 cm tall, it’s an ideal size as a unique gift embellishment or a heartfelt decoration to hang in your home.
Gauge & Sizing Notes
Don't skip the gauge swatch! Ensuring the correct tension is vital for your Alberello di Natale Verde Salvia all’Uncinetto, as it determines the overall size and shape of your delightful Christmas tree. A standard gauge to aim for is approximately 4×4 inches (10×10 cm), which might vary from about 18-20 double crochets by 8-10 rows, depending on your style. If you want to adjust the size, increase your starting chain in multiples of 6 + 2 for a wider tree. If your tension doesn't match the gauge, don’t worry! If your swatch is too small, simply go up a hook size; conversely, if it’s too large, try a smaller hook for a perfect fit!
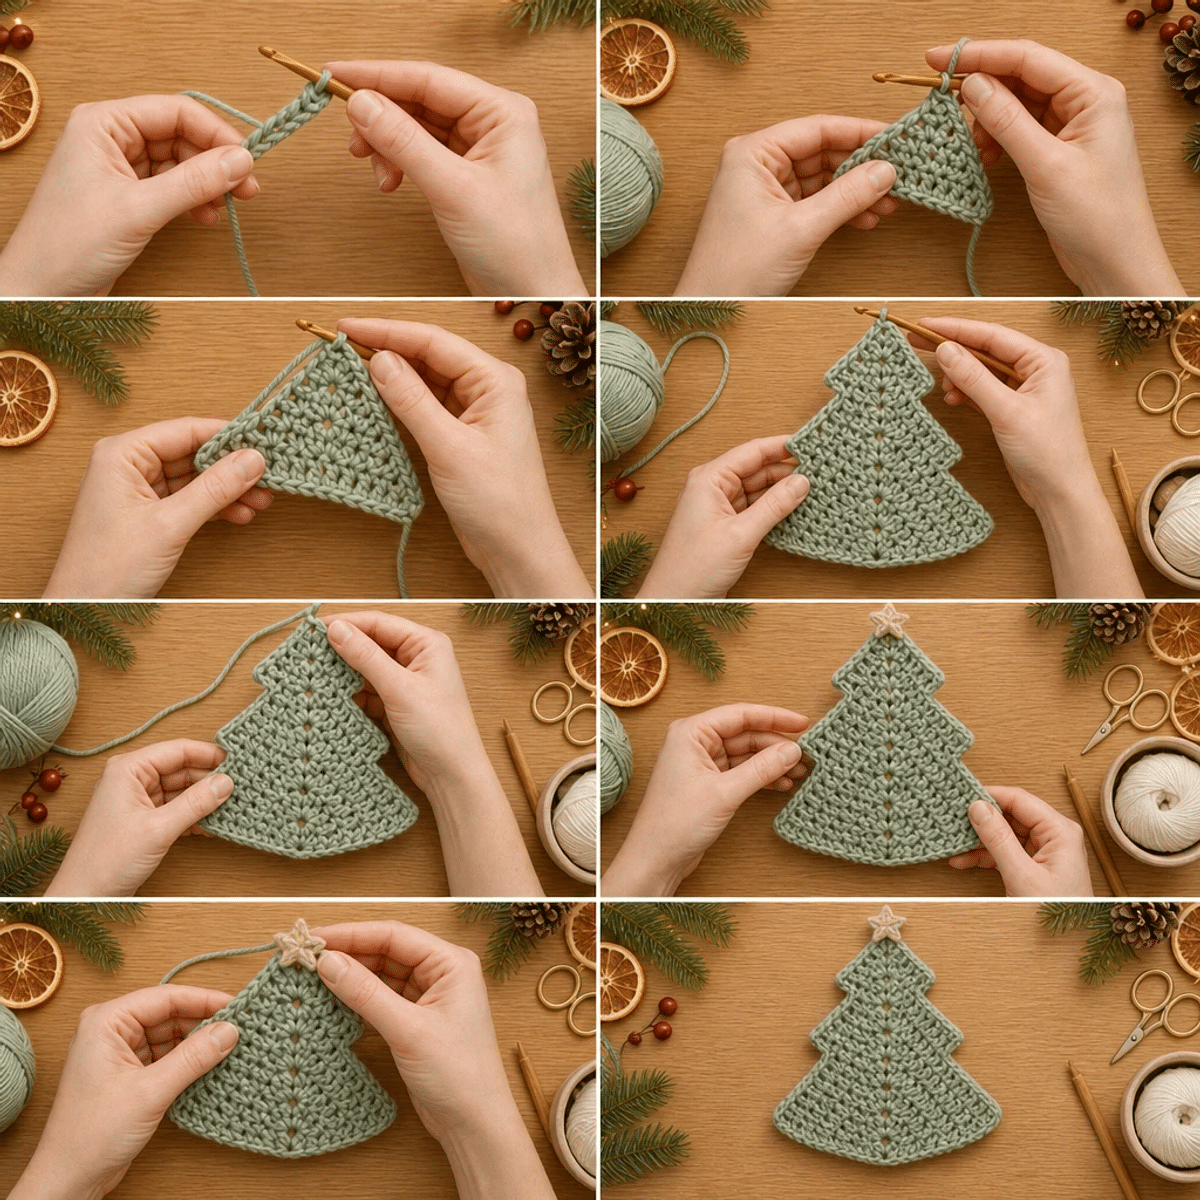
Step-by-Step Pattern for Alberello di Natale Verde Salvia all’Uncinetto
Row 1: Start the Tree Shape
Avviare 4 cat, quindi lavorare 3 mb dalla seconda cat per formare la punta dell'alberello. Il lavoro inizierà a prendere forma con un triangolo solido. Controlla che ci siano 3 m complessive alla fine di questo passaggio (3 sts).
Row 2: Increase Stitches
Fai 1 cat, voltare il lavoro, quindi lavorare 2 mb nella prima m, 1 mb nella m successiva, e 2 mb nell'ultima m. La base del tuo Alberello di Natale Verde Salvia inizia a allargarsi, assicurati che ci siano 5 m al termine di questa riga (5 sts).
Row 3: Building Up
Avvia 3 cat, voltare, poi lavora 2 ma nella prima m, segui con 3 ma nel centro, e termina con 2 ma nell'ultima. Questo passaggio aumenta ancora la larghezza per una forma più definita, controlla che tu abbia 7 m (7 sts).
Row 4: Continue Expanding
Fai 3 cat e voltati. Lavora 2 ma nella prima m, 5 ma nel centro, e 2 ma nell'ultima. Controlla che la silhouette del tuo alberello continui a svilupparsi con un totale di 9 m alla fine di questa riga (9 sts).
Row 5: Add More Height
Avvia 3 cat e voltare. Lavorare 2 ma nella prima m, 7 ma nel centro, e 2 ma nell'ultima m. Assicurati che il tuo lavoro stia iniziando a separarsi chiaramente in una forma triangolare, con 11 m in totale (11 sts).
Row 6: Upper Part Begins
Fai 3 cat e voltare. Lavora 2 ma nella prima m, segui con 9 ma nel centro e termina con 2 ma nell'ultima. Sarai vicino a completare la parte superiore del tuo Alberello, controlla di avere 13 m (13 sts).
Row 7: Further Increases
Avvia 3 cat e voltati di nuovo. Lavora 2 ma nella prima m, segui con 11 ma nel centro e 2 ma nell'ultima. La forma continua a espandersi, portando il totale a 15 m (15 sts).
Row 8: Keep Growing
Fai 3 cat e voltare. Lavora 2 ma nella prima m, poi 13 ma e 2 ma nell'ultima m. Aiuta a mantenere la figura appuntita del tuo alberello, assicurandoti di contare 17 m (17 sts).
Row 9: Forming a Distinct Shape
Avvia 3 cat, voltare, e poi lavora 2 ma nella prima m, 15 ma nel centro e 2 ma nell'ultima. La tua ruota sta cominciando a prendere una bella forma, arriva a 19 m in totale (19 sts).
Row 10: Finalizing the Upper Part
Fai 3 cat e voltare. Lavora 2 ma nella prima m, 17 ma nel centro, e 2 ma nell'ultima m. Assicurati che il tuo Alberello si stia alzando a 21 m alla fine di questo passaggio (21 sts).
Row 11: Expanding the Center
Avvia 3 cat, voltare, e lavora 2 ma nella prima m assieme a 19 ma nel centro, e 2 ma nell'ultima. La forma continua ad allargarsi con 23 m in totale (23 sts).
Row 12: Further Growth
Fai 3 cat e voltare, ora lavora 2 ma nella prima m, segui il tuo lavoro con 21 ma e termina con 2 ma nell'ultima m. Controlla il tuo progresso con 25 m (25 sts).
Row 13: Keeping the Expansion Going
Avvia 3 cat e voltare. Lavorare 2 ma nella prima m, quindi 23 ma nel centro, e 2 ma nell'ultima. Continua a costruire sul tuo Alberello, assicurati di avere 27 m (27 sts).
Row 14: Almost Complete
Fai 3 cat e volta il lavoro. Lavora 2 ma nella prima m, 25 ma nel centro e termini con 2 ma nell'ultima. Il tuo alberello sta emergendo con un totale di 29 m (29 sts).
Row 15: Final Increases for the Center
Avvia 3 cat, voltare, e lavora 2 ma nella prima m, poi 27 ma nel centro e 2 ma nell'ultima. Il tuo Alberello si avvicina a 31 m (31 sts).
Row 16: Lower Part Begins
Fai 3 cat e voltare. Lavorare 2 ma nella prima m, 29 ma e 2 ma nell'ultima. La sezione inferiore inizia a formarsi, controlla che ci siano 33 m (33 sts).
Row 17: Continue Lowering
Avvia 3 cat, voltare e lavorare 2 ma nella prima m, 31 ma nel centro e terminare con 2 ma nell'ultima. Questo passaggio ti porterà a un lavoro di 35 m (35 sts).
Row 18: Finalizing the Lower Part
Fai 3 cat e voltare. Lavorare 2 ma nella prima m, ora inserisci 33 ma nel centro e 2 ma nell'ultima. La tua figura sta per raggiungere un totale di 37 m (37 sts).
Row 19: Maintain the Form
Avvia 3 cat, voltare e lavorare 2 ma nella prima m, 35 ma nel centro e 2 ma nell'ultima m. Assicurati di avere 39 m in totale (39 sts).
Row 20: Complete the Lower Section
Fai 3 cat, voltare e lavorare 2 ma nella prima m, 37 ma nel centro e termina con 2 ma nell'ultima m. La parte inferiore dell'Alberello ha ora raggiunto 41 m (41 sts).
Step 21: Lower Border
Fai 1 cat, voltare, ora lavora 1 mb in ogni m. Questo bordo darà una finitura pulita alla tua opera, assicurandoti di avere ancora 41 m (41 sts).
Step 22: Edging Continuation
Fai 1 cat, voltare e lavora ancora 1 mb in ogni m. La bordatura finale sarà un ottimo completamento, mantenendo i conti a 41 m (41 sts). Chiudi lasciando un filo lungo.
Step 23: Sides Edging
Unisci il filato verde salvia all'angolo inferiore destro e lavora 1 mb lungo ogni estremità di riga. Negli angoli, fai 2 mb. Questa lavorazione darà un aspetto rifinito al tuo Alberello.
Step 24: Adding Decorative Holes
Per creare piccoli fori decorativi, sostituisci alcune ma centrali con 1 cat e salta 1 m. Distribuisci questi spazi lungo l'asse centrale dell'alberello per un effetto bilanciato.
Step 25: Attaching the Star
Posiziona una stellina in legno naturale sulla punta, fissala con alcuni punti di cucitura o con colla adeguata per tessuti. Questo dettaglio darà un tocco finale al tuo Alberello di Natale Verde Salvia all’Uncinetto.
Step 26: Finishing Touches
Nascondi tutti i fili sul rovescio e inumidisci leggermente il lavoro. Distendi l'alberello su una superficie piana e modellalo delicatamente, controllando che la punta sia centrata. Lascia asciugare completamente e aggiungi un piccolo cappietto sul retro per appenderlo.
Care Instructions for Alberello di Natale Verde Salvia
Machine Washing: Wash your Alberello di Natale Verde Salvia all’Uncinetto in cold water on a gentle cycle to preserve its shape and texture. Avoid agitation to prevent felting.
Hand Washing: If you prefer, hand wash in cool water with a mild detergent. Gently squeeze to remove dirt; don't wring or twist to maintain its lovely form.
Drying/Blocking: Lay flat on a clean, dry surface to air dry. Gently reshape the tree while it's damp to enhance its triangular silhouette and defined edges.
Storage: Store in a cool, dry place. Keep your crocheted tree away from direct sunlight to prevent color fading and ensure it retains its beautiful sage green hue.
Alberello di Natale Verde Salvia Variations
Personalizing your crocheted tree is a delightful journey—let your creativity blossom with these fun ideas!
-
Yarn Substitutions: Swap cotton with acrylic for a softer, lighter finish. This change gives your tree a cheerful bounce without losing its charm.
-
Color Choices: Try bright reds or snowy whites for a festive twist! Each hue offers a new vibe, making your tree versatile for various holiday themes.
-
Size Adjustment: Experiment with a larger hook to create a more oversized tree, perfect for tabletop settings. A little extra height can make your piece even more of a statement!
-
Texture Modifications: Add a pom-pom at the top instead of a star for a playful touch. This whimsical detail introduces a fun twist to your holiday décor.
-
Fringe Detail: Incorporate fringe around the bottom border. It adds an unexpected flair that captures the eye and offers a unique texture.
-
Decorative Holes Play: Vary the placement of decorative holes for a different visual effect. A new pattern can create playful shadows and light interplay.
-
Miniature Versions: Create a miniature version to hang as ornaments! This could double as a thoughtful gift for loved ones, spreading festive cheer.
-
Seasonal Themes: Modify colors for different seasons, like pastel shades for spring or bold oranges for Halloween. This way, your tree can bring joy all year round!
What to Pair with Alberello di Natale Verde Salvia
Imagine a festive display where every piece harmonizes, creating warmth and whimsy for the holidays.
- Matching Ornaments: Create a set of tiny ornaments using the same sage green yarn for a delightful cohesive look.
- Cozy Garland: Crochet a garland from sage green yarn and natural wood beads to drape around your tree or mantle.
- Festive Coasters: Make simple crochet coasters in complementary colors to protect your surfaces while adding seasonal cheer.
- Mini Stockings: Whip up small stockings that echo your tree design, perfect for filling with treats or hanging as decorations.
- Gift Tags: Craft unique gift tags using leftover yarn, adding a personal touch that complements your beautifully crafted tree.
Expert Tips for Alberello di Natale Verde Salvia
-
Check Your Tension: Consistently check your gauge to ensure the tree maintains its shape and dimensions. Loose stitches can lead to an undefined silhouette.
-
Count Stitches: After each row, count your stitches to avoid mistakes. Losing or adding a stitch can immediately affect the triangular shape of your Alberello di Natale Verde Salvia all’Uncinetto.
-
Avoid Twisting: Be mindful to keep your foundation chain straight. Twisting it can affect the overall appearance and structure of your design.
-
Finish Neatly: When hiding ends, weave them in securely but discreetly. This prevents unraveling and keeps your charming tree looking polished.
-
Block Your Work: Lightly dampening and shaping your completed tree helps it hold its silhouette. Allow it to dry flat to maintain its lovely triangular form.
Alberello di Natale Verde Salvia all’Uncinetto FAQs
Can I substitute yarn for this project?
Absolutely! You can swap out medium cotton yarn for a similar weight in acrylic or bamboo yarn. Just keep in mind that different fibers may change the texture and drape of your Alberello di Natale Verde Salvia all’Uncinetto.
How can I adjust the size of the tree?
To make your tree bigger or smaller, simply adjust the starting foundation chain. Each additional row or reduction will affect the overall height and width, so remember to keep an eye on your stitch count for balance!
Why does my work keep curling?
Don't panic! Curling can occur if your tension is too tight. Make sure you’re using the right hook size (4 mm) and check your gauge. It helps to use blocking techniques to flatten the piece afterward.
What hook size should I use for this pattern?
I recommend using a 4 mm (G) hook. This size is perfect for achieving the right tension and stitch definition, ensuring your Alberello stands perfectly upright.
How do I fix dropped stitches?
It's an easy fix! To recover a dropped stitch, simply re-lift it using your hook, ensuring you’re working it back into place smoothly. If it seems daunting, take a deep breath; practice makes perfect!
Can I add more decorative holes for texture?
Absolutely! To enhance the design, replace some of the double crochets with chains and skip stitches as indicated in the pattern. Customizing adds a lovely touch, making your Alberello di Natale Verde Salvia all’Uncinetto truly your own!
Cozy Alberello di Natale Verde Salvia all’Uncinetto Tutorial
Ingredienti
Method
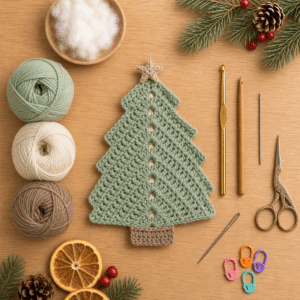
- Materials and tools prepared for this project.
- Row 1: Start the Tree Shape
- Avviare 4 cat, quindi lavorare 3 mb dalla seconda cat per formare la punta dell'alberello. Il lavoro inizierà a prendere forma con un triangolo solido. Controlla che ci siano 3 m complessive alla fine di questo passaggio (3 sts).
- Row 2: Increase Stitches
- Fai 1 cat, voltare il lavoro, quindi lavorare 2 mb nella prima m, 1 mb nella m successiva, e 2 mb nell'ultima m. La base del tuo Alberello di Natale Verde Salvia inizia a allargarsi, assicurati che ci siano 5 m al termine di questa riga (5 sts).
- Row 3: Building Up
- Avvia 3 cat, voltare, poi lavora 2 ma nella prima m, segui con 3 ma nel centro, e termina con 2 ma nell'ultima. Questo passaggio aumenta ancora la larghezza per una forma più definita, controlla che tu abbia 7 m (7 sts).
- Row 4: Continue Expanding
- Fai 3 cat e voltati. Lavora 2 ma nella prima m, 5 ma nel centro, e 2 ma nell'ultima. Controlla che la silhouette del tuo alberello continui a svilupparsi con un totale di 9 m alla fine di questa riga (9 sts).
- Row 5: Add More Height
- Avvia 3 cat e voltare. Lavorare 2 ma nella prima m, 7 ma nel centro, e 2 ma nell'ultima m. Assicurati che il tuo lavoro stia iniziando a separarsi chiaramente in una forma triangolare, con 11 m in totale (11 sts).
- Row 6: Upper Part Begins
- Fai 3 cat e voltare. Lavora 2 ma nella prima m, segui con 9 ma nel centro e termina con 2 ma nell'ultima. Sarai vicino a completare la parte superiore del tuo Alberello, controlla di avere 13 m (13 sts).
- Row 7: Further Increases
- Avvia 3 cat e voltati di nuovo. Lavora 2 ma nella prima m, segui con 11 ma nel centro e 2 ma nell'ultima. La forma continua a espandersi, portando il totale a 15 m (15 sts).
- Row 8: Keep Growing
- Fai 3 cat e voltare. Lavora 2 ma nella prima m, poi 13 ma e 2 ma nell'ultima m. Aiuta a mantenere la figura appuntita del tuo alberello, assicurandoti di contare 17 m (17 sts).
- Row 9: Forming a Distinct Shape
- Avvia 3 cat, voltare, e poi lavora 2 ma nella prima m, 15 ma nel centro e 2 ma nell'ultima. La tua ruota sta cominciando a prendere una bella forma, arriva a 19 m in totale (19 sts).
- Row 10: Finalizing the Upper Part
- Fai 3 cat e voltare. Lavora 2 ma nella prima m, 17 ma nel centro, e 2 ma nell'ultima m. Assicurati che il tuo Alberello si stia alzando a 21 m alla fine di questo passaggio (21 sts).
- Row 11: Expanding the Center
- Avvia 3 cat, voltare, e lavora 2 ma nella prima m assieme a 19 ma nel centro, e 2 ma nell'ultima. La forma continua ad allargarsi con 23 m in totale (23 sts).
- Row 12: Further Growth
- Fai 3 cat e voltare, ora lavora 2 ma nella prima m, segui il tuo lavoro con 21 ma e termina con 2 ma nell'ultima m. Controlla il tuo progresso con 25 m (25 sts).
- Row 13: Keeping the Expansion Going
- Avvia 3 cat e voltare. Lavorare 2 ma nella prima m, quindi 23 ma nel centro, e 2 ma nell'ultima. Continua a costruire sul tuo Alberello, assicurati di avere 27 m (27 sts).
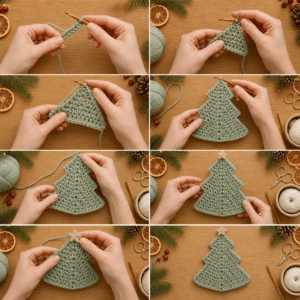
- Row 14: Almost Complete
- Fai 3 cat e volta il lavoro. Lavora 2 ma nella prima m, 25 ma nel centro e termini con 2 ma nell'ultima. Il tuo alberello sta emergendo con un totale di 29 m (29 sts).
- Row 15: Final Increases for the Center
- Avvia 3 cat, voltare, e lavora 2 ma nella prima m, poi 27 ma nel centro e 2 ma nell'ultima. Il tuo Alberello si avvicina a 31 m (31 sts).
- Row 16: Lower Part Begins
- Fai 3 cat e voltare. Lavorare 2 ma nella prima m, 29 ma e 2 ma nell'ultima. La sezione inferiore inizia a formarsi, controlla che ci siano 33 m (33 sts).
- Row 17: Continue Lowering
- Avvia 3 cat, voltare e lavorare 2 ma nella prima m, 31 ma nel centro e terminare con 2 ma nell'ultima. Questo passaggio ti porterà a un lavoro di 35 m (35 sts).
- Row 18: Finalizing the Lower Part
- Fai 3 cat e voltare. Lavorare 2 ma nella prima m, ora inserisci 33 ma nel centro e 2 ma nell'ultima. La tua figura sta per raggiungere un totale di 37 m (37 sts).
- Row 19: Maintain the Form
- Avvia 3 cat, voltare e lavorare 2 ma nella prima m, 35 ma nel centro e 2 ma nell'ultima m. Assicurati di avere 39 m in totale (39 sts).
- Row 20: Complete the Lower Section
- Fai 3 cat, voltare e lavorare 2 ma nella prima m, 37 ma nel centro e termina con 2 ma nell'ultima m. La parte inferiore dell'Alberello ha ora raggiunto 41 m (41 sts).
- Step 21: Lower Border
- Fai 1 cat, voltare, ora lavora 1 mb in ogni m. Questo bordo darà una finitura pulita alla tua opera, assicurandoti di avere ancora 41 m (41 sts).
- Step 22: Edging Continuation
- Fai 1 cat, voltare e lavora ancora 1 mb in ogni m. La bordatura finale sarà un ottimo completamento, mantenendo i conti a 41 m (41 sts). Chiudi lasciando un filo lungo.
- Step 23: Sides Edging
- Unisci il filato verde salvia all'angolo inferiore destro e lavora 1 mb lungo ogni estremità di riga. Negli angoli, fai 2 mb. Questa lavorazione darà un aspetto rifinito al tuo Alberello.
- Step 24: Adding Decorative Holes
- Per creare piccoli fori decorativi, sostituisci alcune ma centrali con 1 cat e salta 1 m. Distribuisci questi spazi lungo l'asse centrale dell'alberello per un effetto bilanciato.
- Step 25: Attaching the Star
- Posiziona una stellina in legno naturale sulla punta, fissala con alcuni punti di cucitura o con colla adeguata per tessuti. Questo dettaglio darà un tocco finale al tuo Alberello di Natale Verde Salvia all’Uncinetto.
- Step 26: Finishing Touches
- Nascondi tutti i fili sul rovescio e inumidisci leggermente il lavoro. Distendi l'alberello su una superficie piana e modellalo delicatamente, controllando che la punta sia centrata. Lascia asciugare completamente e aggiungi un piccolo cappietto sul retro per appenderlo.