As I watched the pastel lavender cake rise gracefully in the oven, a wave of excitement washed over me. This Taro Ube Cloud Cake is a delightful marriage of the rich, nutty essence of taro and the creamy sweetness of ube, resulting in a dessert that’s as beautiful as it is delicious. With its light, airy texture and minimal frosting, it’s perfect for elevating any gathering or simply brightening your weeknight dinner, showcasing not just my love for cooking but also my passion for vibrant flavors. Best of all? This Asian fusion dessert is make-ahead friendly, so you can enjoy the compliments without the stress. Curious about how to whip up this cloud-like delight? Let’s dive in!
Why is Taro Ube Cloud Cake a Must-Try?
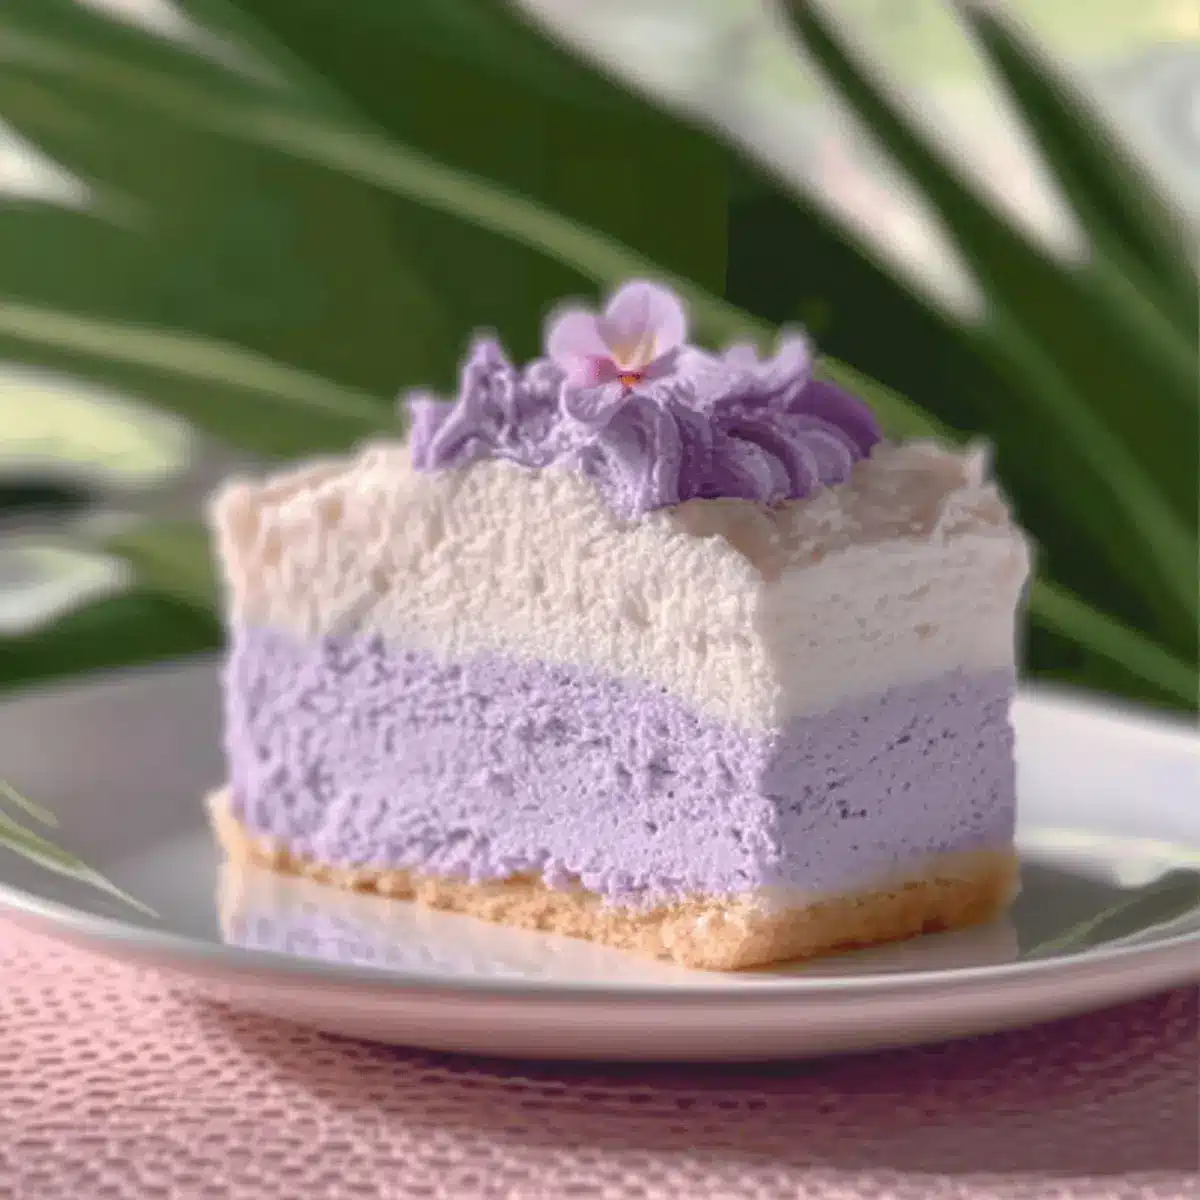
Delightful texture: The Taro Ube Cloud Cake is a light and airy chiffon cake that melts in your mouth with each bite.
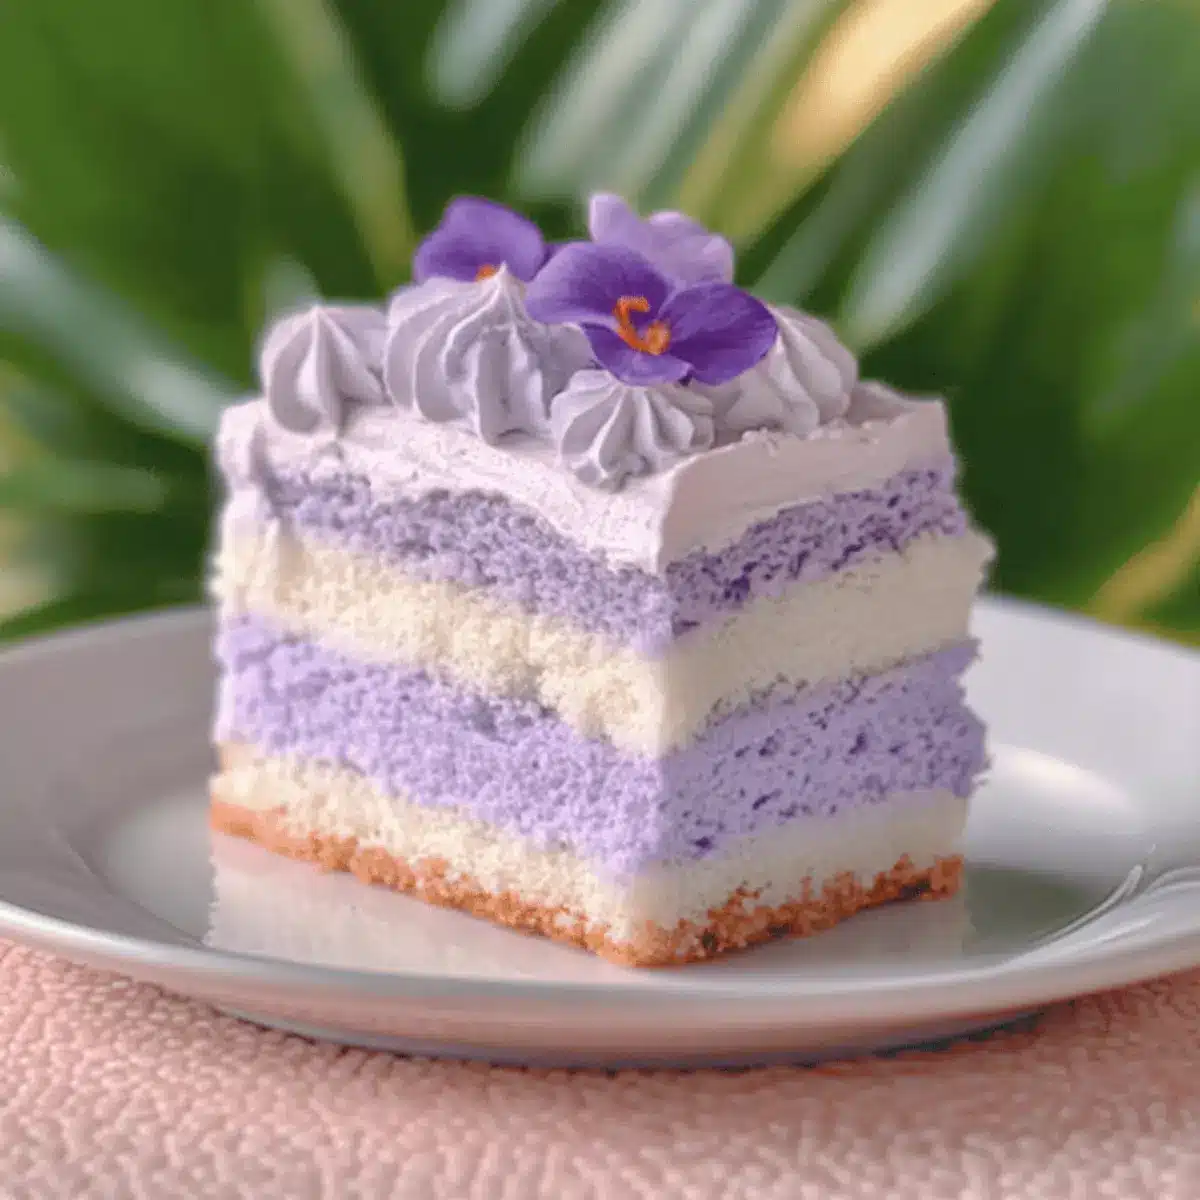
Stunning presentation: Its pastel lavender color is sure to impress at any event, making it a showstopper on your dessert table.
Unique flavor combination: The nutty essence of taro paired with creamy ube creates an irresistible taste that will intrigue any palate.
Versatile options: Customize this cake with toppings or variations like macapuno or matcha powder for a personal touch; you can explore more in my Caramel Brownie Cheesecake or Strawberry Cheesecake Cookies.
Make-ahead friendly: Prep it in advance to save time and reduce stress on the day of your gathering.
Crowd-pleaser appeal: Whether it’s a birthday or a casual weeknight meal, this cake will surely earn you rave reviews!
Taro Ube Cloud Cake Ingredients
• Let’s gather everything we need for this delightful dessert!
For the Cake
- Cake Flour – Provides a light structure; a gluten-free blend can replace it for a gluten-free version.
- Cooked Mashed Taro – Offers a subtle nutty flavor; make sure it’s cooled down before using.
- Ube Halaya (Ube Jam) – Adds sweetness and a vibrant purple hue; you can substitute with high-quality ube powder mixed with milk.
- Eggs – Essential for leavening and stability; separate yolks and whites for optimal texture.
- Granulated Sugar – Sweetens the cake and stabilizes meringue; divide it between the yolk and meringue mixtures.
- Whole Milk – Adds moisture; consider coconut milk for a tropical twist.
- Vegetable Oil – Ensures the cake’s moisture and tenderness; use a neutral oil to keep flavors balanced.
- Vanilla Extract – Enhances the overall flavor; optional but highly recommended.
- Cream of Tartar – Stabilizes egg whites; critical for achieving stiff peaks.
- Salt – Enhances flavor and balances sweetness.
For the Whipped Ube Topping
- Heavy Whipping Cream – Provides a rich, creamy base; whip until soft peaks form for the perfect topping.
- Ube Halaya – Blends seamlessly into the whipped cream for extra flavor; ensures a beautiful finish.
Embark on the journey of creating the Taro Ube Cloud Cake, where each ingredient brings a distinctive flair to this Asian fusion dessert. You’ll be amazed by the delightful results!
Step‑by‑Step Instructions for Taro Ube Cloud Cake
Step 1: Preheat and Prepare
Begin by preheating your oven to 325°F (163°C). As it warms up, grab a 9-inch chiffon or angel-food cake pan and ensure it remains ungreased. This crucial step will help the cake rise and grip the sides during baking, contributing to the airy texture that makes the Taro Ube Cloud Cake so delightful.
Step 2: Mix the Wet Ingredients
In a mixing bowl, whisk together the egg yolks, sugar, milk, vegetable oil, vanilla extract, cooled cooked mashed taro, and ube halaya until the mixture is smooth and homogenous. This blend transforms into a vibrant lavender hue, setting the stage for the light and fluffy cake to come. Set this bowl aside to allow the flavors to meld.
Step 3: Whip the Egg Whites
In a separate clean bowl, beat the egg whites with a pinch of salt until they become foamy. Gradually add the cream of tartar and sugar as you continue to whip, aiming for stiff peaks that should form within 5-7 minutes. This meringue will be instrumental in introducing air, giving the Taro Ube Cloud Cake its signature fluffiness.
Step 4: Combine Mixtures Gently
With utmost care, fold one-third of the whipped egg whites into the yolk mixture. This initial addition lightens the yolk base, making it easier to combine the remaining meringue. Gently fold in the rest of the meringue until no streaks are visible, taking care not to deflate the airy structure you’ve created.
Step 5: Bake the Cake
Pour the final batter into your prepared cake pan, smoothing the top for even baking. Place it into the preheated oven and bake for 30-35 minutes, or until the top is golden and springs back when lightly touched. A clean toothpick inserted in the center will come out clean, indicating that your Taro Ube Cloud Cake is ready.
Step 6: Cool Upside Down
Once baked, remove the cake from the oven and immediately invert the pan onto a cooling rack or a bottle neck. Cool the cake upside down completely to maintain its height and fluffy texture. This unique cooling process is crucial for ensuring the cake does not collapse as it cools.
Step 7: Release the Cake
After the cake has cooled completely, gently release it from the pan. Run a knife around the edges to ensure it comes out smoothly. The result is a beautifully risen Taro Ube Cloud Cake, ready to be dressed up with a light topping or simply enjoyed on its own.
Step 8: Prepare the Whipped Ube Topping
In a separate bowl, whip the heavy cream until soft peaks begin to form. Carefully fold in more ube halaya to enhance the flavor of the whipped cream, creating a delightful topping for your Taro Ube Cloud Cake. This easy-to-make topping will add a luxurious finish that complements the cake’s flavors perfectly.
Step 9: Final Touches
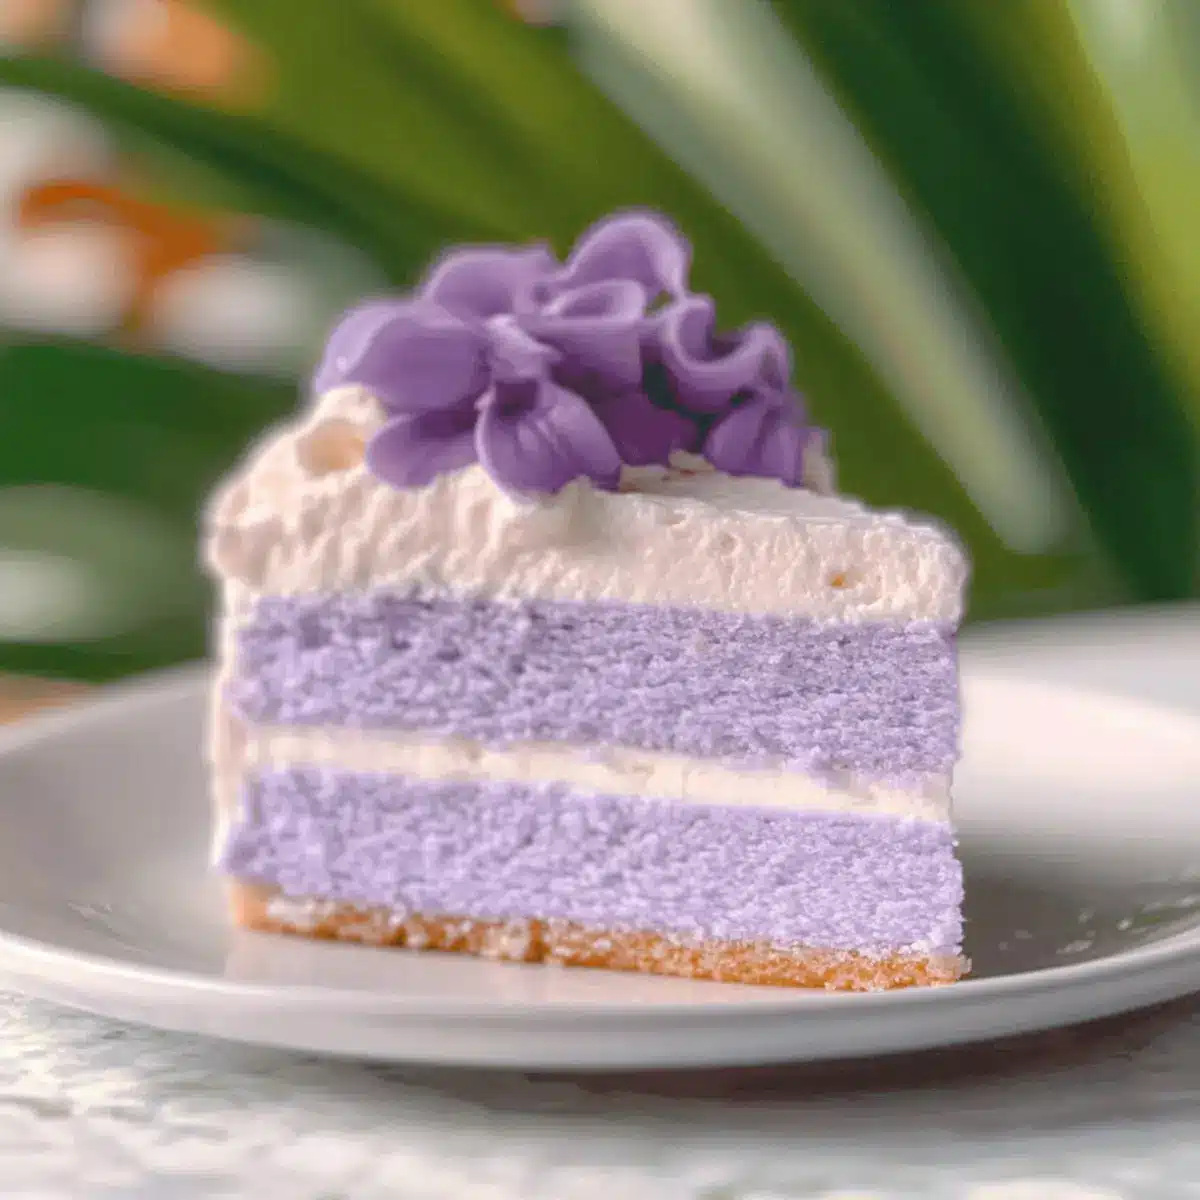
Once ready, either pipe or spread the whipped ube topping over the cooled cake, ensuring every slice is adorned with that irresistible, creamy layer. The combination of the airy cake and the rich, whipped topping creates a stunning presentation and delightful taste, perfect for any gathering or as a special treat for yourself.

Taro Ube Cloud Cake Variations & Substitutions
Feel free to explore your creativity and make this Taro Ube Cloud Cake uniquely yours!
- Gluten-Free: Substitute cake flour with a 1:1 gluten-free blend to maintain the airy texture.
- Dairy-Free: Use coconut milk instead of whole milk for a rich, tropical twist that complements the flavors beautifully.
- Extra Flavor: Add 1 tablespoon of matcha powder to the yolk mixture for a stunning green and purple marbled effect.
- Sweet-Savory Twist: Sprinkle grated cheddar or queso de bola on top for an unexpected sweet-savory flavor profile.
- Tropical Addition: Fold in ¼ cup chopped macapuno into the whipped creamy topping for an interesting texture and taste.
- Substituting Sweetness: Use maple syrup or agave nectar instead of granulated sugar for a natural sweetener option; adjust sweetness to taste.
- Nutty Infusion: Stir in finely chopped roasted almonds or hazelnuts into the batter for added crunch and a nutty flavor kick.
- Fruity Delight: Top the cake with fresh fruits like mango or strawberries to add a refreshing touch; they pair wonderfully with the cake’s creamy essence.
For more delightful ideas, don’t forget to check out my Gingerbread Wreath Cake or indulge in a slice of Cookie Butter Cheesecake. Enjoy your culinary adventure!
What to Serve with Taro Ube Cloud Cake
Imagine the soft, fluffy bliss of your Taro Ube Cloud Cake paired with delightful accompaniments that elevate this gorgeous dessert experience.
- Tropical Fruit Salad: Bright, juicy fruits like mango, pineapple, and kiwi perfectly complement the cake’s creamy texture and enhance its tropical notes.
- Coconut Ice Cream: A scoop of velvety coconut ice cream adds a rich, creamy element that pairs beautifully with the cake’s lightness, making each bite indulgent.
- Mango Sticky Rice: This classic Thai dessert brings a sweet and slightly chewy texture that harmonizes with the airy clouds of ube, creating a wonderfully balanced experience.
- Mint Lemonade: A refreshing glass of mint lemonade offers a zesty contrast to the cake’s sweetness, cleansing the palate and enhancing enjoyment.
- Matcha Green Tea: The earthy tones of matcha bring out the nuttiness of taro while providing a unique flavor twist; serve hot or iced for a delightful pairing.
- Whipped Coconut Cream: Light and fluffy, this topping echoes the ube frosting while adding an extra layer of creamy coconuty goodness to your Taro Ube Cloud Cake.
- Lychee Sorbet: A smooth, fruity sorbet that balances the sweetness of the cake while offering a refreshing, icy texture—perfect for cleansing the palate!
- Cheesecake Bites: Small, creamy bites of cheesecake create a rich contrast to the airy cloud cake, giving guests a delightful variety of flavors on their plates.
Make Ahead Options
These Taro Ube Cloud Cake preparations are perfect for busy home cooks! You can make the cake up to 24 hours in advance by baking it, allowing it to cool completely, and then wrapping it tightly in plastic wrap to maintain its moisture and airy texture. The whipped ube topping can also be prepared a day ahead; simply keep it refrigerated in an airtight container to prevent it from losing its fluffiness. When you’re ready to serve, gently re-whip the topping if necessary, then spread it over the cake. This way, you’ll enjoy a stunning dessert with minimal last-minute effort, impressing guests with just a slice of your heavenly Taro Ube Cloud Cake!
Storage Tips for Taro Ube Cloud Cake
Room Temperature: The cake can be kept lightly wrapped at room temperature for up to 3 days. This helps maintain its lovely texture.
Fridge: For longer freshness, store the cake in the refrigerator for up to a week. Ensure it’s covered to avoid drying out.
Freezer: Individual slices can be frozen for up to a month. Wrap each slice tightly in plastic wrap and then in aluminum foil for best results.
Reheating: To enjoy later, simply thaw slices in the refrigerator overnight and serve at room temperature. Enjoy the delightful Taro Ube Cloud Cake any time!
Helpful Tricks for Taro Ube Cloud Cake
-
Perfect Peaks: Ensure your egg whites are beaten to stiff peaks for the best structure. If they’re soft, the cake may deflate during baking.
-
Gentle Folding: Fold the meringue into the yolk mixture with a light hand. Vigorous mixing can lead to deflation, preventing that airy quality in your Taro Ube Cloud Cake.
-
Inversion Magic: Cool the cake upside down immediately after baking. This crucial step helps maintain its height and lightness—don’t skip it!
-
Room Temperature Ingredients: Use ingredients like eggs and milk at room temperature for better emulsification. Cold ingredients can lead to a denser texture.
-
Make-Ahead Tips: This cake is make-ahead friendly! Bake it a day in advance and store it wrapped; it stays delicious and fresh for up to three days.
Taro Ube Cloud Cake Recipe FAQs
What type of taro should I use?
Absolutely! Look for fresh taro that has smooth, unblemished skin and feels firm to the touch. Avoid taros with dark spots all over, as these can indicate overripeness. You can also use frozen cooked taro if fresh is not available — just make sure it is completely thawed and cooled before incorporating it into your cake.
How should I store leftover Taro Ube Cloud Cake?
Very good question! You can keep your cake lightly wrapped at room temperature for up to 3 days. If you want to enjoy it longer, it can be refrigerated for up to a week — just ensure it’s covered to retain moisture and prevent drying out. For the ultimate freshness, consider freezing individual slices.
Can I freeze Taro Ube Cloud Cake?
Absolutely! To freeze your cake, wrap each slice tightly in plastic wrap, then cover it with aluminum foil to prevent freezer burn. This way, your cake will stay delicious for up to a month! When you’re ready to enjoy, simply thaw the slices in the refrigerator overnight, and they’ll be ready to serve at room temperature.
What do I do if my egg whites aren’t whipping to stiff peaks?
If your egg whites aren’t reaching stiff peaks, most likely the bowl or whisk may have residual fat or grease. Make sure your mixing bowl is completely clean and dry. In case the whites are too soft or runny, try adding a pinch of cream of tartar, which will help stabilize the mixture. Lastly, ensure you’re not over-whipping; stop as soon as the peaks are stiff enough to hold their shape.
Is Taro Ube Cloud Cake suitable for people with allergies?
Great consideration! This cake can be made vegetarian-friendly but does contain eggs and dairy, making it unsuitable for vegans. If you’re looking to make it dairy-free, substitute whole milk with coconut milk or another non-dairy milk, and opt for a dairy-free whipped topping. Always check your ingredients to avoid allergens, especially when it comes to ube halaya, which may contain additional additives.
What if I want to make my Taro Ube Cloud Cake gluten-free?
Of course! You can easily make this cake gluten-free by substituting the cake flour with a gluten-free blend that includes xanthan gum. It’s important to ensure that all other ingredients, like baking powder and flavorings, are also gluten-free. Just keep in mind that the texture may vary slightly, but with careful measuring, you’ll end up with a delightful result just as light and airy!
Delight in Taro Ube Cloud Cake: A Heavenly Dessert Experience
Ingredients
Equipment
Method
- Preheat your oven to 325°F (163°C) and prepare a 9-inch chiffon or angel-food cake pan by not greasing it.
- In a mixing bowl, whisk together the egg yolks, sugar, milk, vegetable oil, vanilla extract, cooled cooked mashed taro, and ube halaya until smooth.
- In a separate clean bowl, beat the egg whites with a pinch of salt until foamy, then add cream of tartar and sugar to achieve stiff peaks.
- Gently fold a third of the whipped egg whites into the yolk mixture, then carefully add the rest until no streaks are visible.
- Pour the batter into the prepared cake pan and bake for 30-35 minutes until golden and a toothpick comes out clean.
- Immediately invert the pan onto a cooling rack or bottle neck to cool completely.
- After cooling, carefully run a knife around the edges and release the cake from the pan.
- Whip the heavy cream until soft peaks form, then fold in ube halaya for the topping.
- Pipe or spread the whipped ube topping over the cooled cake and serve.
Leave a Reply