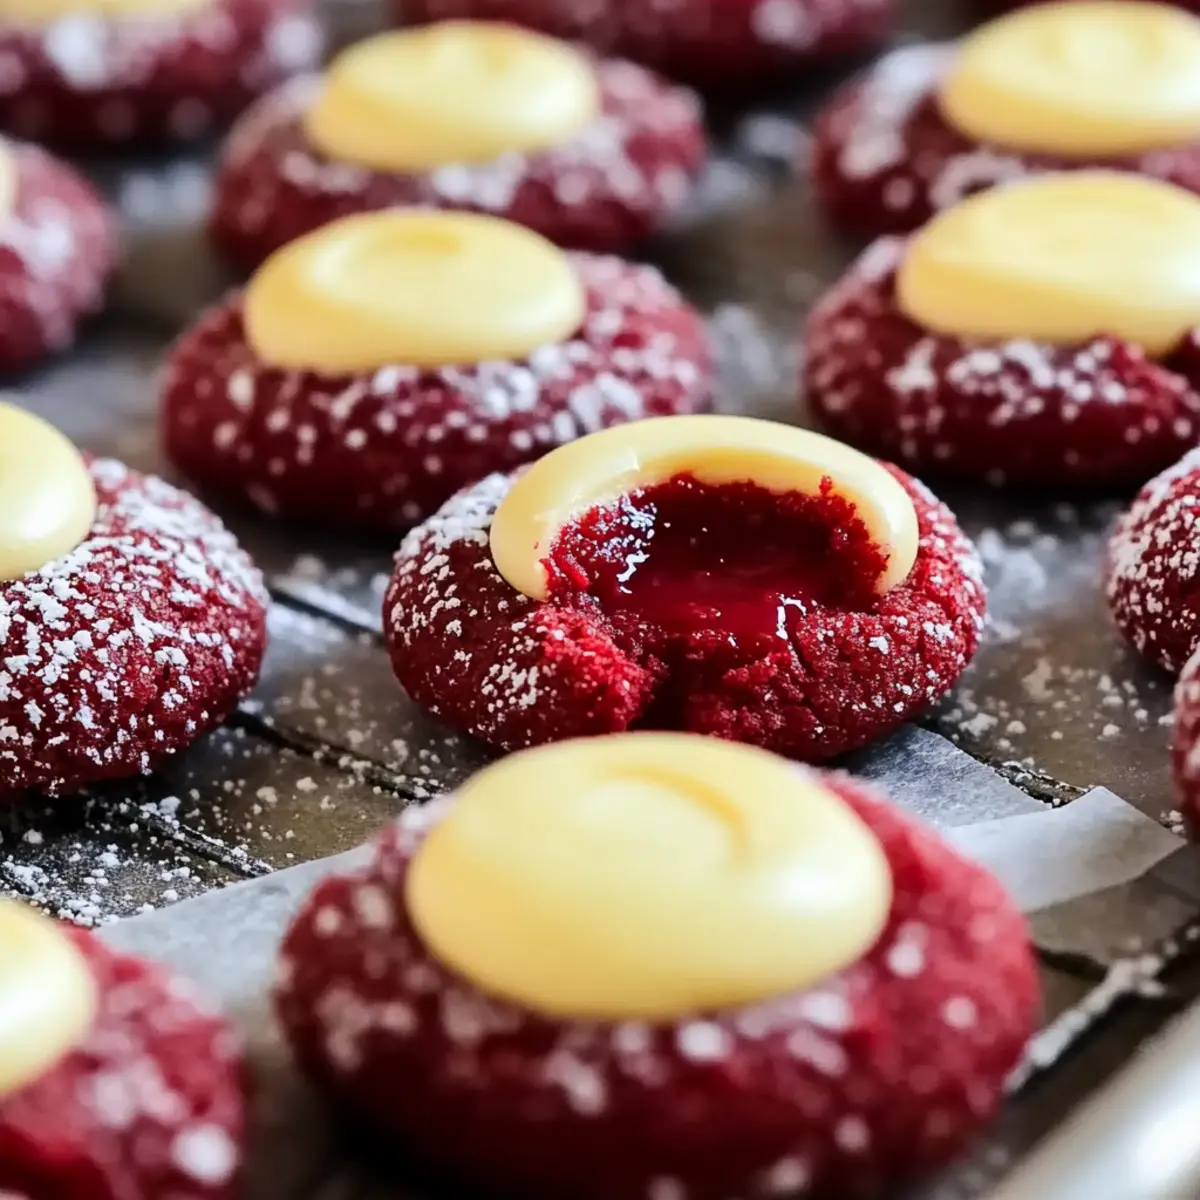
As I rummaged through my pantry one rainy afternoon, the vibrant red of food coloring caught my eye, sparking a sweet idea—Red Velvet Thumbprint Cookies with Cream Cheese! These eye-catching cookies are not only a feast for the eyes but also a delightful treat for your taste buds, offering a soft, chewy texture that’s irresistibly comforting. The thrill of baking these beauties lies in their versatility: whether you’re impressing guests at a gathering or simply savoring them with a warm cup of coffee, they are sure to steal the show. Plus, they’re just as fun to customize with different colors or fillings, making them a perfect canvas for your creativity. Ready to embark on a baking adventure that’s both playful and delicious? Let’s dive into this delightful recipe!
Why Are These Cookies So Special?
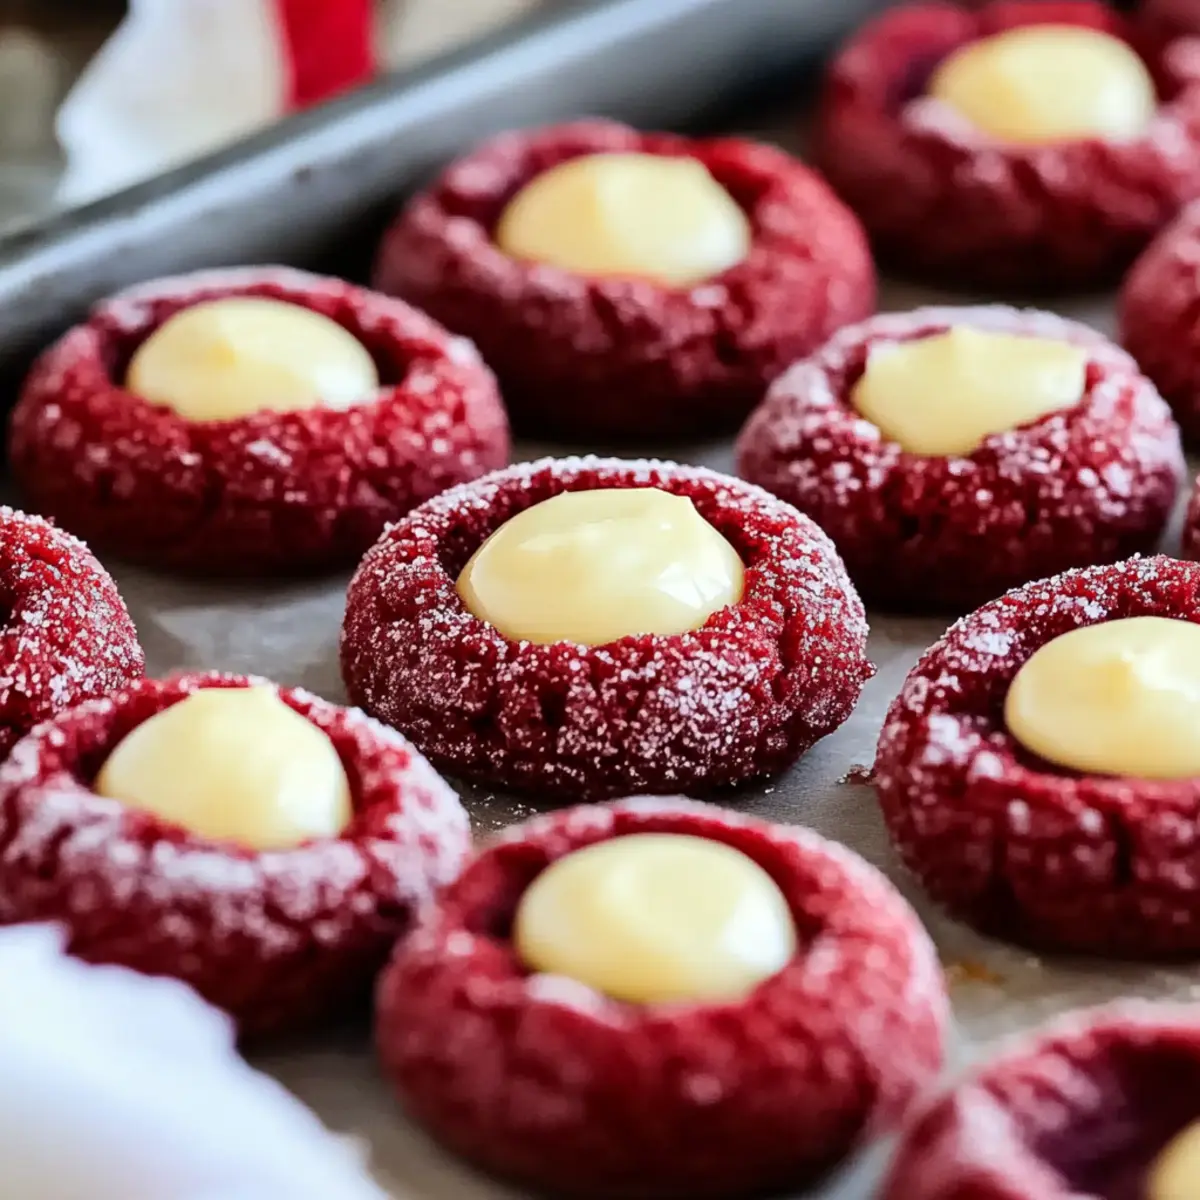
Decadent Red Velvet Thumbprint Cookies are a true showstopper! Visually Stunning with their vibrant color, they’re perfect for any special occasion. Easy to Make with simple ingredients, they fit well into both novice and expert bakers’ repertoires. Customize Your Way by experimenting with various fillings and colors—feel free to try a twist by pairing these treats with my Savory Rosemary Cookies or indulging in a classic Chocolate Chip Cookies option. Irresistibly Flavorful, the combination of soft cookie and creamy filling creates an unforgettable experience that will have friends and family asking for seconds!
Red Velvet Thumbprint Cookies Ingredients
For the Cookie Dough
• Unsalted Butter – Provides richness and moisture; use salted butter for a slightly different flavor.
• Granulated Sugar – Adds sweetness and structure; you can substitute with brown sugar for a richer taste.
• Large Egg – Binds ingredients and contributes moisture; no egg substitute recommended for the best texture.
• Vanilla Extract – Enhances flavor; opt for pure vanilla extract for the most delightful taste.
• Cocoa Powder – Provides essential chocolate flavor; Dutch-processed cocoa can offer a different taste profile.
• Red Food Coloring – Creates the iconic red hue; try gel food coloring for a more vibrant effect without altering the recipe.
• All-Purpose Flour – The base for structure; gluten-free flour blends can work well as a substitute.
• Baking Powder – Acts as a leavening agent for a lighter cookie; ensure it’s fresh for optimal results.
• Salt – Balances sweetness and enhances flavor; adjusting the quantity can greatly impact taste.
For the Cream Cheese Filling
• Cream Cheese – Adds the main creamy texture and tanginess; mascarpone can be a delicious alternative, though the flavor will shift.
• Powdered Sugar – Sweetens the filling; feel free to adjust the quantity based on your desired sweetness level.
These Red Velvet Thumbprint Cookies are sure to impress anyone lucky enough to taste them!
Step‑by‑Step Instructions for Red Velvet Thumbprint Cookies
Step 1: Preheat and Prepare
Begin by preheating your oven to 350°F (175°C). While the oven warms up, line a baking sheet with parchment paper to prevent sticking. This simple preparation sets the stage for your delightful Red Velvet Thumbprint Cookies, ensuring they bake evenly and become beautifully golden around the edges.
Step 2: Cream the Base
In a mixing bowl, cream together ½ cup of softened unsalted butter and ¾ cup of granulated sugar until the mixture is light and fluffy, about 3-4 minutes. This step is essential for achieving that rich flavor and airy texture. Once creamed, beat in one large egg and a teaspoon of pure vanilla extract until fully incorporated, creating a luscious base for your cookies.
Step 3: Mix in Colors and Cocoa
Sift in 2 tablespoons of cocoa powder and add red food coloring, stirring until the mixture is a uniform deep red. This vibrant color truly embodies the essence of Red Velvet. It’s important to mix thoroughly to avoid any streaks in your dough. Use a spatula or wooden spoon for easy mixing, ensuring the cocoa blends in seamlessly for a delicious chocolatey taste.
Step 4: Combine Dry Ingredients
Gradually add 1 ¾ cups of all-purpose flour, 1 teaspoon of baking powder, and a pinch of salt into your wet mixture. Stir until just combined, being careful not to overmix. Your dough should be soft and slightly tacky but hold together well. Remember, a light hand will yield the tender texture we love in these thumbprint cookies.
Step 5: Shape the Cookies
Using your hands, roll the cookie dough into 1-inch balls and place them on the prepared baking sheet, spaced about 2 inches apart. With your thumb or the back of a spoon, gently press down in the center of each ball to create a thumbprint indentation. This is where the creamy filling will go, so make sure to create a nice well for that luscious cream cheese goodness.
Step 6: Prepare the Cream Cheese Filling
In a separate bowl, mix together 4 oz of softened cream cheese and ½ cup of powdered sugar until smooth and creamy. This filling adds a delightful tanginess that beautifully complements the sweet red velvet cookie. Adjust the sweetness to your preference by adding more powdered sugar if desired, ensuring it’s rich and luscious.
Step 7: Fill the Cookies
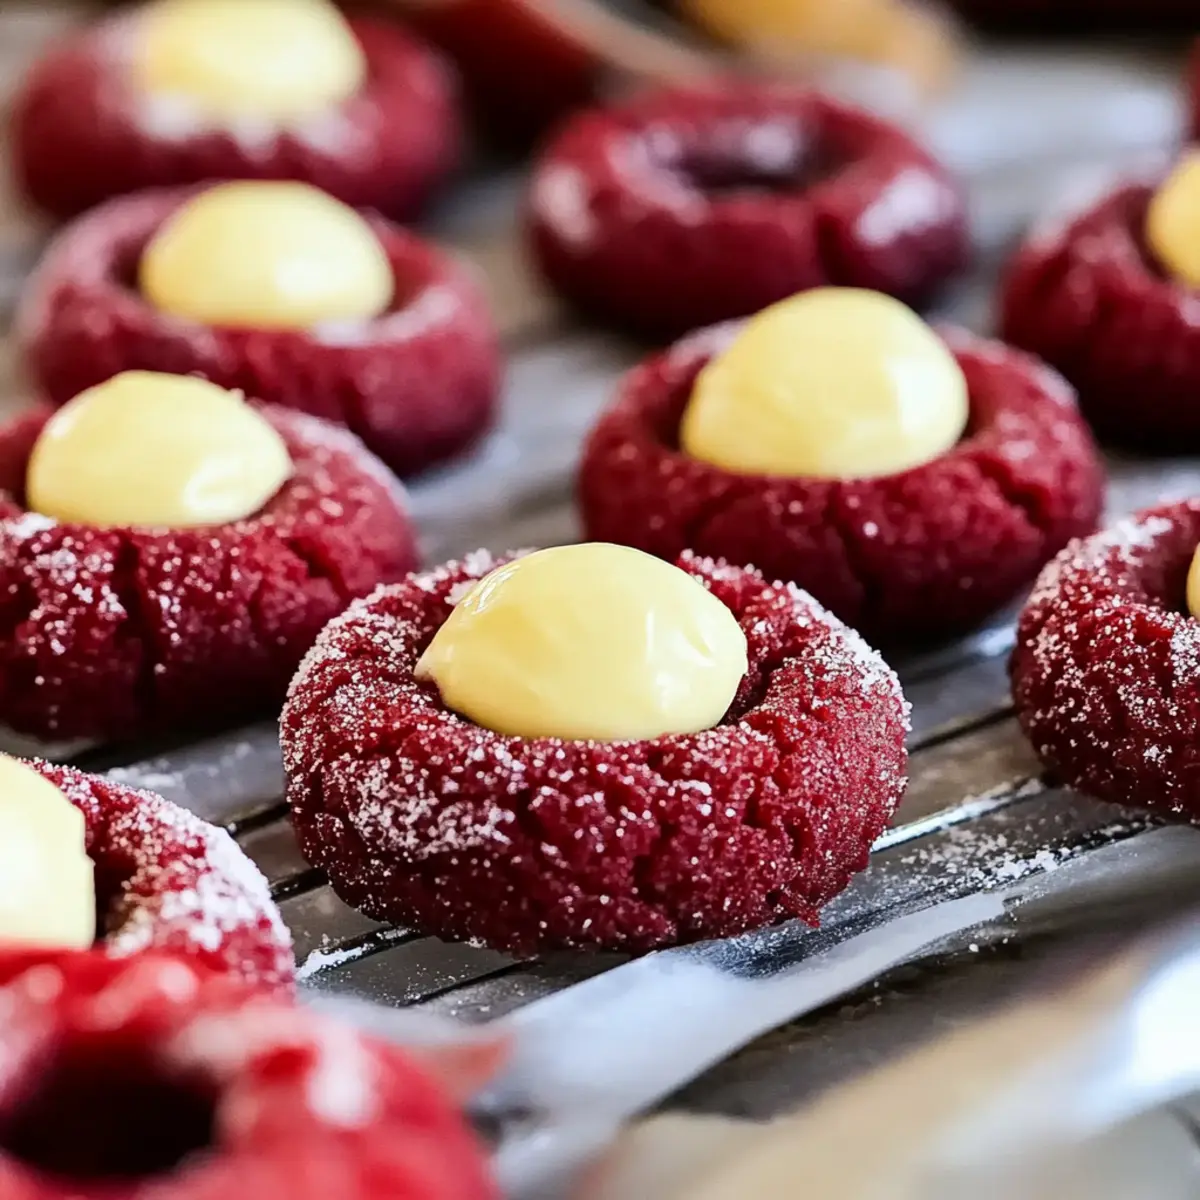
Spoon the cream cheese mixture into each thumbprint indentation, filling them generously but carefully to prevent overflow. The filling should mound elegantly in the thumbprint, giving your Red Velvet Thumbprint Cookies a lovely finish that will look attractive when baked.
Step 8: Bake Your Cookies
Place the baking sheet in the preheated oven and bake for 12-15 minutes, or until the edges are set and the cookies appear slightly puffed. You want them to be just firm around the edges while still soft in the center. Keep an eye on them as they bake, enjoying the delightful aroma that fills your kitchen.
Step 9: Cool and Enjoy
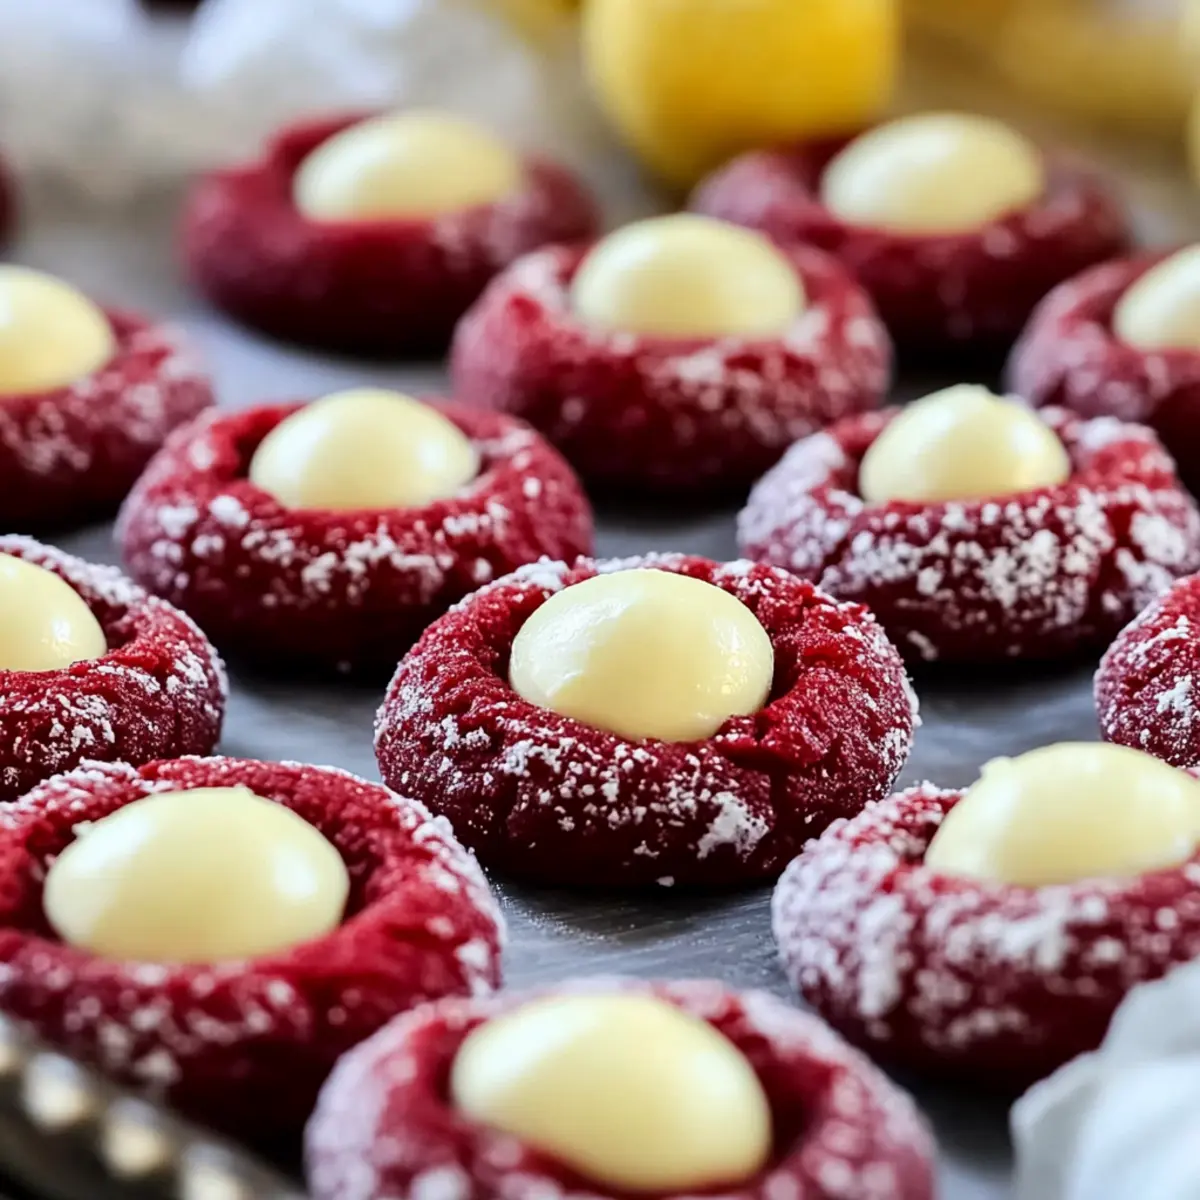
Once baked, remove the cookies from the oven and let them cool on the baking sheet for about 5 minutes, allowing the cream cheese filling to set slightly. Then, transfer them to a wire rack to cool completely. Enjoy these delicious Red Velvet Thumbprint Cookies with your favorite warm beverage, savoring each delightful bite!
Make Ahead Options
These Red Velvet Thumbprint Cookies are a fantastic treat for meal prep enthusiasts! You can prepare the cookie dough up to 24 hours in advance. Simply mix the dough, shape it into balls, and store them in an airtight container in the refrigerator. The cream cheese filling can also be made ahead and refrigerated for up to 3 days; just ensure it’s completely cool before sealing it. When you’re ready to bake, preheat your oven, create the thumbprint formations, fill them with the cream cheese mixture, and bake as directed. This way, you’ll enjoy freshly baked cookies with minimal effort, without sacrificing that delightful taste!
How to Store and Freeze Red Velvet Thumbprint Cookies
Room Temperature: Store cookies in an airtight container at room temperature for up to 1 week to maintain their soft texture and flavor.
Fridge: For longer freshness, keep them in the fridge for up to 2 weeks. Just be sure they are in a sealed container to prevent them from drying out.
Freezer: Freeze unbaked dough for up to 3 months. Roll into balls, freeze on a baking sheet, then transfer to a zip-top bag. When ready to bake, just add a couple of minutes to the bake time.
Reheating: To enjoy leftover cookies, microwave for 10-15 seconds to soften them slightly before serving, enhancing that chewy delight with the creamy filling.
Expert Tips for Red Velvet Thumbprint Cookies
- Chill the Dough: If your cookies spread too much, chill the dough for about 30 minutes. This helps maintain their shape during baking.
- Cool Completely: Ensure your cookies cool completely before adding the cream cheese filling. This prevents the frosting from melting into the cookie and losing its delightful texture.
- Use Gel Coloring: When adding red food coloring, consider using gel instead of liquid for vibrancy. Keep in mind that gel colors are more concentrated, so use them sparingly.
- Watch Baking Time: Keep a close eye on your cookies while they’re baking; overbaking can lead to a dry texture. Look for set edges and slightly puffed centers.
- Creative Fillings: Don’t hesitate to experiment! Try substituting different fillings like flavored cream cheese or fruit preserves to give your Red Velvet Thumbprint Cookies a tasty twist.
Red Velvet Thumbprint Cookies Variations
Feel free to bring your own spin to these scrumptious cookies! Let your creativity shine in the kitchen with these exciting variations.
- Nutty Twist: Add chopped walnuts or pecans for a delightful crunch on top of the cream cheese filling. It adds an unexpected texture that makes each bite even more enjoyable.
- Different Hues: Use various gel food colorings to create beautiful rainbow thumbprints. The fun colors elevate their visual appeal, making them perfect for any celebration.
- Chocolate Lovers: Incorporate mini chocolate chips into the cookie dough for a rich, chocolatey twist. The complimentary flavors of chocolate and cream cheese will delight dessert lovers.
- Fruit-Filled: Instead of cream cheese, fill the thumbprints with fruit preserves like raspberry or strawberry. The tangy sweetness pairs beautifully with the cookies’ rich flavor.
- Spicy Kick: Add a pinch of cayenne pepper or cinnamon to the dough for a subtle heat that surprises the palate and adds depth to the cookies’ flavor.
- Vegan Adaptation: For a vegan version, use plant-based butter, flaxseed meal as an egg replacement, and vegan cream cheese. You’ll still enjoy all the delightful flavors with this compassionate twist.
- Cream Cheese Swirl: Create a marbled effect with the cream cheese filling by swirling in a bit of chocolate ganache before baking. The visual effect is stunning, and the taste is divine!
- Savory Spin: If you’re curious, try a savory filling with herb-infused cream cheese. Pairing unexpected flavors opens the door to fabulous culinary adventures!
Exploring variations for these Red Velvet Thumbprint Cookies can spark joy in your baking journey! While you’re at it, why not try pairing them with my delightful Chocolate Chip Cookies or even some Savory Rosemary Cookies? Your baking repertoire will be all the more exciting!
What to Serve with Red Velvet Thumbprint Cookies
Indulge in a delightful meal that perfectly complements the sweet, creamy goodness of these stunning cookies.
-
Fresh Strawberries: Juicy strawberries add a burst of freshness, balancing out the richness of the cookies. Their natural sweetness will enhance your dessert experience.
-
Vanilla Ice Cream: A scoop of vanilla ice cream beside your cookie creates a delightful contrast of warm and cold. The creamy texture of the ice cream pairs beautifully with the soft, chewy cookie for indulgent bites.
-
Creamy Hot Chocolate: Sip on a cup of rich hot chocolate to elevate your cookie enjoyment. The warmth and smoothness of the drink will enhance the flavor of the red velvet and cream cheese filling.
-
Chocolate Dipped Pretzels: Serve these sweet and salty snacks alongside your cookies to introduce a unique texture and flavor contrast. Their crunch is an exciting complement to the softness of the cookies.
-
Coffee or Espresso: A freshly brewed cup of coffee or a shot of espresso can perfectly cut through the richness of the cookies, making each bite even more satisfying. It’s a comforting way to enjoy your dessert!
-
Mini Cheesecakes: For a double dessert delight, serving mini cheesecakes offers a lovely tanginess that complements the sweet cream cheese of your cookies, enhancing the overall dessert experience in a sophisticated way.
Red Velvet Thumbprint Cookies with Cream Cheese Recipe FAQs
How do I select ripe ingredients for my Red Velvet Thumbprint Cookies?
Absolutely! For the best results, use room-temperature unsalted butter and fresh eggs. Ensure your cream cheese is softened and free from lumps. When selecting vanilla extract, opt for pure rather than imitation for a more robust flavor. Additionally, pick cocoa powder that appears fresh and deep in color, avoiding any packages with dark spots.
What’s the best way to store Red Velvet Thumbprint Cookies, and how long do they last?
These delightful cookies can be stored in an airtight container at room temperature for up to 1 week. To maintain their soft and chewy texture, consider placing a slice of bread in the container; it helps keep cookies moist! If you choose to refrigerate them, they can last up to 2 weeks—just ensure they are in a sealed container to avoid drying out.
Can I freeze Red Velvet Thumbprint Cookies?
Definitely! Freezing is a great way to save these cookies for later. You can freeze the unbaked dough for up to 3 months. To do this, roll the dough into balls, place them on a baking sheet, and freeze until solid. Then, transfer the balls into a zip-top bag. When you’re ready to bake, just pop them in the oven directly from the freezer, adding 2-3 extra minutes to the bake time.
What should I do if my cookies spread too much while baking?
If you notice your cookies spreading too much, don’t worry! Simply chill the dough for about 30 minutes before baking. This will help them hold their shape. Remember to keep an eye on your cookies as they bake; they should have set edges and slightly soft centers when done.
Are there any dietary considerations for making Red Velvet Thumbprint Cookies?
Yes! If you’re catering to allergies, it’s essential to mention that these cookies contain dairy and eggs, making them unsuitable for those with lactose intolerance or egg allergies. For a gluten-free option, you can substitute the all-purpose flour with a gluten-free flour blend. Always check for potential cross-contamination if you’re serving them to those with severe allergies.
How can I modify the recipe?
Very easily! You can switch up the food coloring for different occasions, using various colors to match themes (like green for St. Patrick’s Day). Experimenting with fillings can also be fun—try flavored cream cheese or even fruit preserves for a delightful twist!
Decadent Red Velvet Thumbprint Cookies That Wow Every Time
Ingredients
Equipment
Method
- Preheat your oven to 350°F (175°C) and line a baking sheet with parchment paper.
- Cream together the softened unsalted butter and granulated sugar until light and fluffy.
- Beat in the large egg and pure vanilla extract until fully incorporated.
- Sift in cocoa powder and add red food coloring, mixing until a uniform color is achieved.
- Gradually add all-purpose flour, baking powder, and salt, stirring until just combined.
- Roll the dough into 1-inch balls and place them on the baking sheet, creating thumbprint indentations.
- Mix together softened cream cheese and powdered sugar until smooth and creamy.
- Fill each thumbprint with the cream cheese mixture generously.
- Bake for 12-15 minutes, then let cool on the baking sheet for 5 minutes before transferring to a wire rack.
Leave a Reply