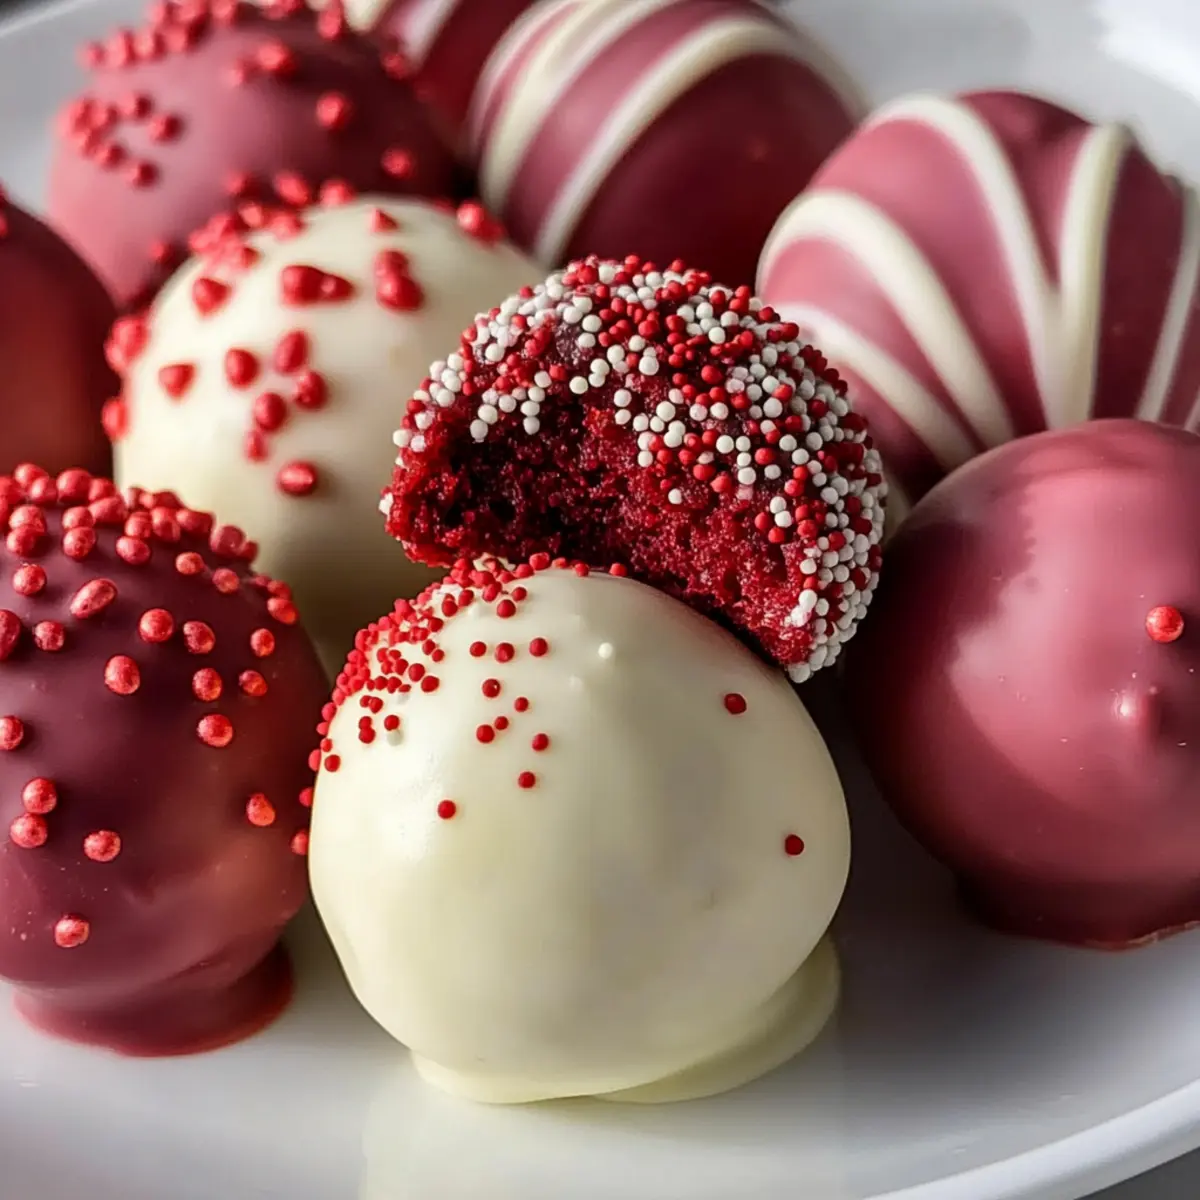
As I stood in my kitchen, the aroma of freshly baked red velvet cake danced through the air, igniting memories of festive gatherings and cozy celebrations. I couldn’t help but think about how amazing it is to transform this classic dessert into delightful little treasures—Red Velvet Cake Balls. These bite-sized truffles boast a tangy, creamy center wrapped in a silky white chocolate coat, making them the ultimate crowd-pleaser for any occasion. Not only are they quick and easy to prepare, but they also allow for fun variations, from rich dark chocolate coverings to delightful mix-ins like mini chocolate chips or crushed pecans. With just a few simple steps, you can create a stunning treat that’s perfect for sharing with loved ones or simply indulging yourself. Ready to create something magical in your kitchen? Let’s dive in!
Why Are Red Velvet Cake Balls So Irresistible?
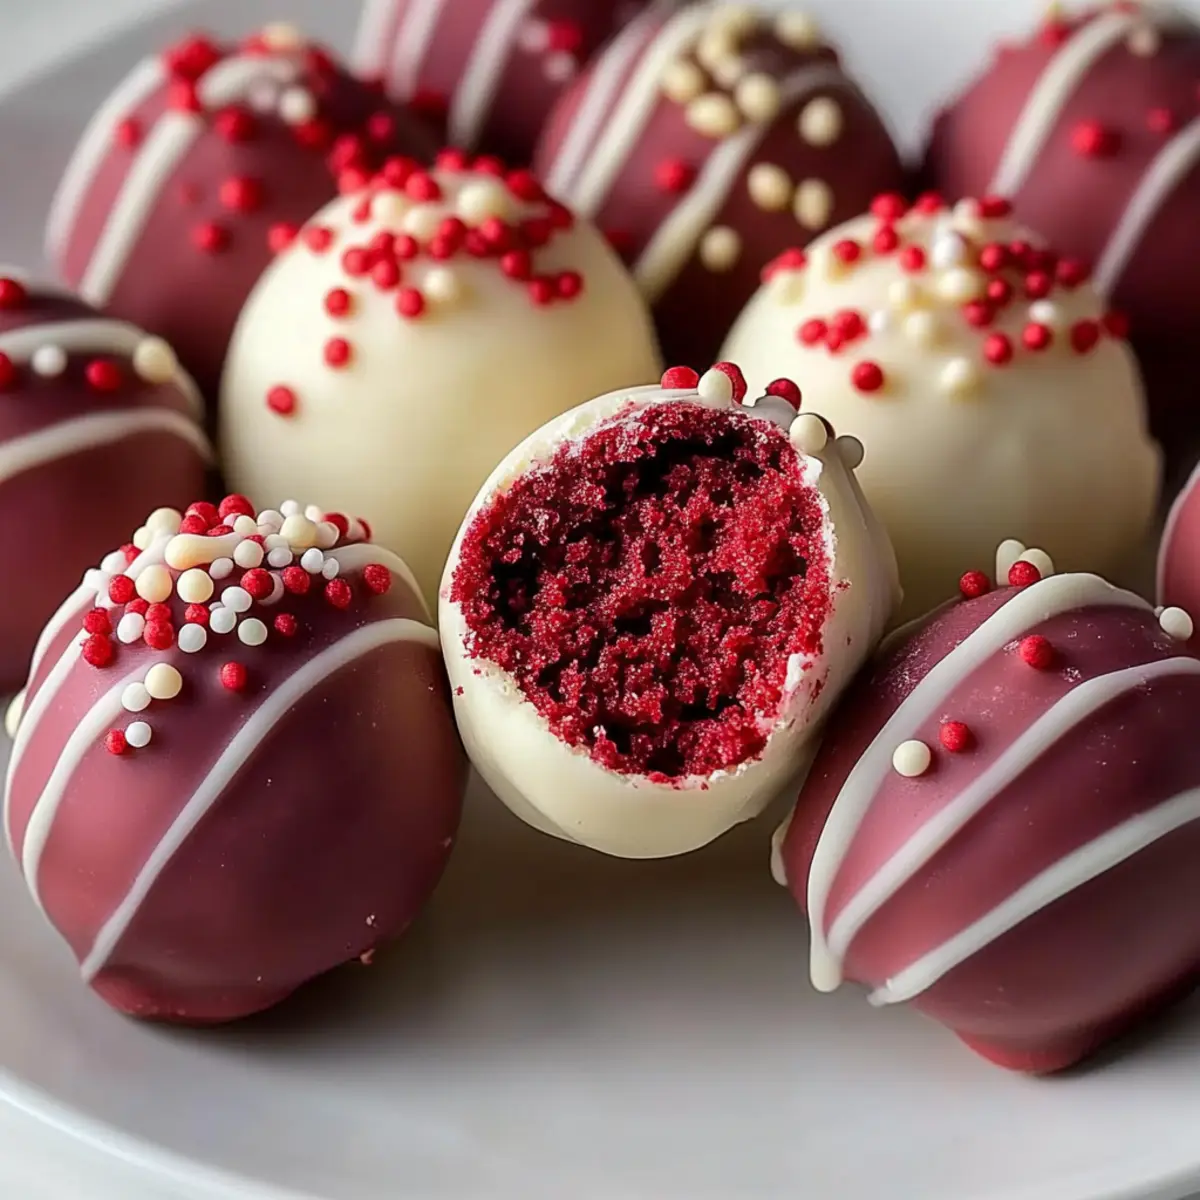
Decadent Texture: Each cake ball offers a smooth, creamy truffle experience that’s hard to resist.
Easy to Make: With just a few simple steps, you’ll whip up a batch in no time, perfect for busy bakers!
Customizable Options: Get creative with flavor variations by experimenting with different coatings and mix-ins like crushed pecans or dark chocolate.
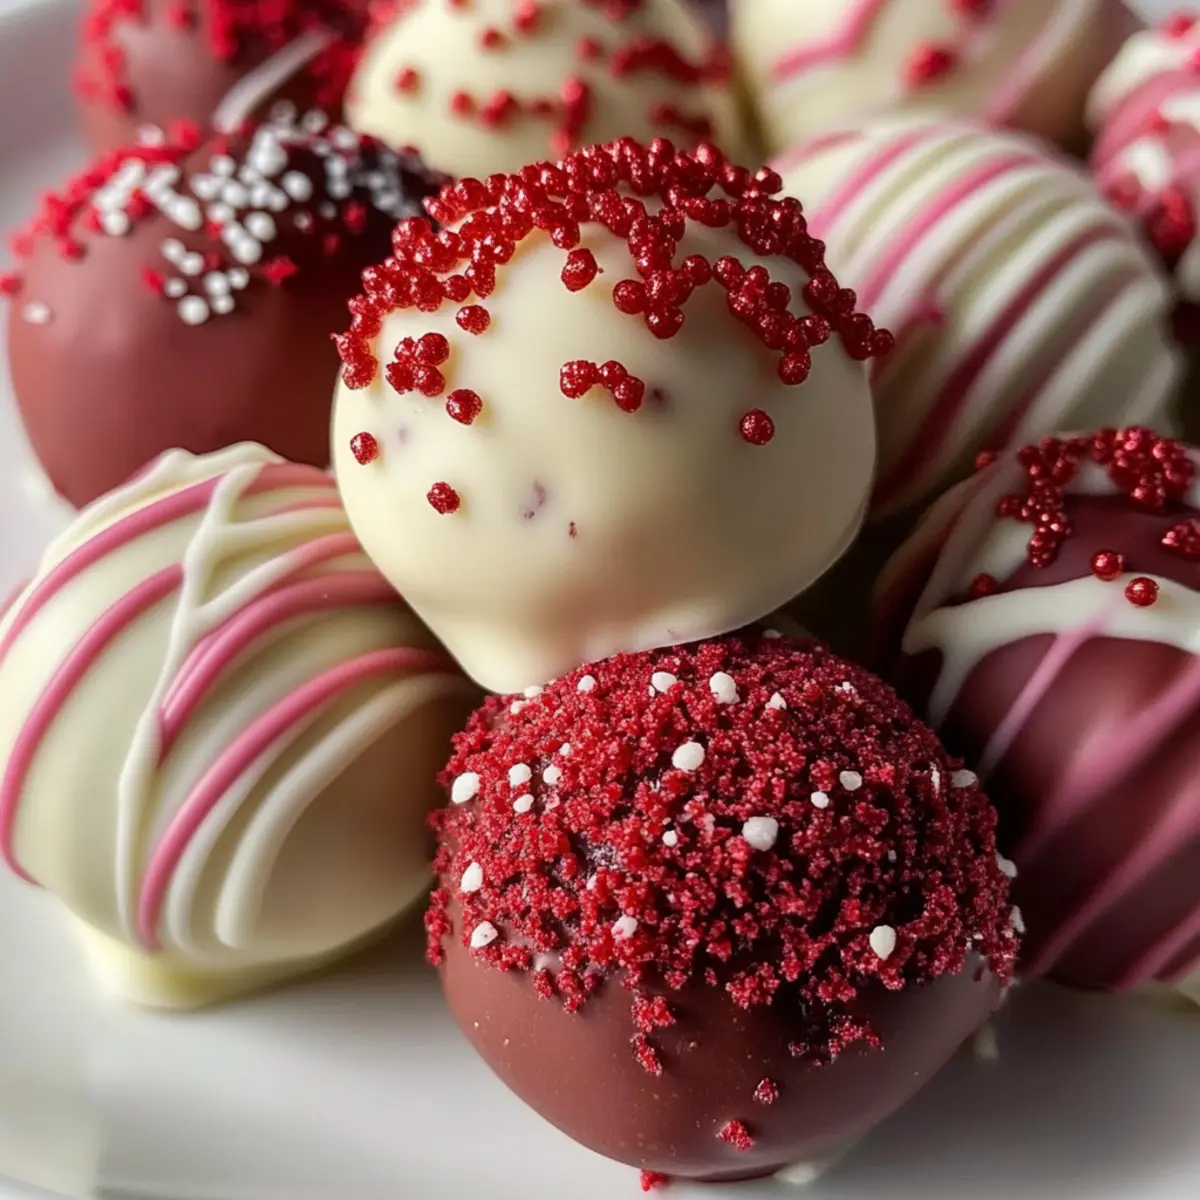
Festive Appeal: Their rich red hue and decorative sprinkles make them a gorgeous addition to any celebration.
Perfect for Sharing: Great for parties or gift-giving, these treats are sure to delight friends and family alike! For more sweet inspiration, check out these Gingerbread Latte Cake and Christmas Meatballs Sweet ideas!
Red Velvet Cake Balls Ingredients
• Get ready to create these heavenly delights!
For the Cake Base
• Red Velvet Cake – This provides the signature flavor; use a box mix or bake from scratch, allowing it to cool completely.
• Cream Cheese Frosting – Essential for moisture and that creamy texture; start with 1 cup and adjust based on consistency.
For the Coating
• White Chocolate – Adds a sweet outer layer; melting wafers are recommended for a smooth finish.
• Dark Chocolate (optional) – For a richer flavor profile, substitute white chocolate for a robust twist.
For Decoration
• Sprinkles (optional) – Perfect for adding a festive touch; choose colors that match the occasion.
• Mini Chocolate Chips or Crushed Pecans (optional) – These can be mixed in for an extra crunchy texture.
Now that you have your ingredients prepped, let’s roll up our sleeves and get started on creating these delicious Red Velvet Cake Balls that are sure to impress!
Step‑by‑Step Instructions for Red Velvet Cake Balls
Step 1: Bake the Cake
Preheat your oven to 350°F (175°C). Prepare a 9×13 inch pan by greasing it or lining it with parchment paper. Bake the red velvet cake according to the package instructions or your homemade recipe for 30-35 minutes, or until a toothpick inserted in the center comes out clean. Once done, allow the cake to cool completely on a wire rack for about 1 hour.
Step 2: Crumble the Cake
Once the red velvet cake is cool, crumble it into fine crumbs in a large mixing bowl. Break apart the cake with your hands or a fork, ensuring there are no large pieces left, so your Red Velvet Cake Balls have a smooth texture. Visualize the texture as resembling dry sand, which will help in the next step.
Step 3: Combine with Frosting
Add 1 cup of cream cheese frosting to the cake crumbs and mix thoroughly until just combined. Use your hands or a spatula for effective mixing, creating a thick dough-like consistency. If the mixture feels too dry, let it rest for 5 minutes, allowing the frosting to moisten the crumbs. The mixture should hold together firmly, resembling stiff cookie dough.
Step 4: Form the Balls
Using a cookie scoop or your hands, roll the mixture into 1-inch balls and place them on a parchment-lined baking sheet. Aim for uniform size to ensure even coating and visual appeal. You should yield around 20-25 Red Velvet Cake Balls, making them perfect for sharing or gifting.
Step 5: Chill the Balls
Cover the baking sheet with plastic wrap and freeze the cake balls for about 1 hour until they are firm. This is crucial for the next step, as it prevents the balls from falling apart when dipped in chocolate. Check after 30 minutes to ensure they are becoming solid.
Step 6: Melt the Chocolate
While the cake balls are chilling, melt your white chocolate in a double boiler over low heat. Stir continuously until smooth and well combined, ensuring that no chocolate bits remain. Maintain a gentle heat to prevent burning; the chocolate should have a velvety, pourable consistency, ready for coating your Red Velvet Cake Balls.
Step 7: Dip the Cake Balls
Once the cake balls are firm and the chocolate is melted, use a toothpick or fork to dip each ball into the white chocolate. Tap off any excess chocolate by gently shaking the fork, allowing the excess to drip back into the bowl. Place the coated cake balls back on the parchment-lined baking sheet, ensuring they’re spaced out.
Step 8: Decorate and Set
Immediately add sprinkles to the freshly dipped cake balls or drizzle with melted dark chocolate for a decorative touch. Allow them to set at room temperature for about 30 minutes, or until the chocolate hardens completely. For quicker results, chill them again in the refrigerator for 10 minutes, ensuring the finished Red Velvet Cake Balls have a professional appearance.
Step 9: Serve or Store
Once set, your delightful Red Velvet Cake Balls are ready to serve! Present them on a tiered dessert stand at celebrations or gift them in decorative boxes. Store any leftovers in an airtight container for up to 5 days, or freeze for longer enjoyment. These treats are bound to impress everyone at any gathering!
How to Store and Freeze Red Velvet Cake Balls
Airtight Container: Store your Red Velvet Cake Balls in an airtight container at room temperature for up to 5 days to maintain their freshness and texture.
Refrigerator: For longer-lasting cake balls, keep them in the fridge for up to 1 week. Just ensure they’re in a sealed container to avoid drying out.
Freezer: Freeze the cake balls for up to 3 months. Place them in a single layer on a baking sheet until hard, then transfer to a freezer-safe container.
Thawing: To enjoy frozen cake balls, transfer them to the refrigerator for several hours or overnight before serving, ensuring a soft texture is retained.
Make Ahead Options
These delectable Red Velvet Cake Balls are perfect for meal prep enthusiasts! You can create the cake base and crumble it up to 24 hours in advance—simply bake and cool the cake, then crumble it and store the crumbs in an airtight container in the refrigerator. The mixture can also be rolled into balls and frozen for up to 3 months; just remember to freeze them first on a tray and then transfer to a freezer-safe bag. When you’re ready to serve, simply dip the frozen cake balls in melted chocolate and allow them to set before enjoying. With these prep steps, you’ll save valuable time during busy celebrations while still delivering these irresistible treats that everyone will love!
Expert Tips for Red Velvet Cake Balls
- Consistent Crumbles: Ensure you crumble the cake into fine, even crumbs for a uniform texture; no large pieces should remain for best melding with the frosting.
- Right Moisture: Avoid adding too much frosting; aim for a thick consistency similar to stiff cookie dough for easy rolling.
- Chill Prior to Dipping: Freezing the cake balls before dipping in chocolate is crucial; this prevents them from losing shape during the coating process.
- Gentle Melting: Use a double boiler for the white chocolate to achieve a smooth melt; don’t rush or use high heat to avoid burning.
- Quick Assembly: Work swiftly after melting chocolate to ensure it’s still pourable; thickening chocolate can make dipping more challenging.
- Fun Variations: Get creative with flavors by adding mini chocolate chips or mixing in flavored frostings for unique Red Velvet Cake Balls!
Red Velvet Cake Balls Variations
Get ready to unleash your creativity and put a personal twist on these delightful treats!
-
Dark Chocolate: Swap white chocolate for dark chocolate for a richer, more intense flavor profile. The contrast enhances the red velvet essence beautifully.
-
Mini Chocolate Chips: Fold mini chocolate chips into the cake mixture for delightful little bursts of chocolate with each bite. This adds a new texture that elevates the indulgence.
-
Crushed Pecans: Incorporate crushed pecans for added crunch and a nutty flavor. This twist adds a rustic touch that perfectly complements the sweetness of the cake.
-
Flavored Frosting: Experiment with different frosting flavors, such as salted caramel or chocolate cream cheese, for a unique taste adventure. These alternatives can dramatically enhance the flavor experience.
-
Peanut Butter Coating: For a fun twist, substitute the chocolate coating with melted peanut butter. It adds a creamy, nutty element that’s unexpected and delightful.
-
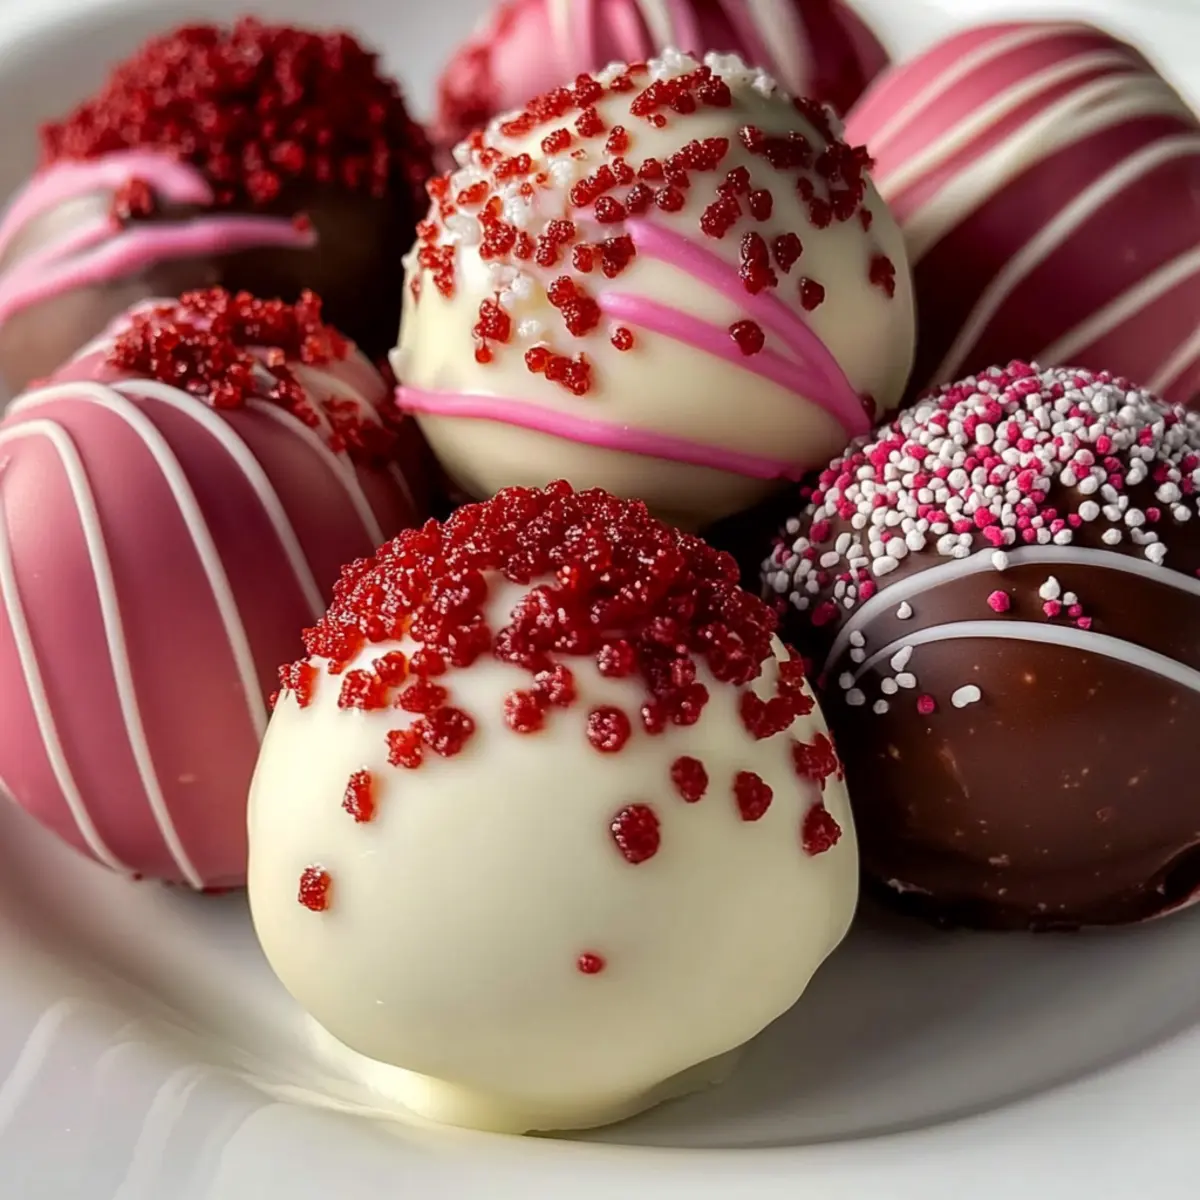
Seasonal Sprinkles: Change up the sprinkles based on the season or occasion—red and green for Christmas, pastel colors for Easter. This keeps your treats festive and fun!
-
Coconut Flakes: Roll the dipped cake balls in toasted coconut flakes for a tropical vibe. It adds texture and a burst of flavor that transports you to a sunny paradise.
-
Spice it Up: Add a pinch of cayenne or chili powder to the chocolate coating for a surprise kick of heat. This infusion makes every bite an exciting taste adventure!
These variations promise to bring new flavors and fun experiences to your kitchen. For more ideas on festive treats, don’t forget to check out the scrumptious Gingerbread Latte Cake and lovely Gingerbread Wreath Cake. Each recipe is a delightful adventure waiting to happen!
What to Serve with Red Velvet Cake Balls
Indulging in these delightful red velvet treats leaves you wondering what else can elevate your dessert experience.
-
Creamy Vanilla Ice Cream: This classic pairing adds a cool, creamy element that balances the sweetness of the cake balls beautifully. Imagine the contrasting temperatures—warm truffle against cold ice cream.
-
Fruit Tart: A fresh fruit tart brings a tangy acidity that cuts through the richness, complementing the dessert perfectly while adding a burst of color to your table.
-
Coffee or Espresso: Rich coffee or a bold shot of espresso enhances the sweet flavors and revives your palate after each delicious bite. It’s a perfect way to close any gathering with friends.
-
Cheesecake Bites: Treat yourself to mini cheesecake bites that echo the creamy texture found in the cake balls. The creamy tanginess pairs well while keeping a delightful consistency for variety.
-
Sparkling Wine: Celebrate any occasion with bubbly! Its effervescence balances the richness of the cake balls, adding a festive touch that’s sure to impress guests.
-
Chocolate-Covered Strawberries: The freshness from the strawberries and their complementary chocolate flavor creates a romantic vibe, perfect for Valentine’s Day or anniversaries when served alongside your cake balls.
These pairings help create a beautiful spread, inviting loved ones to enjoy a mélange of flavors alongside the irresistible Red Velvet Cake Balls.
Red Velvet Cake Balls Recipe FAQs
How should I select and store red velvet cake for making cake balls?
For the best results, whether using a box mix or homemade, ensure your red velvet cake is baked and allowed to cool completely before crumbling. When storing, keep it in an airtight container at room temperature for up to 3 days. If you’re making cake balls soon after baking, this is perfect!
How do I properly store my Red Velvet Cake Balls?
Absolutely! To keep your Red Velvet Cake Balls fresh, store them in an airtight container at room temperature for up to 5 days. If you want to enjoy them longer, refrigerate them for up to 1 week, ensuring they’re sealed well to prevent them from drying out.
Can I freeze Red Velvet Cake Balls? How?
Yes, you can freeze them for up to 3 months! First, place the dipped cake balls in a single layer on a baking sheet and freeze until firm. Then, transfer them to a freezer-safe container, placing parchment paper between layers to avoid sticking. To enjoy, simply thaw in the refrigerator for several hours or overnight before serving.
What should I do if my mixture is too dry or too wet when making the cake balls?
If your mixture seems too dry, adding a little more frosting can help—it should hold together like stiff cookie dough. If it feels too wet, let it rest for about 5 minutes to allow the frosting to soak in. Adjusting gradually will help you achieve just the right consistency for rolling!
Are there any common allergies to consider with this recipe?
Certainly! For those who may have allergies, the recipe includes common allergens such as wheat (from the cake mix) and dairy (in the cream cheese frosting and white chocolate). If you or your loved ones have dietary restrictions, consider using gluten-free cake mix and dairy-free chocolate options to make them suitable!
Red Velvet Cake Balls That Melt in Your Mouth Every Time
Ingredients
Equipment
Method
- Preheat your oven to 350°F (175°C). Grease or line a 9×13 inch pan with parchment paper. Bake the cake for 30-35 minutes until a toothpick comes out clean. Allow to cool on a wire rack for about 1 hour.
- Crumble the cooled cake into fine crumbs in a large mixing bowl, ensuring no large pieces are left.
- Mix 1 cup of cream cheese frosting into the cake crumbs until combined. Adjust for moisture, letting it rest for 5 minutes if needed.
- Roll the mixture into 1-inch balls and place on a parchment-lined baking sheet, yielding around 20-25 balls.
- Cover and freeze the cake balls for about 1 hour to firm up.
- Melt the white chocolate in a double boiler over low heat, stirring until smooth.
- Dip each ball into the melted white chocolate using a toothpick, tap off excess chocolate, and place back on the baking sheet.
- Immediately add sprinkles or drizzle with dark chocolate before letting them set at room temperature for 30 minutes.
- Serve or store the cake balls in an airtight container for up to 5 days.
Leave a Reply