As I stood in my kitchen, a whirlwind of scents enveloped me, transporting me back to cozy evenings shared with friends. The rich aroma of vanilla and warm spices danced around me, beckoning a comforting cup of Vanilla Cinnamon Milk Tea. This delightful fusion is not just a drink; it’s the perfect way to unwind after a hectic day. With minimal fuss, this recipe is not only quick to prepare but also captures the essence of home-brewed comfort. You’ll adore how it warms you from the inside out while making your kitchen smell heavenly. Ready to indulge in a soothing sip that could easily become your new favorite ritual? Let’s get brewing!
Why Is This Oreo Cheesecake Irresistible?
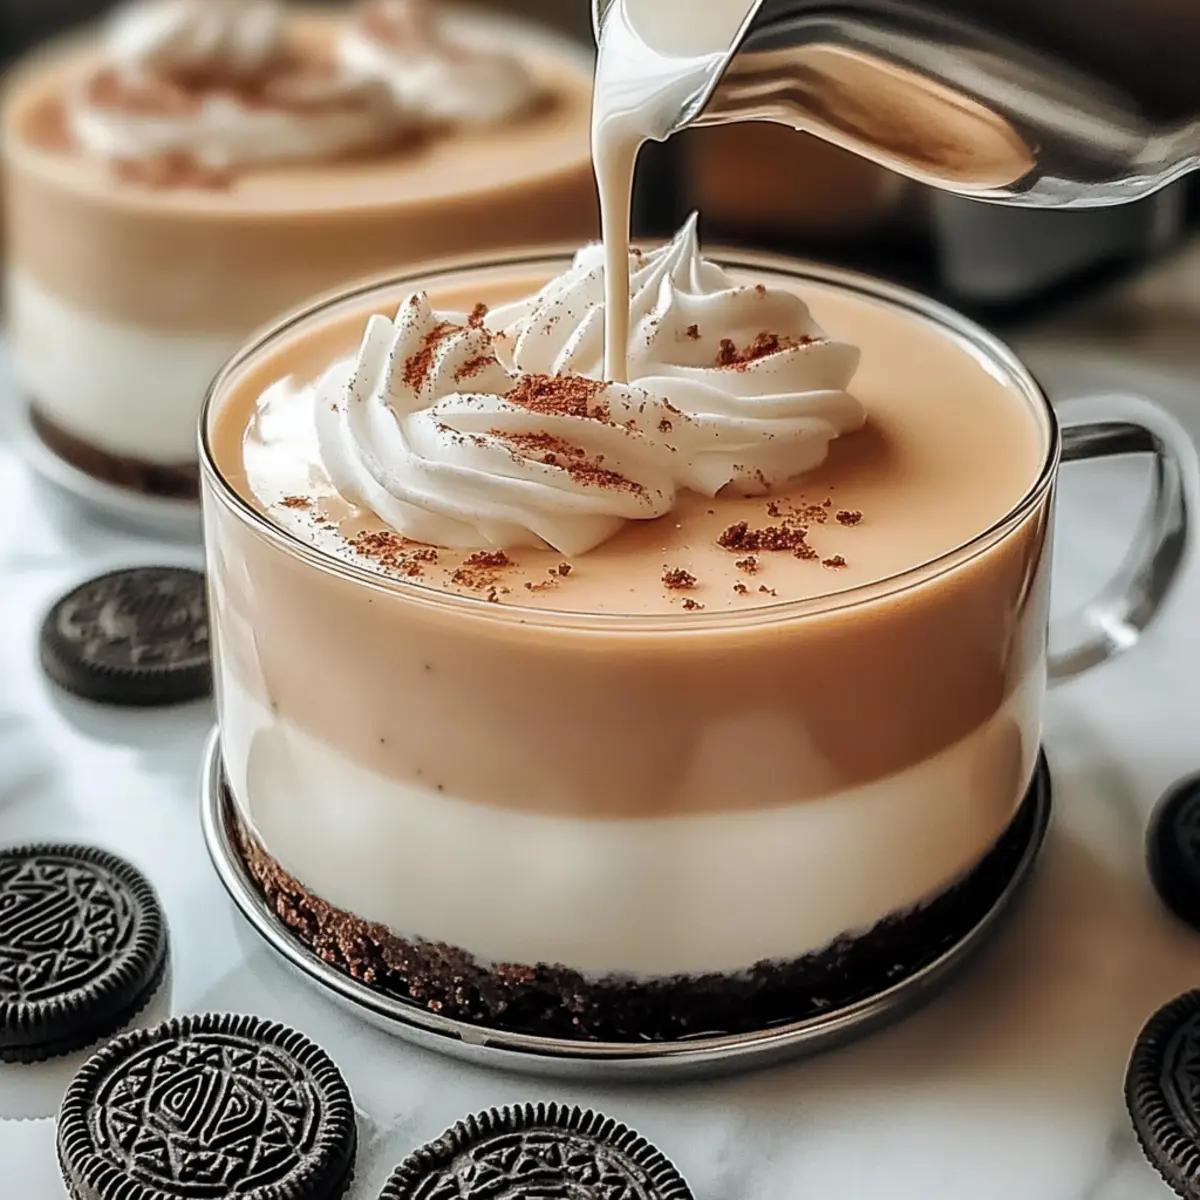
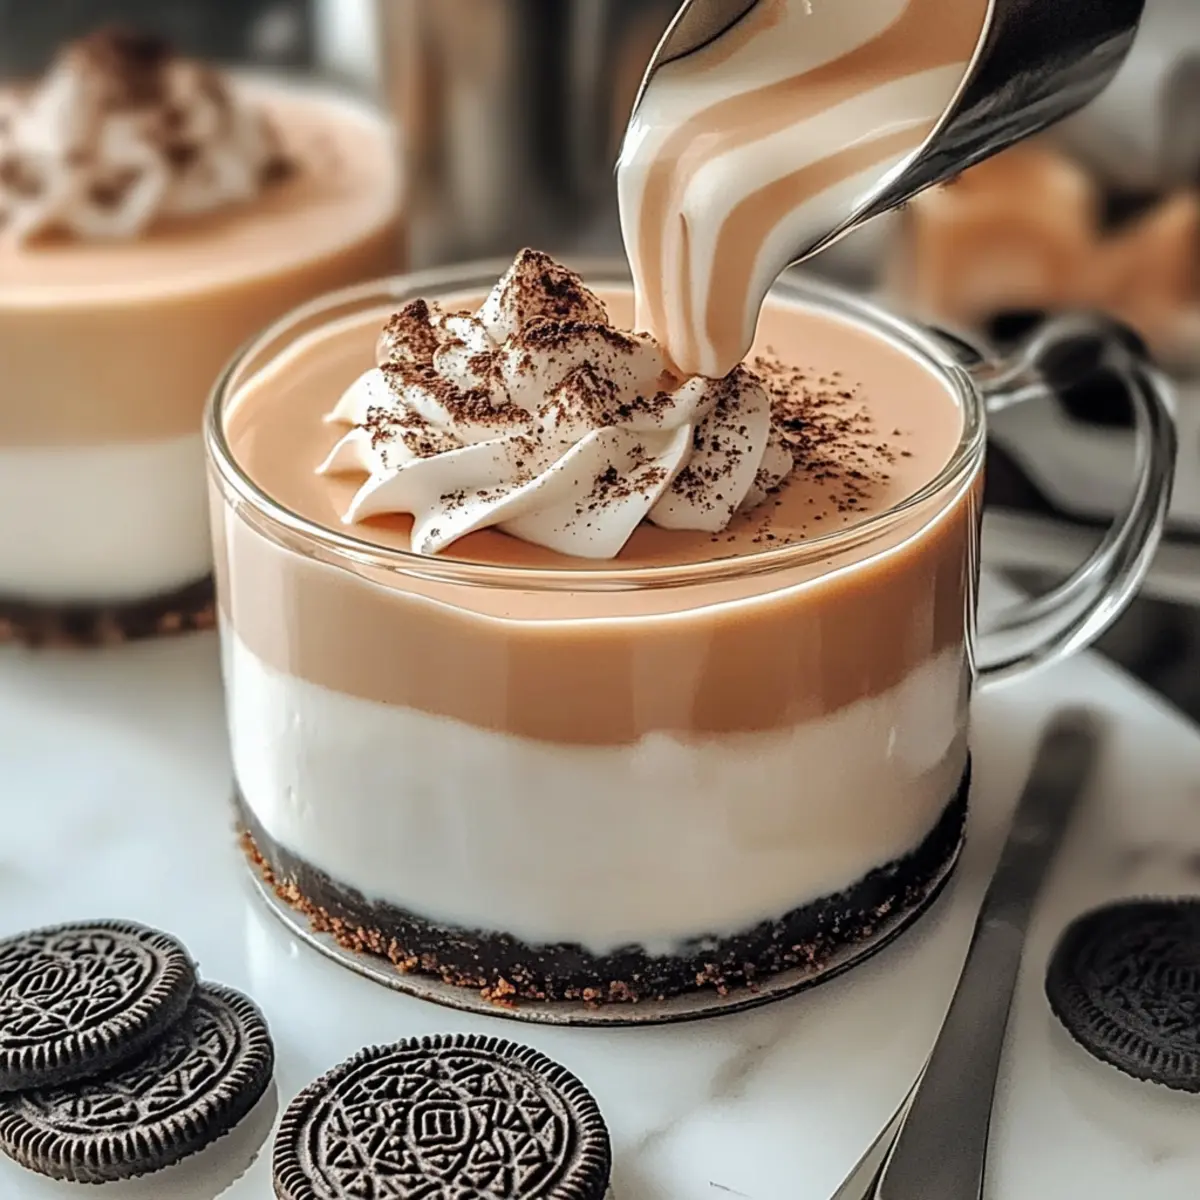
Decadence in Every Bite: With its rich cream cheese filling and crunchy Oreo crust, this no-bake delight speaks to your sweet tooth in a big way.
Easily Customizable: Fancy a different twist? Swap in graham cracker crusts or go wild with toppings—like fresh fruit or flavored Oreos!
Quick and Simple: No baking required means minimal time in the kitchen, making it perfect for busy days or last-minute gatherings.
Crowd-Pleaser: Whether it’s a birthday party or a casual family dinner, this cheesecake is sure to impress and satisfy.
Storage-Friendly: Enjoy leftovers! It keeps well in the fridge for up to 5 days or can be frozen for future indulgence.
Adventure into the world of flavors with other delicious recipes like Cinnamon Vanilla Custard or a savory twist with Ground Beef Philly Cheesesteaks.
Oreo Cheesecake Ingredients
• Dive into the world of creamy indulgence with these essential ingredients.
For the Filling
- Cream Cheese – Provides the rich, creamy texture; make sure it’s at room temperature for easy blending.
- Sour Cream – Adds a tangy note and smooth texture; Greek yogurt is a great lighter substitute.
- Powdered Sugar – Sweetens without grittiness; granulated sugar can be used but will need more mixing.
- Cool Whip – Gives a light and fluffy texture; homemade whipped cream can replace it for a natural touch.
- Oreo Cookies – The star of the show that delivers flavor and crunch; use double-stuffed Oreos for an extra creamy experience.
For the Crust
- Butter – Binds the crust together and adds richness; unsalted butter is best for better control over salt levels.
- Oreo Cookies – Use crushed Oreos for a delicious crust that complements the filling perfectly.
Add in the rich cacophony of flavors with these elements and prepare for a decadent treat! The Oreo Cheesecake is truly a no-bake wonder that marries simplicity with indulgence.
Step‑by‑Step Instructions for No-Bake Oreo Cheesecake
Step 1: Prepare the Crust
Start by crushing 24 Oreo cookies into fine crumbs using a food processor or a rolling pin. In a medium bowl, mix the Oreo crumbs with 5 tablespoons of melted unsalted butter until well combined. Press this mixture firmly into the bottom of a 9-inch springform pan, creating an even layer. Chill the crust in the refrigerator for at least 30 minutes to set before adding the filling.
Step 2: Make the Filling
In a large mixing bowl, beat together 16 ounces of room temperature cream cheese and 1 cup of powdered sugar using an electric mixer on medium speed until the mixture becomes smooth and creamy, about 3-4 minutes. Add in 1 cup of sour cream and blend until fully incorporated, ensuring a velvety texture. This forms the luscious backbone of your No-Bake Oreo Cheesecake.
Step 3: Incorporate the Cool Whip
Gently fold in 1 ½ cups of Cool Whip into the cream cheese mixture using a spatula, taking care to maintain that light and airy texture. Fold gradually until there are no visible streaks of cream remaining. This step is crucial to achieve a fluffy cheesecake filling that contrasts beautifully with the crunchy Oreo crust.
Step 4: Combine with Oreos
Chop 6 additional Oreo cookies into small chunks and carefully fold them into the creamy mixture. This will add delightful bits of crunch throughout the filling of your No-Bake Oreo Cheesecake. Ensure that the cookie pieces are evenly distributed for balanced flavor in each bite.
Step 5: Assemble
Pour the creamy filling over the chilled crust, spreading it evenly with a spatula. Smooth the top for a polished look, ensuring the filling touches all edges of the crust. This will give your cheesecake a clean, finished appearance. Now it’s time for the magic of chilling!
Step 6: Chill to Set
Cover the springform pan tightly with plastic wrap or aluminum foil and refrigerate for at least 4 hours, preferably overnight. This step allows the No-Bake Oreo Cheesecake to firm up properly, making it easier to slice when serving. As it chills, the flavors will meld together beautifully.
Step 7: Serve
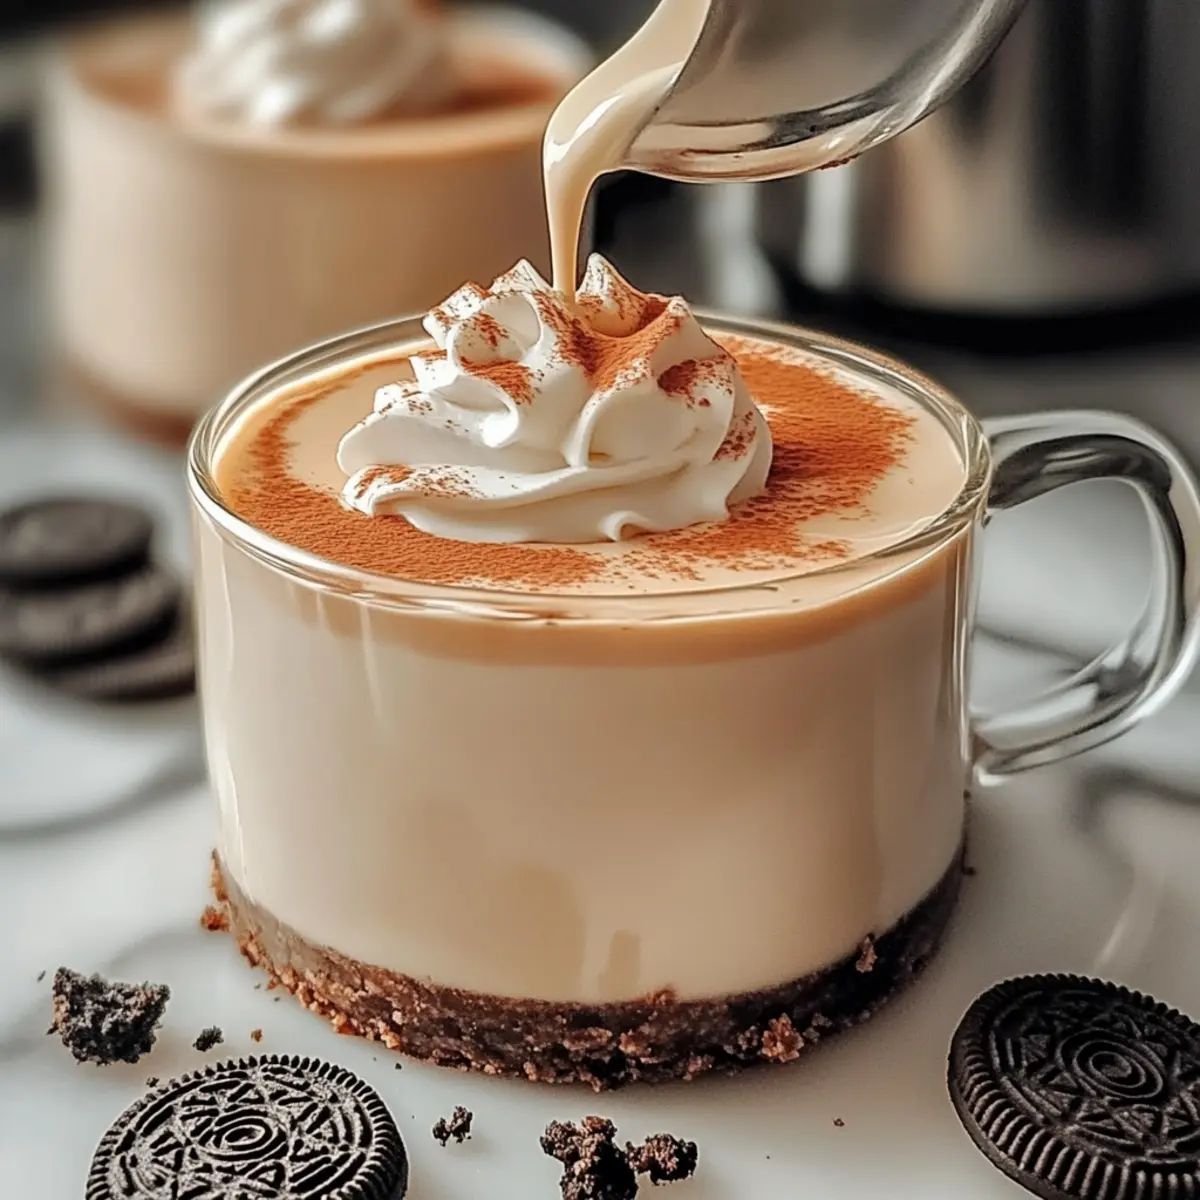
Once set, carefully remove the sides of the springform pan. For presentation, garnish with additional Cool Whip and whole or crushed Oreo cookies on top. To slice, use a hot knife for clean cuts. Serve the cheesecake cold, and delight in the rich flavors and delightful textures with family and friends.

What to Serve with No-Bake Oreo Cheesecake?
Indulging in a slice of creamy Oreo cheesecake isn’t just about dessert; it’s an opportunity to create a mouthwatering meal experience.
-
Fresh Berries: The tartness of strawberries or raspberries contrasts the rich cheesecake, adding a burst of freshness with every bite. A few juicy berries on the side will brighten up your plate.
-
Chocolate Sauce Drizzle: A warm, gooey drizzle of chocolate sauce enhances the decadent flavors, making every slice even more luxurious. It’s like adding a little hug of sweetness!
-
Whipped Cream: Light and fluffy whipped cream not only adds elegance but also softens the richness of the cheesecake. A dollop on top can elevate the presentation beautifully.
-
Coffee or Espresso: A steaming cup of freshly brewed coffee or a shot of espresso complements the dessert’s sweetness, creating a perfect balance of flavors. The bitterness of coffee enhances the chocolate notes in the Oreo crust.
-
Almond Biscotti: Crunchy almond biscotti adds a satisfying texture and nutty flavor that’s delightful alongside each luscious bite of cheesecake. It’s a perfect accompaniment for those who enjoy a little crunch.
-
Ice Cream: Vanilla or cookies and cream ice cream provides a creamy and cold contrast to the cheesecake, making it an irresistible treat. The extra temperature variance creates a delightful experience.
-
Minty Green Tea: A refreshing cup of minty green tea can cleanse the palate and provide a light, aromatic finish to your meal. It offers a gentle respite from the rich flavors.
-
Peanut Butter Cups: Crushed peanut butter cups sprinkled on top or served on the side add a fun twist that both chocolate and peanut butter lovers will enjoy. They bring a delightful surprise to each slice.
Variations & Substitutions for Oreo Cheesecake
Customize your Oreo cheesecake with delightful twists that elevate each bite!
-
Gluten-Free: Use gluten-free Oreo cookies or a gluten-free cookie alternative for the crust, making this indulgence accessible to everyone.
A loved one with dietary restrictions will appreciate this thoughtful swap, ensuring they can join in on the deliciousness. -
Chocolate Lovers: Replace half of the cream cheese with chocolate cream cheese for a delightful chocolatey twist without losing that classic cheesecake flavor.
Imagine the rich decadence elevating your dessert to a new level of delight! -
Fruit-Infused: Top with fresh berries or a fruit coulis for a refreshing contrast that balances sweetness with tartness.
The juicy burst of flavor brings brightness to the creamy cheesecake, making it irresistible. -
Nutty Addition: Fold crushed nuts, like walnuts or pecans, into the filling for a delightful crunch.
This change introduces a nutty richness that intertwines beautifully with the familiar taste of Oreo. -
Flavored Variations: Swap out regular Oreos for mint or peanut butter Oreos to create an entirely new flavor experience.
Picture the surprise on your guests’ faces when they dive into this creative twist! -
Extended Chill: Allow the cheesecake to chill for a full 24 hours instead of just 4 hours for a firmer, richer flavor.
The longer it sits, the more the flavors meld together, creating an unforgettable treat. -
Rich Swirls: Add a swirl of caramel or chocolate sauce on top before serving for added visual appeal and sweet decadence.
Each slice becomes a masterpiece that looks as fabulous as it tastes! -
Dairy-Free: For a vegan option, substitute cream cheese with cashew cream and use coconut whipped cream instead of Cool Whip.
This choice keeps the creamy texture while accommodating different dietary needs—everyone can enjoy a slice!
Explore more delectable recipes like Cinnamon Vanilla Custard and savor the magic of flavor combinations.
Expert Tips for No-Bake Oreo Cheesecake
Cream Cheese Temperature: Ensure cream cheese is at room temperature to prevent lumps in your filling, ensuring a smooth and creamy texture.
Don’t Over-Mix: After folding in Cool Whip, mix gently to maintain the light and fluffy texture of the filling. Over-mixing can make it dense.
Chill Long Enough: Allow the cheesecake to chill for at least 4 hours or overnight for the best results. This sets the filling and enhances the flavors beautifully.
Use a Hot Knife: For clean slices when serving, dip your knife in hot water, then wipe it dry. This helps achieve perfectly clean cuts without crumbling.
Explore Variations: Feel free to get creative! Try different Oreos for the crust or mix in chocolate or vanilla pudding for a unique flavor twist in your no-bake Oreo cheesecake.
How to Store and Freeze Oreo Cheesecake
-
Fridge: Keep the Oreo cheesecake covered in the refrigerator for up to 5 days. This ensures it remains fresh and tasty for your next sweet craving.
-
Freezer: If you want to save it for later, you can freeze the cheesecake for up to 2 months. Wrap it tightly in plastic wrap and then foil to prevent freezer burn.
-
Thawing: When ready to enjoy, transfer the frozen cheesecake to the fridge and let it thaw overnight. This will help retain its creamy texture.
-
Reheating: There’s no need to reheat this dessert; simply slice and serve chilled right from the fridge for the optimal taste experience!
Make Ahead Options
These No-Bake Oreo Cheesecake delights are perfect for meal prep enthusiasts! You can prepare the crust and filling up to 24 hours in advance, ensuring a stress-free dessert experience. Simply crush the Oreo cookies and combine with melted butter for the crust. Spread the mixture into your springform pan and refrigerate. For the filling, mix the cream cheese, powdered sugar, and sour cream, then fold in the Cool Whip and chopped Oreo pieces. Store the mixture in an airtight container in the fridge. When you’re ready to serve, just combine the filling with the crust, smooth it out, and chill for a few hours. This allows the flavors to meld beautifully while saving you time on busy days!
Oreo Cheesecake Recipe FAQs
What type of Oreo cookies should I use?
Absolutely, you can use regular or double-stuffed Oreos, depending on how rich you want your cheesecake to be. Double-stuffed Oreos add extra creaminess and flavor, which many find irresistible!
How do I store leftover cheesecake?
Very simple! Keep your Oreo cheesecake covered in the refrigerator for up to 5 days. I recommend using an airtight container or covering it tightly with plastic wrap to maintain its freshness.
Can I freeze Oreo cheesecake?
Yes, you can definitely freeze this decadent dessert! Wrap the cheesecake tightly in plastic wrap and then in aluminum foil to prevent freezer burn. It will keep for up to 2 months. When you’re ready to enjoy, just transfer it to the fridge and let it thaw overnight.
What should I do if my cheesecake doesn’t set properly?
If your cheesecake doesn’t set, it may not have chilled long enough. Try chilling it for a few more hours or even overnight. Also, make sure you followed the mixing instructions carefully, especially with the Cool Whip, as over-mixing can cause the filling to lose its fluffiness. If all else fails, you could always serve it as a deliciously gooey dessert instead!
Can I use low-fat or non-dairy substitutes for this recipe?
Absolutely! You can substitute low-fat cream cheese and Greek yogurt for a lighter version. Additionally, using non-dairy whipped topping works well for those avoiding dairy. Just remember, it may slightly alter the flavor and texture, but you’ll still get a delicious cheesecake!
Is this cheesecake safe for pets or allergy-conscious individuals?
This recipe contains ingredients like cream cheese, sugar, and Oreos, which are not recommended for pets. If you have allergies, check labels for gluten or dairy sensitivities, as this dessert may not be suitable for everyone.
Delicious Vanilla Cinnamon Milk Tea: Your Cozy Sip of Joy
Ingredients
Equipment
Method
- In a saucepan, bring the water to a boil.
- Add black tea leaves and steep for 5 minutes.
- Stir in vanilla extract, ground cinnamon, and sweetener.
- Remove from heat and add milk, stirring to combine.
- Serve warm in cups, and enjoy your cozy drink!
Leave a Reply