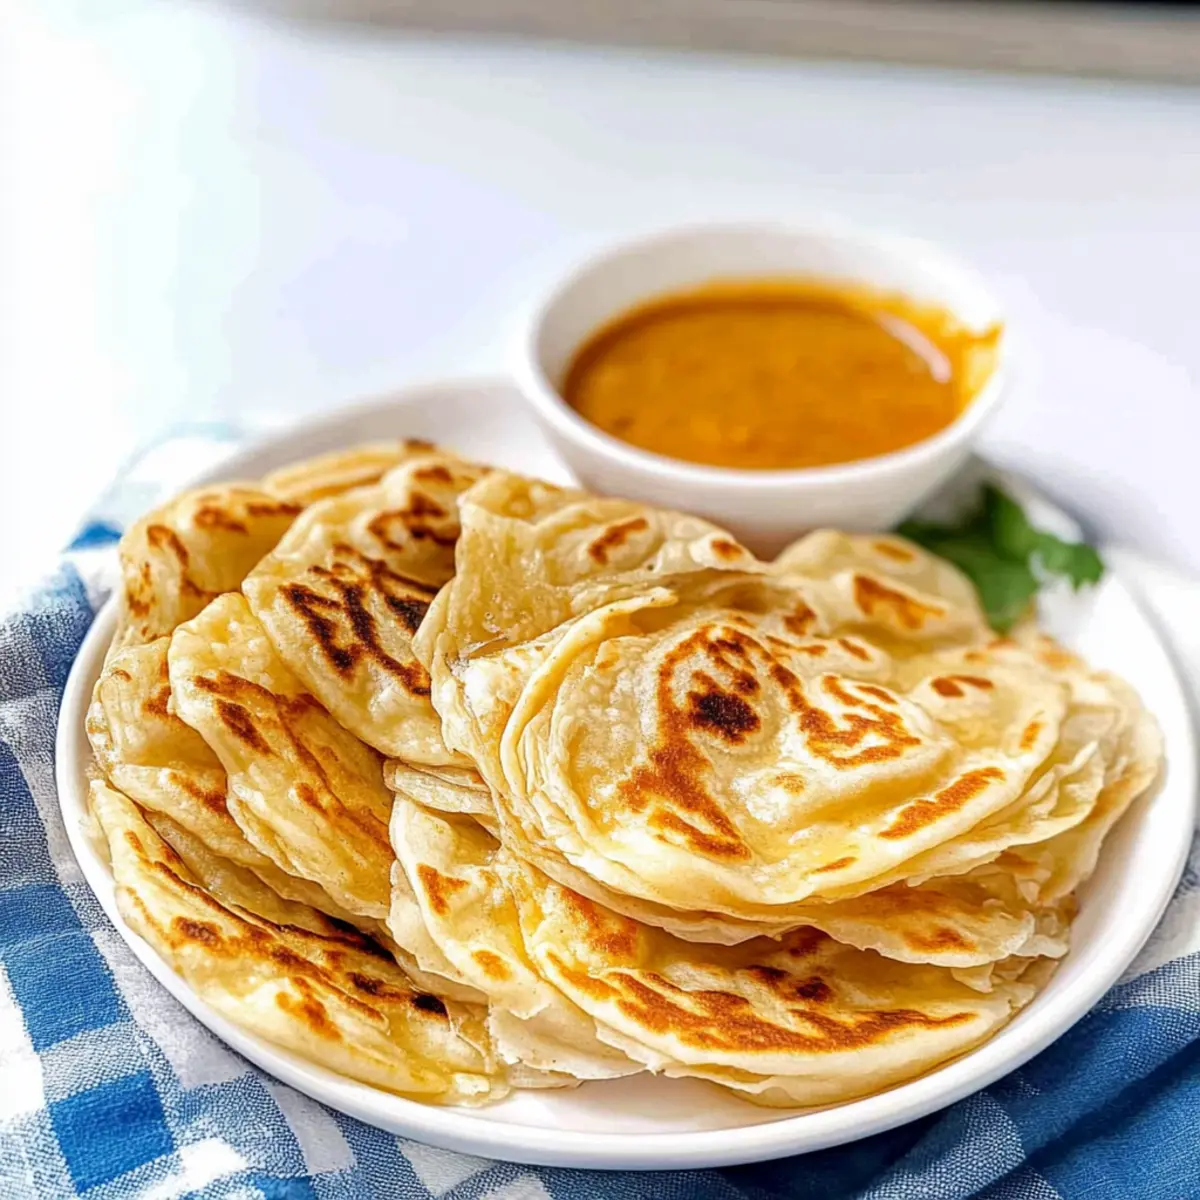
Even the sound of sizzling dough fills my kitchen with warmth and nostalgia, bringing me back to the bustling markets of Sri Lanka. Today, I’m excited to share my Flaky Roti Canai Recipe, a timeless dish that celebrates the art of layered flaky bread. This delightful recipe is not only a joy to make but also a crowd-pleaser that pairs beautifully with curries or stands on its own as a comforting snack. What do I love most about this roti canai? It’s surprisingly quick to whip up and offers a fun twist on your average bread-making session, providing that beloved soft texture while achieving perfect, crispy layers. Are you ready to bring a taste of Sri Lankan cuisine into your home? Let’s dive in!
Why Is Flaky Roti Canai a Must-Try?
Irresistible Layers: The contrast of crispy and soft textures in each bite creates an unforgettable experience that elevates any meal.
Quick and Easy: With straightforward steps, this recipe makes layered bread accessible to home cooks without sacrificing flavor or tradition.
Cultural Connection: Bringing Sri Lankan cuisine into your kitchen offers a taste of rich heritage that’s sure to impress guests at your next gathering.
Perfectly Versatile: Whether served with a spicy curry or enjoyed with a touch of sugar for dessert, this Flaky Roti Canai adapts beautifully to your cravings.
Family-Friendly Fun: Involve the whole family in the rolling and shaping process, making it a delightful activity for everyone to enjoy.
For more ideas on how to pair your roti canai, check out my Stuffing Holiday Comfort or explore a delicious curry to serve alongside!
Flaky Roti Canai Ingredients
For the Dough
- All-Purpose Flour – Provides structure and chewiness; use bread flour for a chewier consistency.
- Sea Salt – Enhances flavor and strengthens dough structure; don’t skip this essential ingredient.
- Boiling Water – Hydrates the flour to create a soft dough; ensures water is hot to aid gluten development.
- Room Temperature Water – Helps adjust dough consistency; add as needed to prevent stickiness.
For Coating and Layering
- Oil – Used for coating and layering to promote flakiness; ghee can be substituted for a richer flavor.
- Butter (optional) – Adds additional flavor when layering; a lovely touch if you want to elevate the taste.
Give this Flaky Roti Canai Recipe a try, and enjoy the delectable and comforting layers that come together in your kitchen!
Step‑by‑Step Instructions for Flaky Roti Canai Recipe
Step 1: Prepare the Dough
In a large mixing bowl, combine all-purpose flour and sea salt. Gradually pour in the boiling water while mixing with a fork; this will create clumps. Once combined, add room temperature water as needed to form a scraggly dough. Aim for a soft but not sticky consistency, which sets the foundation for your Flaky Roti Canai.
Step 2: Rest the Dough
Cover the dough with a damp cloth or plastic wrap and let it rest for 30 minutes to an hour. This resting period is crucial as it allows the gluten to develop, making the dough more pliable and easier to work with. When you return, the dough should feel softer and ready for kneading, setting the stage for those delicious layers.
Step 3: Knead the Dough
Transfer the rested dough onto a lightly floured surface and knead it for about 5 minutes until it becomes smooth and elastic. Divide the dough into 8 equal portions and roll each into a ball. This shaping is key to achieving the layers in your Flaky Roti Canai, so make sure they’re all roughly the same size for even cooking.
Step 4: Coat the Dough
Take each ball of dough and coat it lightly with oil, ensuring each piece is uniformly covered. Place the oiled dough balls on a plate, making certain they’re not touching. Cover them with plastic wrap and allow them to rest for 2 hours or overnight. This additional downtime helps develop the flakiness you crave in your roti.
Step 5: Shape the Roti
After resting, flatten one dough ball with your fingers, then stretch it into a thin circle or rectangle using your palms and fingertips. Drizzle a bit of oil over the surface and roll the dough tightly to form a tube. Next, coil this tube into a spiral shape, tucking the end underneath. Repeat this process for each dough ball, making them ready for cooking.
Step 6: Cook the Roti
Heat a non-stick skillet or frying pan over medium heat, adding a small amount of oil. Once hot, place one roti into the skillet and cook for about 2 minutes. Flip it over and cook for another 2 minutes until both sides are golden brown and crisp. Use a spatula to gently press down on the cooked roti to help separate the layers, achieving that flaky texture.
Step 7: Serve Warm
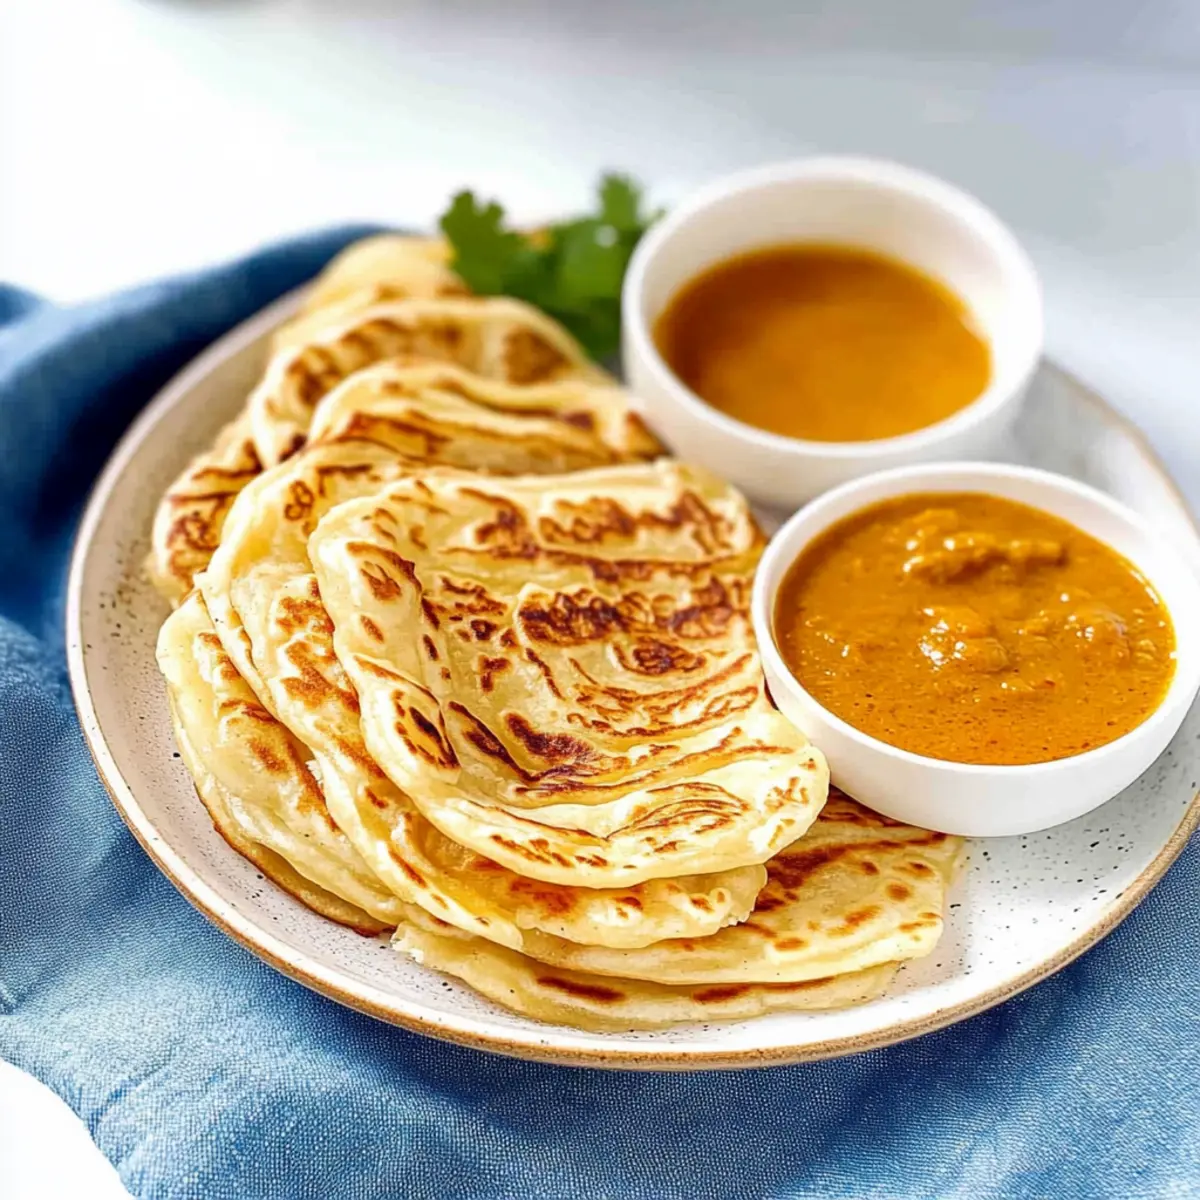
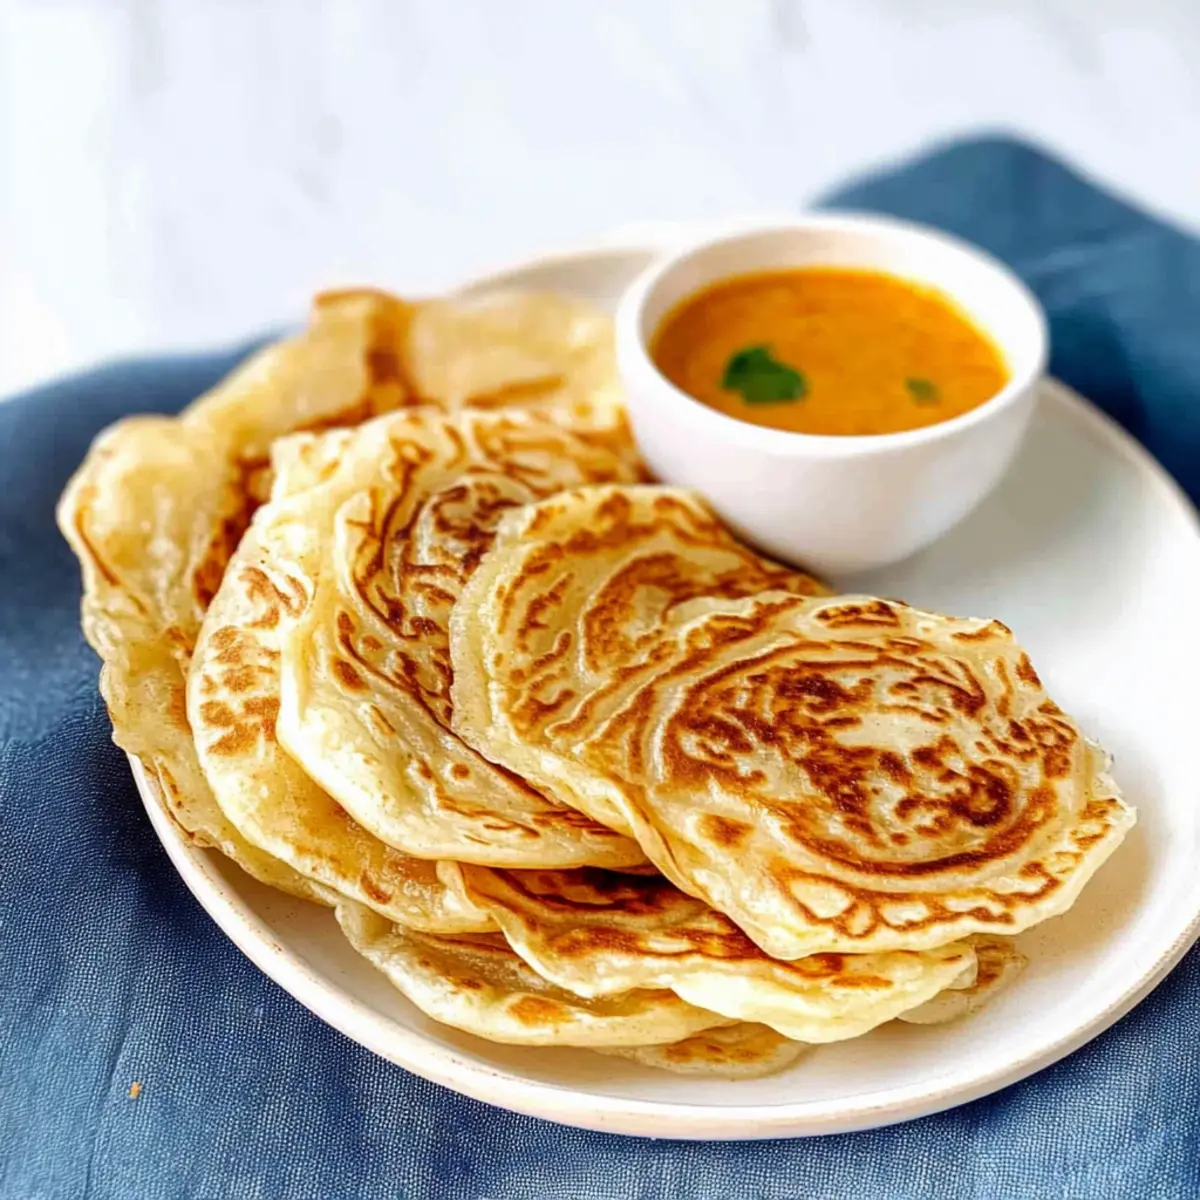
Once all the roti canai are cooked, stack them on a plate, covering with a kitchen towel to keep them warm and soft. Serve these warm, flaky delights alongside your favorite curry or enjoy them as a tasty snack on their own. Each bite will be a delicious reminder of the beautiful layers you created with your Flaky Roti Canai Recipe.
Flaky Roti Canai Variations
Feel free to get creative with your Flaky Roti Canai and make it your own with these delicious twists!
-
Egg Roti: Incorporate scrambled eggs into your roti for a hearty and satisfying breakfast. Just spread the egg mixture over the dough before rolling it up.
-
Vegetable Delight: Add sautéed vegetables like bell peppers and onions into the center for a wholesome, nutritious option. This makes for a vibrant twist that’ll please veggie lovers!
-
Sweet Treat: Mix sugar into the dough for a dessert version, or sprinkle layers with a hint of cinnamon sugar to satisfy your sweet tooth. It turns your roti into a delightful after-dinner treat!
-
Spicy Kick: Add a sprinkle of chili flakes or chopped green chilies into the dough for a comforting kick that’ll please those who love heat. This spicy variation pairs well with creamy curries.
-
Cheesy Roti: Place shredded cheese between the layers before cooking for a melty, gooey delight that the whole family will love. This cheesy twist adds an irresistible richness!
-
Herb-Infused: Mix finely chopped herbs like cilantro or parsley directly into the dough for an aromatic burst of flavor. Laid between the flaky layers, it brings freshness to each bite.
For more delicious ideas on what to pair with your Roti Canai, don’t forget to check out my Beef Taco Soup or whip up a quick Teriyaki Chicken Wrap!
What to Serve with Flaky Roti Canai
Pairing your homemade flaky roti canai with delightful accompaniments turns this dish into a memorable meal that captivates the senses.
-
Spicy Chicken Curry: The bold flavors of a spicy chicken curry complement the flaky richness of the roti, creating a warm and satisfying contrast.
Enjoy the harmony of tenderness and spice as the roti soaks up every last drop of the savory sauce. -
Vegetable Korma: This creamy, aromatic dish pairs beautifully with roti canai, enhancing the meal with its gentle spices and hearty vegetables.
The korma’s velvety texture meshes perfectly with the crispy layers, creating a delightful culinary experience. -
Mango Chutney: The sweet and tangy notes of mango chutney add a refreshing brightness, balancing the savory flavors of the roti canai.
Use it as a dip or drizzle it over the roti for an extra burst of flavor. -
Coconut Raita: This cooling yogurt side enhances the meal with its fresh herbs and coconut, perfectly offsetting any heat from the curry.
The creamy consistency complements the flaky bread so well that each bite feels indulgent. -
Green Salad: A light salad with refreshing greens and a citrusy dressing adds a crisp contrast, brightening the meal and cleansing the palate.
It’s a great way to introduce a fresh element alongside the comforting roti canai. -
Lassi: This traditional yogurt drink, whether sweet or salted, is a delightful pair with roti canai, enhancing the overall dining experience.
The creamy lassi soothes the palate and serves as the perfect beverage to enjoy with spicy dishes. -
Chocolate Sauce: For a unique dessert twist, serving roti canai with a warm chocolate dipping sauce creates a playful and indulgent finish to your meal.
Each bite turns into a delightful treat, reminding you of the sweetness of life.
Expert Tips for Flaky Roti Canai
-
Hot Water Magic: Using boiling water in the dough helps achieve a softer texture and enhances layering; don’t skip this step!
-
Knead with Care: Knead only until the dough is smooth to avoid developing gluten too much, which can lead to a tough roti canai.
-
Prioritize Rest: Giving the dough adequate time to rest is crucial; it allows for better flakiness and makes the dough easier to handle.
-
Control Cooking Heat: Medium heat is key; cooking too quickly may burn the exterior while leaving the inside raw, so flip gently.
-
Get Creative: While the focus is on the Flaky Roti Canai Recipe, feel free to experiment with different fillings or toppings for added flavor!
How to Store and Freeze Flaky Roti Canai
Room Temperature: Store leftover roti at room temperature for up to 1 day in an airtight container to maintain its softness; wrap it in a cloth to keep moisture in.
Fridge: If you need to store it longer, refrigerate it in an airtight container for 1-2 days; reheat in a pan to restore its crispy layers.
Freezer: For longer storage, freeze roti canai individually wrapped in plastic wrap and placed in a freezer bag for up to 1 month; heat directly from frozen on a skillet.
Reheating: When ready to enjoy, reheat the roti in a dry skillet over medium heat for 2-3 minutes per side to bring back its delightful flakiness.
Make Ahead Options
These Flaky Roti Canai are a fantastic option for busy home cooks looking to save time during the week! You can prepare the dough up to 24 hours in advance by coating the balls in oil, covering them tightly with plastic wrap, and refrigerating. To maintain the quality, ensure the dough is well-oiled to prevent drying out. When you’re ready to cook, simply follow the shaping and cooking instructions as outlined in the recipe. This way, you can enjoy fresh and crispy roti with minimal effort, ready to pair perfectly with your favorite curry or enjoy on their own. By prepping ahead, your weeknight meals just got a whole lot easier!

Flaky Roti Canai Recipe FAQs
What is the best way to select flour for making Roti Canai?
When making Flaky Roti Canai, the type of flour you choose can significantly affect the texture. All-purpose flour works well, providing structure and chewiness, but for an even chewier texture, I often recommend using bread flour. This type of flour has higher protein content, which helps develop the gluten needed for those lovely layers.
How should I store leftover Roti Canai?
Leftover Flaky Roti Canai can be kept at room temperature for up to 1 day in an airtight container; wrap it in a cloth to maintain softness. For longer storage, place it in the refrigerator in an airtight container for 1-2 days. When you’re ready to enjoy leftovers, simply reheat them in a pan to restore their crispy layers.
Can I freeze Roti Canai? If so, how?
Absolutely! To freeze your Flaky Roti Canai, first, wrap each piece individually in plastic wrap. Then, place them in a freezer bag, ensuring as much air as possible is removed to prevent freezer burn. They can be frozen for up to 1 month. When ready to eat, heat them directly from frozen on a skillet over medium heat for 2-3 minutes per side.
What should I do if my dough is too sticky?
If your dough becomes too sticky while preparing it, don’t fret! You can incorporate more all-purpose flour gradually. Dust your work surface lightly with flour and knead the dough gently. Just be careful not to add too much flour, as it could alter the texture. The goal is to work with a soft but manageable consistency.
Are there dietary considerations for Roti Canai?
Yes! If you have gluten sensitivity, this Flaky Roti Canai recipe won’t be suitable, as it’s made with wheat flour. Additionally, if you have dietary restrictions regarding fats, you can choose to use a lighter oil instead of butter or ghee for coating. Always remember to check for allergies in any additional fillings if you choose to customize your Roti!
Flaky Roti Canai Recipe: Unlock the Secret to Perfect Layers
Ingredients
Equipment
Method
- Combine all-purpose flour and sea salt in a large bowl. Gradually pour in boiling water while mixing with a fork to create clumps. Add room temperature water to form a scraggly dough.
- Cover the dough with a damp cloth and let it rest for 30 minutes to 1 hour.
- Transfer the rested dough onto a floured surface and knead for about 5 minutes until smooth and elastic. Divide into 8 portions and roll into balls.
- Coat each dough ball lightly with oil and place on a plate, ensuring they don't touch. Cover with plastic wrap and rest for 2 hours or overnight.
- Flatten one dough ball and stretch it into a thin circle. Drizzle oil over the surface and roll tightly to form a tube, then coil into a spiral shape.
- Heat a skillet over medium heat, add a small amount of oil, and cook one roti for about 2 minutes per side until golden brown and crisp.
- Stack the cooked roti on a plate and cover with a kitchen towel. Serve warm, either alone or with curry.
Leave a Reply