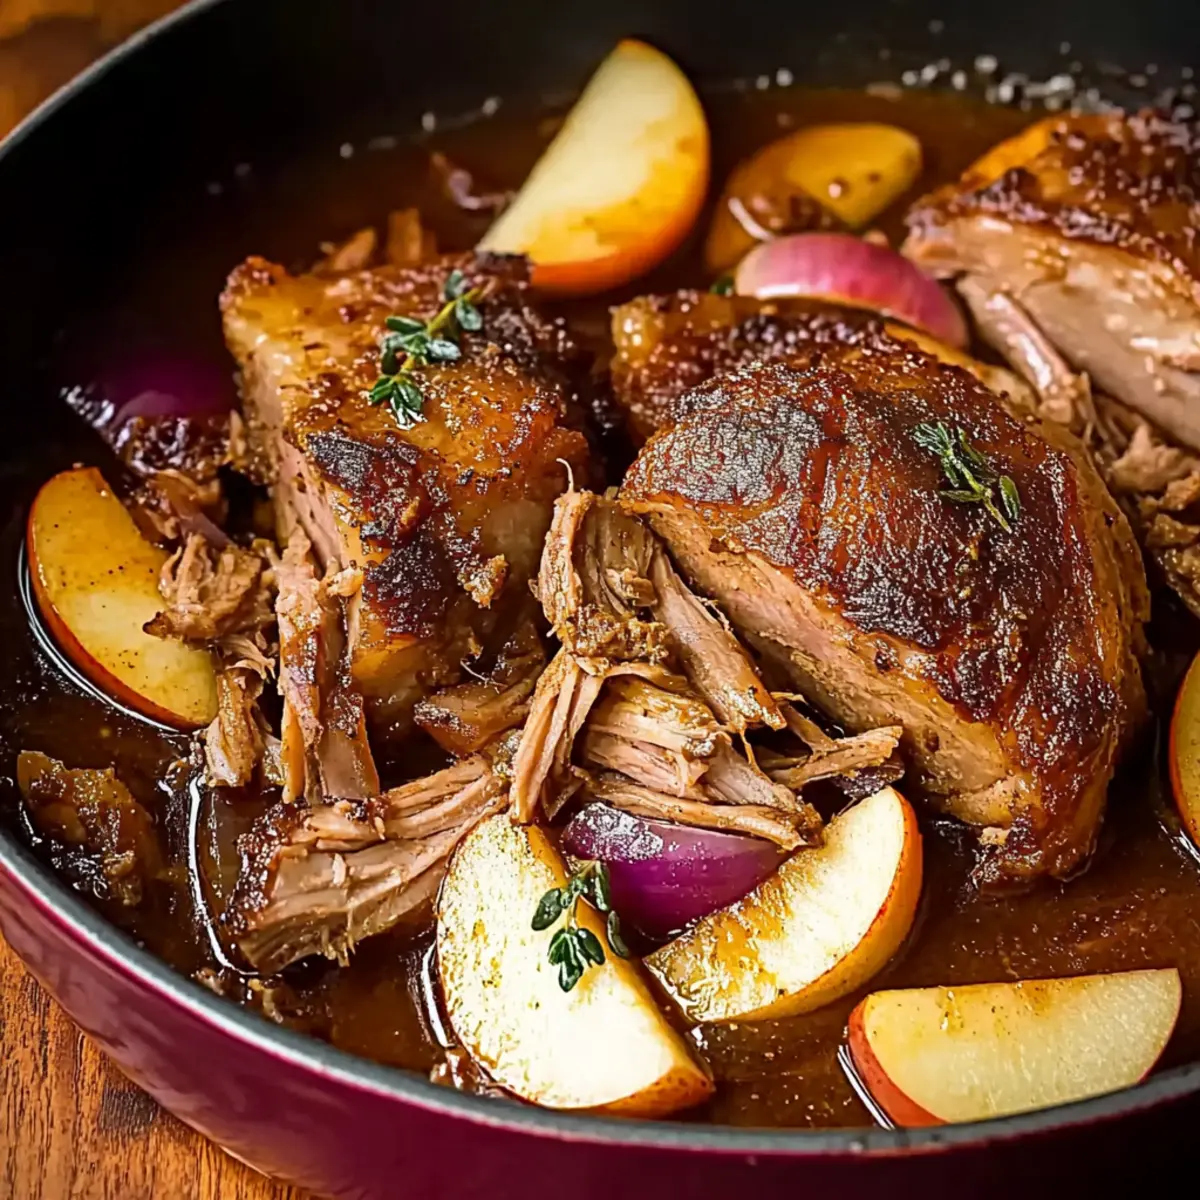
As the chilly evenings kick in, I find myself whipping up one of my all-time favorites: Apple Cider Braised Pork Shoulder. This dish transforms an ordinary cut of pork into a succulent, melt-in-your-mouth masterpiece, all while filling your kitchen with an irresistible aroma that beckons everyone to gather around the table. Not only is this recipe a cozy comfort food that warms the heart, but it’s also a one-pot wonder, making clean-up a breeze after your family feast. With just a handful of accessible ingredients and some patience, you’ll soon discover how simple it is to create a show-stopping meal that’s perfect for cozy nights or festive gatherings. Ready to dive into the world of braised pork shoulder that will truly impress? Let’s get cooking!
Why is Braised Pork Shoulder a Must-Try?
Comforting, Cozy Flavors: This dish combines the sweetness of apple cider with savory herbs, creating a robust flavor profile that’s irresistible.
One-Pot Wonder: Fewer dishes mean more time to enjoy the meal with family. Cleanup is a breeze!
Impressive Yet Easy: Perfect for family gatherings, this recipe looks and tastes gourmet without being complicated.
Tender and Juicy: The slow braising process transforms the pork into a fall-apart texture that leaves everyone wanting more.
Versatile Pairings: Serve it with creamy mashed potatoes or roasted vegetables for a complete meal, or try it alongside a delightful side like Stuffed Pork Tenderloin for a feast to remember!
Aromatic Kitchen Experience: The enticing aromas will draw your loved ones to the kitchen, making it a memorable cooking experience.
Braised Pork Shoulder Ingredients
• Let’s gather all the goodness to create our flavorful Apple Cider Braised Pork Shoulder!
For the Pork
- Pork Shoulder or Boston Butt Roast (4-5 lbs) – This is the star of the show; a bone-in cut provides extra flavor during braising.
- Kosher Salt and Freshly Ground Black Pepper – Season generously to enhance the natural flavors of the meat.
For Searing
- Neutral Cooking Oil (2 tbsp) – Use something light to avoid strong flavors; canola or vegetable oil is perfect here.
For the Braising Liquid
- Fresh Apple Cider (2 cups) – This adds sweetness and depth, creating that cozy flavor; avoid substitutions like vinegar to keep it balanced.
- Chicken Broth (2 cups) – Adds moisture and complements the apple cider; opt for low-sodium for a healthier choice.
- Dijon Mustard (2 tbsp) – A touch of tanginess that elevates the flavor; feel free to use yellow mustard or omit for a milder taste.
- Dried Minced Onion (1 tbsp) – Adds savory notes; substitute with fresh onions if you prefer, but adjust for moisture.
Aromatics
- Garlic (1 head) – Adds a rich warmth to the dish; roasting it is key—slice the top to expose the cloves.
- Rosemary (3 sprigs) and Thyme (4 sprigs) – Fresh herbs bring aromatic depth; dried herbs work if fresh is not available.
For Flavor and Texture
- Red Onion (1, cut into thick rounds) – Enhances sweetness and offers a delightful texture; yellow onions can be used in a pinch.
- Tart Apples (2, peeled and cut into wedges) – These balance the richness of the pork beautifully; opt for firm varieties like Granny Smith or Honeycrisp for the best result.
Step‑by‑Step Instructions for Apple Cider Braised Pork Shoulder
Step 1: Preheat the Oven
Begin by preheating your oven to 325°F (163°C). This temperature is ideal for braising and will ensure that our Apple Cider Braised Pork Shoulder turns out tender and flavorful. While the oven heats up, you can prepare the pork for cooking.
Step 2: Prepare the Pork
Trim away any excess fat from the pork shoulder. If using a boneless cut, cut it into four large pieces for more even cooking; if it’s bone-in, leave it whole. Pat the pork dry with paper towels to help it sear nicely later.
Step 3: Season the Meat
Generously season all sides of the pork with kosher salt and freshly ground black pepper. This step is crucial as it enhances the natural flavors of the pork during the braising process. The seasoning will also help develop a delicious crust when searing.
Step 4: Sear the Pork
In a large Dutch oven, heat 2 tablespoons of neutral cooking oil over medium-high heat. Once hot, carefully add the pork and sear it for 4-5 minutes on each side, or until deeply browned. This caramelization adds rich flavor to your Apple Cider Braised Pork Shoulder, so don’t skip this step!
Step 5: Mix the Braising Liquid
In a bowl, whisk together 2 cups of fresh apple cider, 2 cups of chicken broth, 2 tablespoons of Dijon mustard, and 1 tablespoon of dried minced onion. This mixture will not only create a flavorful base for the braising liquid but will also infuse the pork with sweet and savory notes as it cooks.
Step 6: Create the Bouquet Garni
To infuse the braising liquid, make a bouquet garni by tying together 3 sprigs of rosemary and 4 sprigs of thyme with kitchen twine. This herb bundle will impart aromatic flavors to your Apple Cider Braised Pork Shoulder throughout the cooking process.
Step 7: Add Aromatics
Slice the top off a head of garlic to expose the cloves and add it to the pot along with the seared pork. The roasted garlic will enhance the richness of the dish, contributing warm, savory notes as the pork braises.
Step 8: Pour in the Liquid
Gently pour the prepared braising liquid over the seared pork in the Dutch oven, ensuring the pork is mostly submerged. Nestle the herb bundle in the liquid and cover the pot with a lid. This will trap moisture and help cook the pork evenly.
Step 9: Braise in the Oven
Place the covered Dutch oven in the preheated oven and braise for about 3 hours. Halfway through the cooking time, carefully flip the pork to ensure even cooking. The meat should be tender when done, pulling apart with a fork.
Step 10: Add Onions and Apples
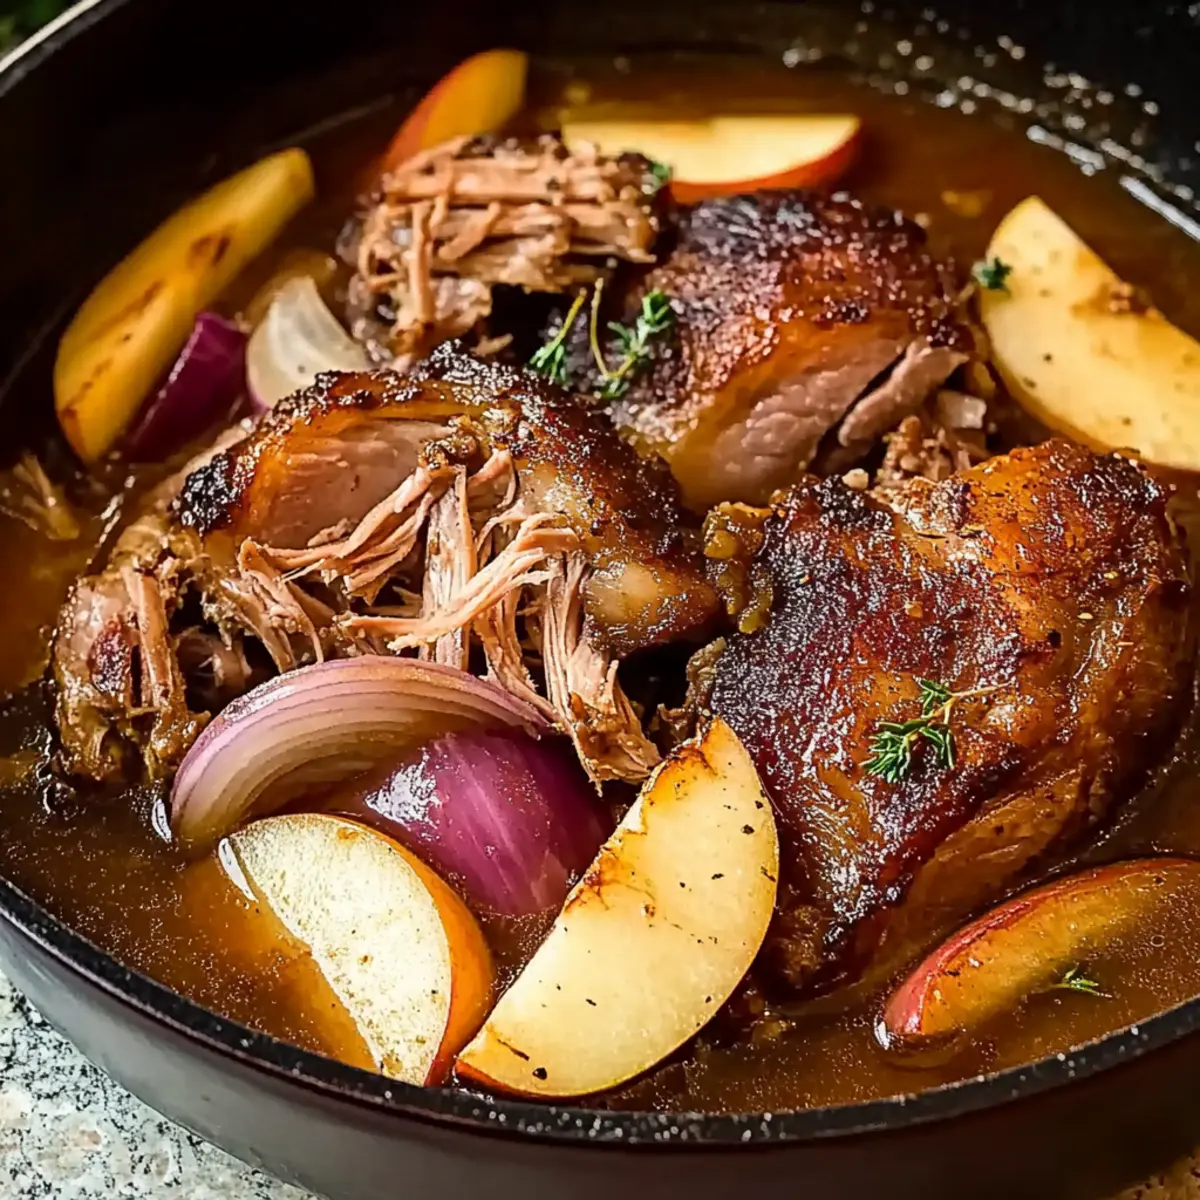
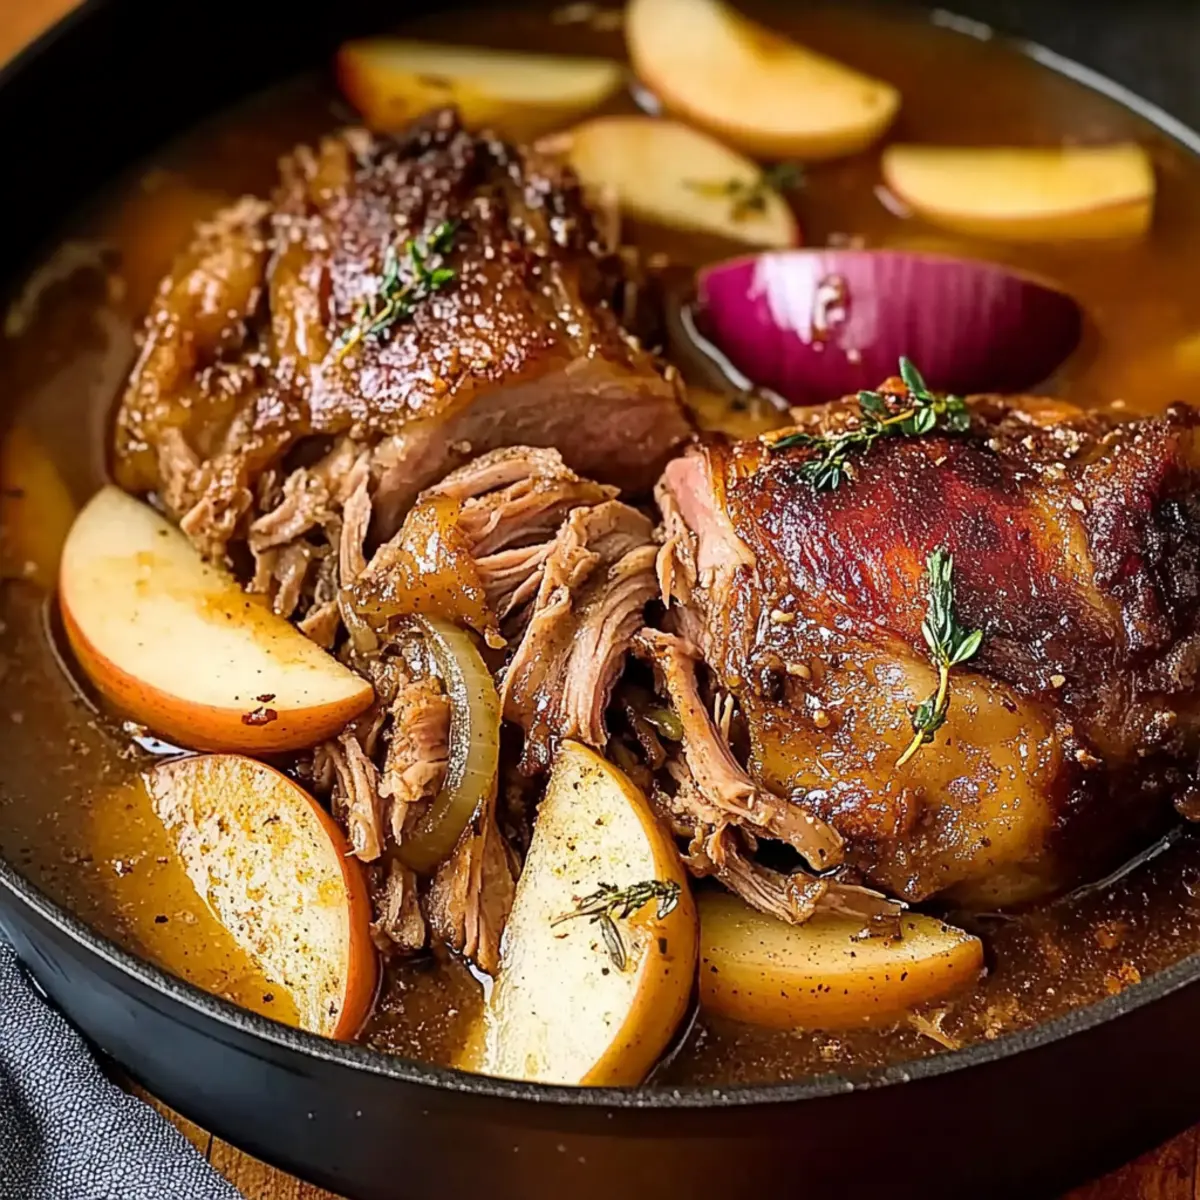
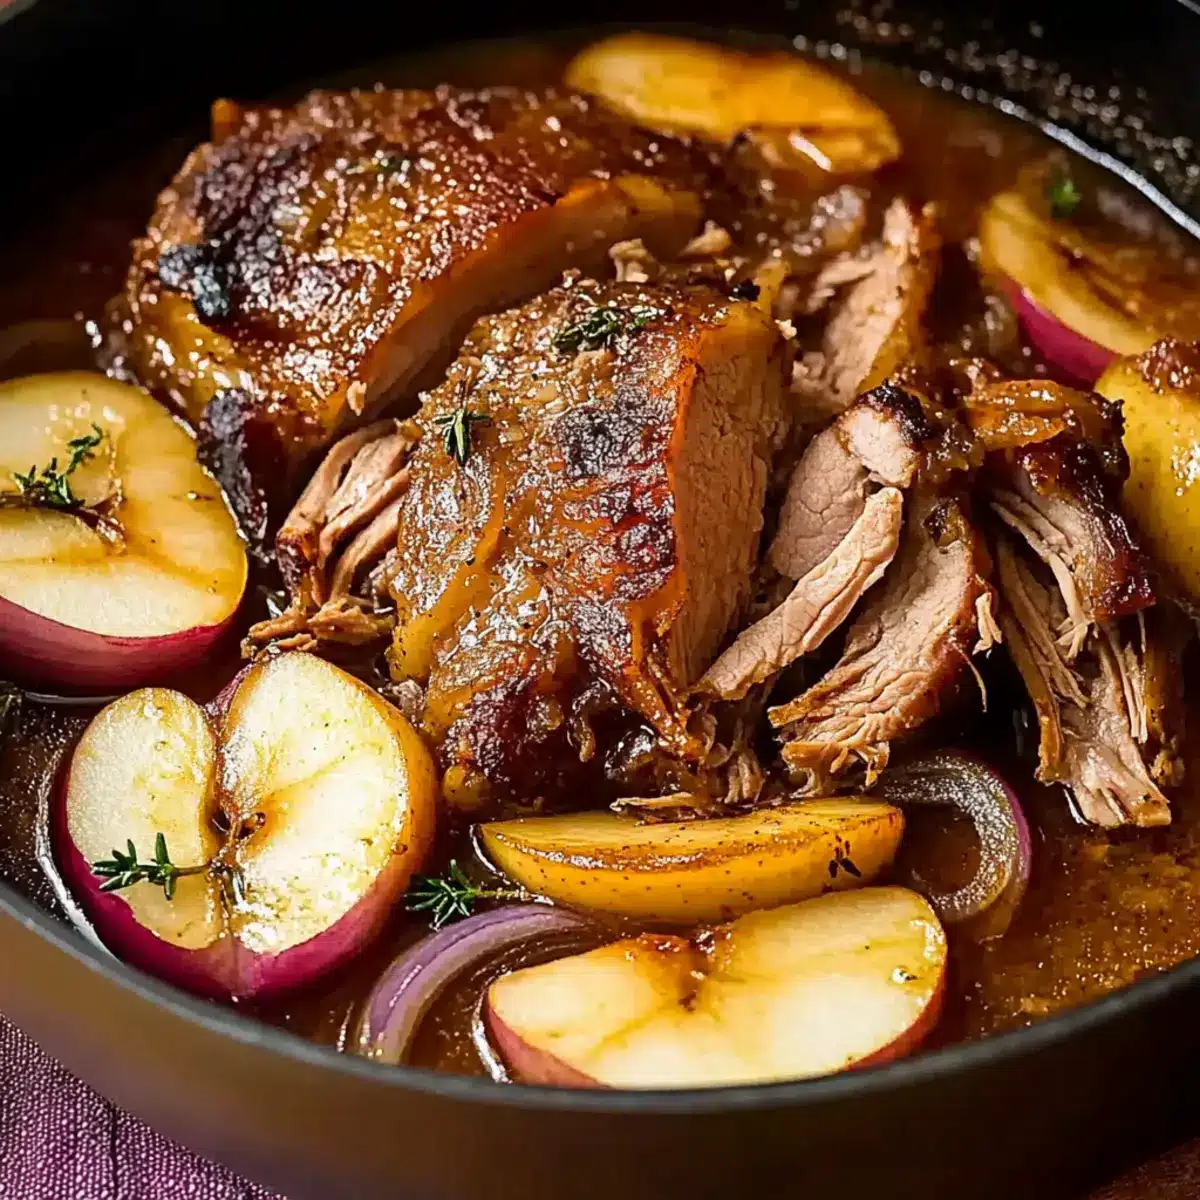
Once the pork is nearly tender, carefully add thick rounds of red onion and apple wedges around the pork in the pot. Cover and continue braising for another 30 to 45 minutes. The apples and onions will soften and meld beautifully with the flavors of the Apple Cider Braised Pork Shoulder.
Step 11: Rest Before Serving
After cooking, remove the pot from the oven and let the pork rest in the braising liquid for 30 minutes. This step is essential as it allows the flavors to deepen. Before serving, squeeze the roasted garlic into the sauce to add extra flavor, creating a luscious sauce to accompany the pork.
What to Serve with Apple Cider Braised Pork Shoulder
As the sweet and savory aromas of your braised dish fill the air, it’s time to think about extraordinary accompaniments that will complete your meal.
- Creamy Mashed Potatoes: The silky texture of buttery mashed potatoes absorbs the rich sauce, making each bite heavenly.
- Roasted Vegetables: A medley of seasonal veggies adds color and a crunchy contrast, enhancing not only flavor but also nutritional value.
- Crusty Bread or Dinner Rolls: Perfect for sopping up the luscious sauce, a warm loaf brings a comforting touch to your dinner table.
- Apple and Walnut Salad: Fresh greens with crunchy walnuts and tart apples add a refreshing brightness that beautifully balances the richness of the pork.
- Egg Noodles: Their tender bite complements the braised pork shoulder perfectly, effortlessly soaking up the flavorful sauce while adding heartiness.
- Cider-Glazed Carrots: These sweet and savory gems echo the flavors of the dish while adding a pop of color and a satisfying crunch.
- Chardonnay or Apple Cider: A glass of crisp Chardonnay enhances the meal’s savory elements, while refreshing apple cider echoes the dish’s flavors.
- Homemade Apple Crisp: For dessert, this warm and comforting dish pairs perfectly with vanilla ice cream, adding a sweet closing note to your cozy dinner.
- Pickled Red Onions: The tangy kick from pickled onions can brighten the heavy flavors of the pork shoulder, offering a delightful contrast.
- Cheesy Polenta: Creamy and rich, polenta brings a comforting texture that harmonizes beautifully with the braised pork’s tenderness.
Make Ahead Options
Preparing the Apple Cider Braised Pork Shoulder in advance is a fantastic way to save time on busy weeknights! You can season the pork and refrigerate it for up to 24 hours before cooking, allowing the flavors to meld beautifully. Additionally, you can chop the onions and apples ahead of time, storing them in an airtight container in the fridge for up to 3 days to prevent browning. When you’re ready to serve, simply sear the pork, prepare the braising liquid, and follow the cooking steps as usual. This way, you’ll enjoy that cozy, homemade flavor with minimal effort on the day of your family gathering!
How to Store and Freeze Braised Pork Shoulder
Fridge: Store leftovers in an airtight container for up to 4 days. Make sure to let the dish cool completely before sealing to maintain freshness.
Freezer: For long-term storage, freeze in portions in freezer-safe bags for up to 3 months. Ensure to remove as much air as possible to prevent freezer burn.
Reheating: When ready to enjoy, thaw overnight in the refrigerator. Reheat gently in a pot over low heat, adding some of the braising liquid to prevent drying out.
Room Temperature: Avoid leaving out for more than 2 hours to keep the braised pork shoulder safe to eat. Enjoy the cozy flavors while they’re at their best!
Expert Tips for Braised Pork Shoulder
- Sear Properly: Always sear the pork until it’s deeply browned to enhance flavor. Skipping this step results in less flavorful meat.
- Use Fresh Cider: Avoid cider vinegar; it alters the dish’s acidity and flavor balance. Fresh apple cider is essential for this recipe.
- Monitor Temperature: Keep the braising liquid at a gentle simmer. High heat may toughen the braised pork shoulder instead of tenderizing it.
- Minimal Pot Opening: Don’t open the pot frequently. Each time you do, steam escapes, which can impact cooking time and tenderness.
- Add Flavor at the End: For a boost in richness, squeeze roasted garlic into the sauce just before serving. This elevates the overall taste experience.
Variations & Substitutions for Braised Pork Shoulder
Feel free to explore different twists on this cozy classic and discover exciting flavors, textures, and dietary adaptations!
-
Pork Cut Choice: Try pork shank or leg for a different texture that’s equally delicious.
-
Fruit Swap: Apples or Pears: Replace tart apples with pears for a unique sweetness that’s subtly different yet delightful. Pears will create a softer, sweeter dish perfect for fall gatherings.
-
Herb Adjustment: Fresh or Dried Herbs: Use sage or parsley instead of rosemary and thyme based on what you have in your pantry. Each herb imparts its own character, so have fun experimenting!
-
Add Heat: Spicy Kick: Incorporate a pinch of red pepper flakes or sliced jalapeños to introduce a warm heat that complements the dish beautifully.
-
Flavor Boost: Smoky Notes: Add a few drops of liquid smoke or smoked paprika for a deep, smoky flavor that lends complexity to the dish.
-
Vegetable Medley: Seasonal Veggies: Include carrots or parsnips alongside the apples and onions. They’ll absorb the braising liquid, adding sweetness and diversity to each bite.
-
Gluten-Free Option: Thickeners: Use cornstarch mixed with cold water instead of flour for a gluten-free option to thicken the sauce at the end.
For those wanting to elevate the experience, you might also enjoy pairing this meal with Stuffed Pork Tenderloin for an indulgent feast! Each variation invites you to make this dish your own while retaining its delicious essence. Enjoy your cooking journey!
Apple Cider Braised Pork Shoulder Recipe FAQs
What type of pork is best for braising?
For this dish, I recommend using pork shoulder or Boston butt roast, as these cuts become tender and flavorful when braised. A bone-in cut is ideal because it provides extra flavor, but boneless also works perfectly.
How should I store leftovers of my braised pork shoulder?
Refrigerate leftovers in an airtight container for up to 4 days. Make sure to let the dish cool before sealing to maintain freshness. It’s a great way to enjoy the cozy flavors for days to come!
Can I freeze my braised pork shoulder?
Absolutely! For long-term enjoyment, freeze portions in freezer-safe bags for up to 3 months. Ensure to remove as much air as possible to prevent freezer burn. When ready to eat, thaw overnight in the fridge and gently reheat in a pot with some of the braising liquid to keep it moist.
What’s the best way to reheat braised pork shoulder?
Reheat gently on low heat in a pot, adding some of the reserved braising liquid to avoid drying out. For the best results, take your time—this will help maintain the pork’s tender, juicy texture.
How can I achieve the best flavor when using dried herbs?
If you need to use dried thyme and rosemary instead of fresh, the general rule is to use about 1 teaspoon of each. Add the dried herbs to the braising liquid to steep their flavors throughout the cooking process. Keep in mind that dried herbs are more concentrated, so it’s wise to adjust to your taste preference.
What dietary considerations should I keep in mind?
If you or your guests have allergies, be cautious with the Dijon mustard, as it contains mustard seeds which some may be sensitive to. Always label leftovers and let guests know about the ingredients, especially if serving to pets. Enjoy your homemade braised pork shoulder safely!
Braised Pork Shoulder: Cozy Comfort for Family Gatherings
Ingredients
Equipment
Method
- Preheat your oven to 325°F (163°C).
- Trim any excess fat from the pork shoulder and pat dry.
- Generously season all sides with kosher salt and pepper.
- Sear the pork in a large Dutch oven with oil for 4-5 minutes on each side until browned.
- Whisk together apple cider, chicken broth, Dijon mustard, and dried minced onion in a bowl.
- Create a bouquet garni with rosemary and thyme.
- Add sliced garlic to the pot with the seared pork.
- Pour the braising liquid over the seared pork, ensuring it's mostly submerged and add the herb bundle.
- Cover the Dutch oven and braise for about 3 hours, flipping the pork halfway through.
- Add red onion rounds and apple wedges to the pot and braise for another 30 to 45 minutes.
- Remove the pot from the oven and let the pork rest in the braising liquid for 30 minutes.
- Squeeze the roasted garlic into the sauce before serving.
Leave a Reply