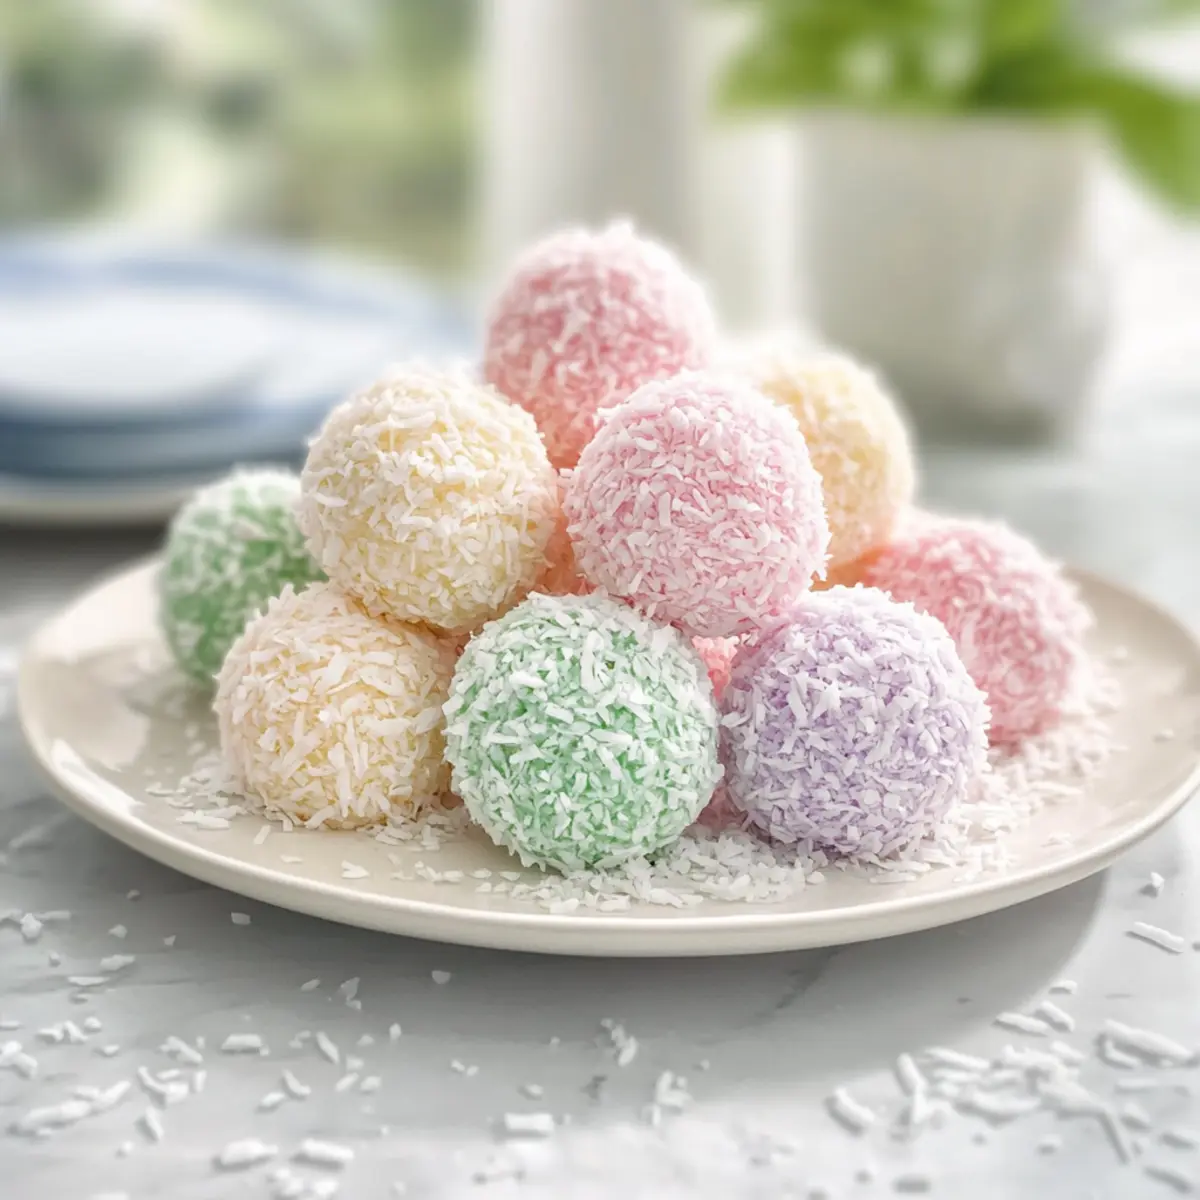
As I walked through the bustling farmers’ market on a sunny spring morning, the vibrant colors of fresh produce and blooming flowers sparked inspiration for my next creation: No-Bake Easter Bunny Coconut Tails. These delightful little treats are not just treats; they’re whimsical bites that capture the joyful spirit of the holiday. With a simple mix of pantry staples, they come together in a flash—perfect for those of us who want to impress without spending hours in the kitchen. Plus, their pastel coconut coating makes them an adorable addition to any celebration while being a fun, no-bake dessert option. Imagine serving these at your next gathering, leaving your family and friends marveling at your culinary charm. Curious about how to make these charming spring sweets? Let’s hop right into the recipe!
Why Are These Easter Bunny Coconut Tails Special?
Sweet and Simple: With no baking required, these Easter Bunny Coconut Tails come together effortlessly. Using just a handful of pantry staples allows you to whisk these whimsical treats into existence in no time!
Visual Appeal: Their vibrant pastel coconut coating not only brings joy to the eye but adds a festive touch to your spring celebrations. Each bite is like a mini artwork that impresses guests and delights children alike.
Versatile Flavors: Feel free to customize! You can easily swap in different extracts or toss in mini chocolate chips for a delicious twist. Or, why not dip them in chocolate for an extra layer of indulgence?
Perfect for Sharing: Ideal for family brunches or spring gatherings, these treats are a unique and delicious way to spread the joy of Easter. Serve them at your next egg hunt for a sweet surprise that everyone will love!
Short Chill Time: Only an hour in the refrigerator is all it takes for these little delights to firm up, making them a time-savvy option that won’t keep you in the kitchen all day. Check out more easy no-bake desserts for other crowd-pleasing ideas!
Easter Bunny Coconut Tails Ingredients
For the Mixture
• Medium Shredded Coconut – Provides the chewy base for the treats. Substitution Note: Use sweetened shredded coconut for a sweeter flavor.
• Sweetened Condensed Milk – Binds the ingredients and adds sweetness to the mixture. Essential for texture.
• Butter (melted and cooled) – Adds richness and flavor to the base mixture. Ensure it’s cooled to prevent melting the coconut.
• Vanilla Extract – Enhances the overall flavor profile. Optional: Use almond extract for a different flavor variation.
• Confectioner’s Sugar – Balances texture and adds sweetness. Adjust based on desired sweetness, especially if using sweetened coconut.
For the Coating
• Fine Shredded Coconut – Used for coating; gives the treats a lovely pastel finish. Preparation Note: Divide into multiple bowls for coloring.
• Liquid Food Coloring – For creating vibrant, pastel colors for coating. Note: Use natural colorings for a healthier alternative.
With these ingredients in hand, you’re just a whisk away from creating the charming Easter Bunny Coconut Tails that embody the playful spirit of spring!
Step‑by‑Step Instructions for Easter Bunny Coconut Tails
Step 1: Whisk the Base Mixture
In a large mixing bowl, combine sweetened condensed milk, melted butter, and vanilla extract. Whisk them together until the mixture is smooth and well-blended, ensuring there are no lumps. This step creates a rich foundation for your Easter Bunny Coconut Tails. Set aside the bowl and prepare for the next step while keeping your mixture ready for the coconut.
Step 2: Combine Coconut and Sugar
Stir in the medium shredded coconut and confectioner’s sugar into the wet mixture. Mix until everything is thick and sticky, forming a cohesive paste that holds together. If your mixture seems too sticky, add a bit more medium coconut. Once combined, cover the bowl with plastic wrap and chill in the refrigerator for about 15 minutes to firm up.
Step 3: Prepare Colored Coconut
While the mixture chills, take a few small bowls and divide the fine shredded coconut evenly among them. Add a few drops of liquid food coloring to each bowl, mixing until the coconut is fully tinted in pastel shades. This colored coconut will give your Easter Bunny Coconut Tails their visually appealing coating, so have fun with your colors and create a lovely, colorful palette.
Step 4: Shape the Coconut Tails
Retrieve the chilled mixture from the refrigerator and use a small cookie scoop or your hands to portion out 1½ teaspoon amounts. Roll each portion into smooth balls, creating cute tail shapes for your Easter Bunny Coconut Tails. This step is where the fun begins; each tail should look plump and inviting, ready for rolling in coconut.
Step 5: Coat with Coconut
Take each rolled ball and gently roll it in your prepared colored coconut until fully coated. Make sure the coconut clings to the surface, creating a vivid outer layer. Place the coated tails on a tray lined with parchment paper. This colorful coating not only brings joy but also enhances the sweetness of the Easter Bunny Coconut Tails.
Step 6: Chill and Firm
Once all the tails are coated, transfer the tray to the refrigerator for about 1 hour. This chilling time allows the flavors to meld and the treats to firm up nicely. You’ll know they are ready when they feel firm to the touch but still soft inside, making them delightful little bites waiting to be enjoyed.
Step 7: Serve and Savor
After chilling, keep your Easter Bunny Coconut Tails in the refrigerator until it’s time to serve. Let them sit at room temperature for a few minutes before sharing to enhance their texture. The soft, chewy interior and sweet coconut coating create a delectable treat that’s perfect for any spring celebration. Enjoy the smiles they bring!
How to Store and Freeze Easter Bunny Coconut Tails
Refrigerator: Keep your Easter Bunny Coconut Tails in an airtight container for up to one week. This helps maintain their soft texture and delightful freshness.
Freezer: For longer storage, layer the tails with parchment paper in an airtight container and freeze for up to three months. This keeps them safe from freezer burn.
Defrosting: To enjoy your frozen treats, simply move them to the refrigerator for a few hours or let them sit at room temperature for about 15–20 minutes before serving.
Serving Tip: For the best experience, allow the tails to sit at room temperature briefly before serving. This enhances their delightful chewiness and flavor!
Easter Bunny Coconut Tails Variations
Feel free to get creative with your Easter Bunny Coconut Tails and let your taste buds lead the way!
-
Dairy-Free: Substitute sweetened condensed milk with coconut cream mixed with a bit of agave syrup for a rich, dairy-free version.
You won’t lose any of the delightful chewy texture, and the coconut flavor will shine even more! -
Chocolate-Dipped: Dip half of each tail in melted white or dark chocolate for an indulgent twist.
This adds a rich, velvety depth that pairs beautifully with the sweetness of the coconut! -
Citrus Zest: Add a teaspoon of lemon or orange zest to the mixture to brighten the flavor profile.
The citrus notes will complement the sweet coconut beautifully, giving you a fresh spring vibe in every bite! -
Nutty Crunch: Stir in chopped almonds or walnuts to the base mixture for a delightful crunch.
This extra texture brings a fun surprise to each soft, chewy tail—a great contrast you won’t want to miss! -
Mini Eggs Variation: Shape the mixture into small egg shapes instead of balls for an adorable Easter egg theme.
These mini egg treats will add a fun twist to your dessert table, charming both kids and adults alike! -
Spicy Kick: Add a pinch of cayenne pepper or cinnamon to the mixture for a warm, spicy depth.
It’s a surprising yet delightful flavor that will leave your guests raving about this unique twist! -
Gummy Bunny Tails: Replace some of the shredded coconut in the mixture with chopped gummy candies for a fun, chewy surprise.
This variation adds a whimsical touch that children will especially love, making your Easter gathering even more special!
For more fun ideas, check out our collection of no-bake dessert variations that are sure to inspire your next culinary adventure!
Expert Tips for Easter Bunny Coconut Tails
-
Consistency Check: Ensure your mixture holds together before rolling. If it’s too sticky, add more medium coconut to maintain that perfect texture.
-
Coloring Coconut: Use liquid food coloring for a consistent and even distribution. This prevents clumping and keeps your pastel hues vibrant, making your Easter Bunny Coconut Tails irresistible!
-
Proper Storage: Store the tails in an airtight container in the refrigerator for up to one week. For longer preservation, freeze them between layers of parchment paper for up to three months.
-
Creative Coating Options: Feel free to get creative! Dipping half the tails in melted chocolate adds richness, while adding citrus zest enhances flavor without altering the original charm of these treats.
-
Serving Temperature: For optimal texture, let the tails sit at room temperature for a few minutes before serving. This ensures they have the delightful chewiness that makes them a crowd favorite!
What to Serve with No-Bake Easter Bunny Coconut Tails
Indulging in these whimsical treats opens the door to delightful pairings that enhance your festive gatherings.
- Fresh Fruit Salad: Bright, colorful fruits add a refreshing contrast to the sweetness of the tails, offering a light and juicy finish to your celebratory meal.
- Creamy Vanilla Ice Cream: The velvety richness of ice cream pairs beautifully with the chewy coconut, creating a luscious, decadent dessert experience.
- Minty Green Salad: A crisp salad with fresh mint leaves and lemon vinaigrette complements the sweetness, elevating your meal’s flavor profile while adding a touch of spring freshness.
- Chocolate Dipped Strawberries: The combination of rich chocolate and tart berries provides a luxurious touch, making the tartness balance the sugary delights of the Easter Bunny Coconut Tails.
- Sparkling Lemonade: A bubbly, citrusy drink refreshes the palate, making it a perfect match for the creamy coconut flavors and vibrant pastel colors of your treats.
- Mini Easter Egg Cookies: These delightful cookies echo the festive theme, bringing in a crunchy texture that contrasts beautifully with the soft, chewy coconut tails.
Bring joy to your table with these complementing delights, ensuring a cheerful and memorable gathering for all!
Make Ahead Options
These Easter Bunny Coconut Tails are perfect for meal prep, allowing you to get a head start on your festivities! You can prepare the mixture (steps 1-2) up to 24 hours in advance and store it covered in the refrigerator. Alternatively, roll the shaped tails in the coconut coating and refrigerate them for up to 3 days before your event, ensuring they remain just as delightful. To maintain the treats’ quality, keep them in an airtight container. When you’re ready to serve, let them sit at room temperature for a few minutes to soften slightly—this will enhance their chewy texture and make them irresistibly enjoyable!
Easter Bunny Coconut Tails Recipe FAQs
What type of coconut should I use for the best flavor?
For the best flavor, I recommend using medium shredded coconut as the base. If you prefer a sweeter bite, switch to sweetened shredded coconut for both the mixture and coating; just note that it may add a bit more sweetness to the final result.
How should I store my Easter Bunny Coconut Tails?
Keep your Easter Bunny Coconut Tails in an airtight container in the refrigerator for up to one week. This storage method helps preserve their delightful chewiness and prevents them from drying out.
Can I freeze Easter Bunny Coconut Tails?
Absolutely! To freeze your Easter Bunny Coconut Tails, layer them with parchment paper in an airtight container and store them for up to three months. When you’re ready to enjoy, simply move them to the refrigerator for a few hours or let them sit at room temperature for about 15-20 minutes to defrost.
What if the mixture is too sticky to roll into balls?
If you find the mixture too sticky, don’t fret! Just add an extra tablespoon or two of medium shredded coconut to the mixture. This can help create a more manageable consistency, making it easier to roll into cute bunny tails.
Can these treats be made allergen-friendly?
Yes! To accommodate allergies, you can swap the butter for a dairy-free option, use vegan sweetened condensed milk, and choose coconut that’s certified allergen-friendly. Always double-check labels if you’re cooking for someone with allergies.
How do I make the colors for the coconut coating brighter?
To brighten the colors for your coconut coating, use liquid food coloring rather than gel, and add a few drops at a time, mixing thoroughly until you achieve your desired shade. Natural colorings can also be used for a healthier option, but they might be less vivid.
Easter Bunny Coconut Tails: Delightful No-Bake Treats for Spring
Ingredients
Equipment
Method
- In a large mixing bowl, combine sweetened condensed milk, melted butter, and vanilla extract. Whisk them together until the mixture is smooth and well-blended.
- Stir in the medium shredded coconut and confectioner’s sugar into the wet mixture. Mix until everything is thick and sticky.
- While the mixture chills, take a few small bowls and divide the fine shredded coconut evenly among them. Add a few drops of liquid food coloring to each bowl.
- Retrieve the chilled mixture and use a small cookie scoop or your hands to portion out 1½ teaspoon amounts. Roll each portion into smooth balls.
- Take each rolled ball and gently roll it in your prepared colored coconut until fully coated.
- Once all the tails are coated, transfer the tray to the refrigerator for about 1 hour.
- After chilling, keep your Easter Bunny Coconut Tails in the refrigerator until it's time to serve.
Leave a Reply