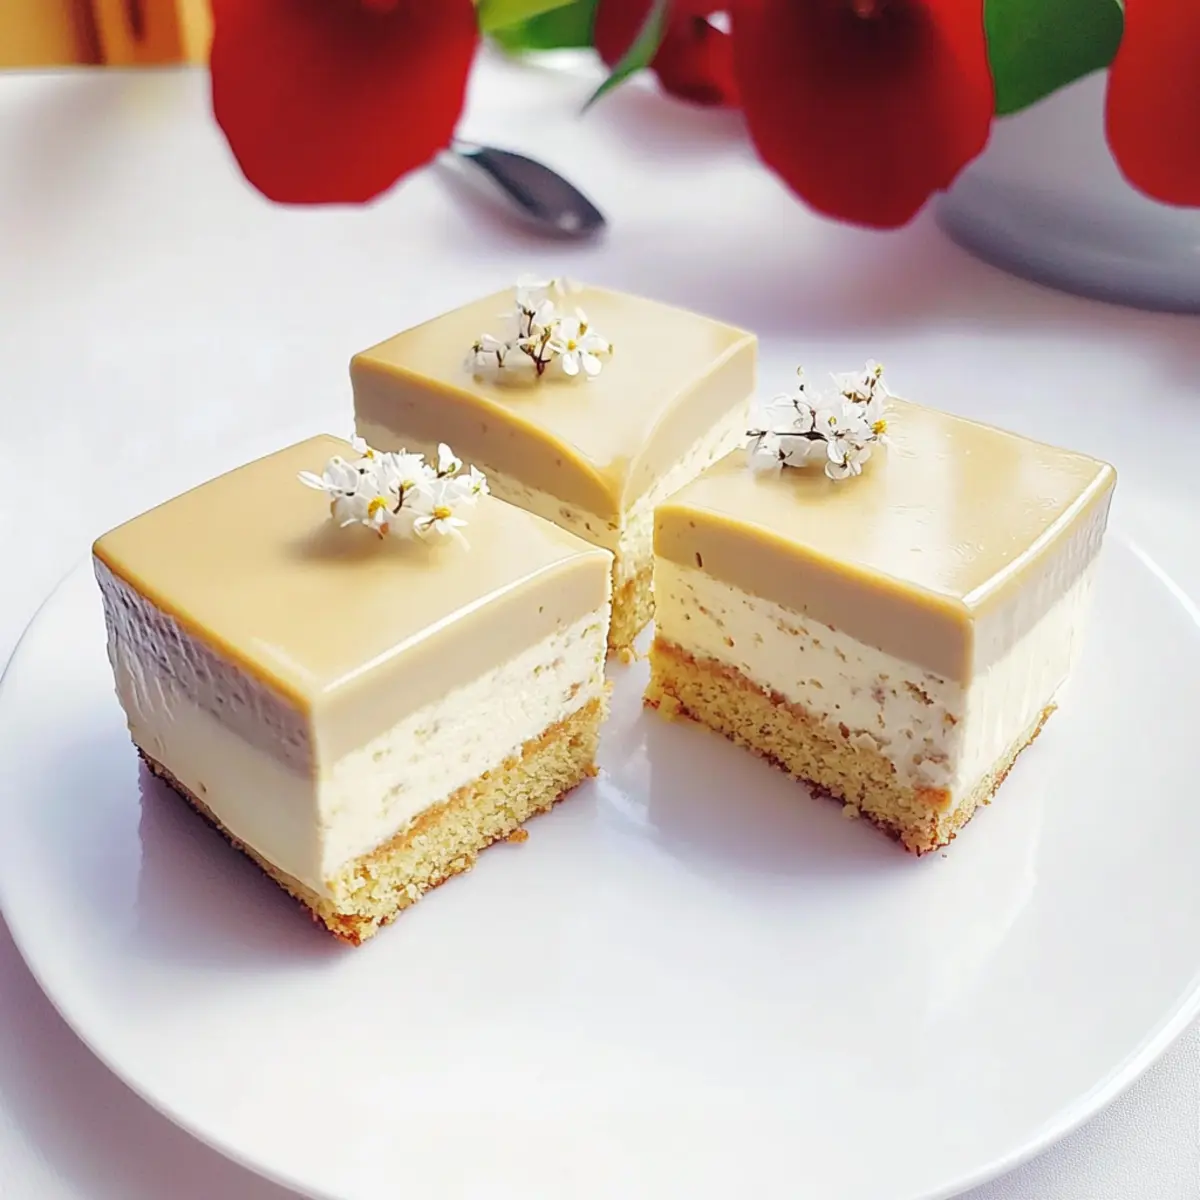
The first sip of tea always brings a moment of calm, doesn’t it? Now, imagine that tranquility transformed into an elegant dessert: the No-Bake Earl Grey Mousse Cake. This delightful creation showcases the floral notes of Earl Grey tea, elegantly layered over a buttery biscuit crust, all wrapped up in a silky, creamy mousse. Not only is it a show-stopping centerpiece for any special occasion, but it’s also incredibly simple to whip up—no oven required! The best part? You can not only impress your guests but also savor a light, refreshing treat that feels like a cozy hug in dessert form. Ready to elevate your dessert game? Let’s dive into this charming recipe that’s destined to become a favorite!
Why is No-Bake Earl Grey Mousse Cake irresistible?
Ease of Preparation: This cake comes together effortlessly, requiring no baking skills at all—perfect for those busy days!
Floral Elegance: The fragrant notes of Earl Grey tea elevate this dessert, offering a unique twist that will impress everyone at your gathering.
Versatile Delight: Ideal for afternoon tea, celebrations, or simply as a nighttime treat, this mousse cake shines on any occasion.
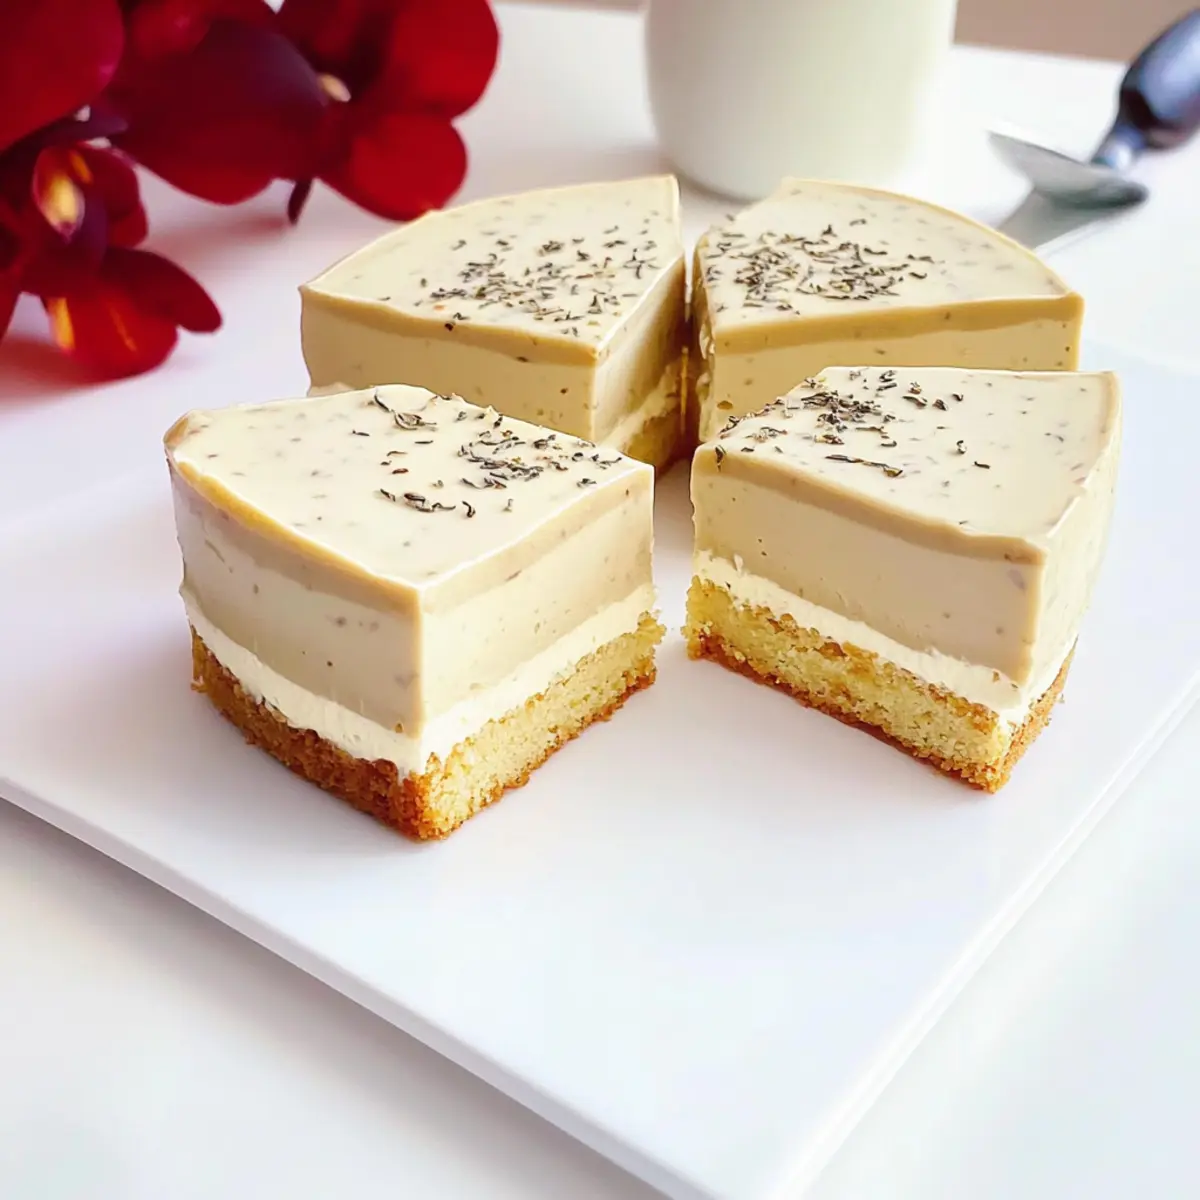
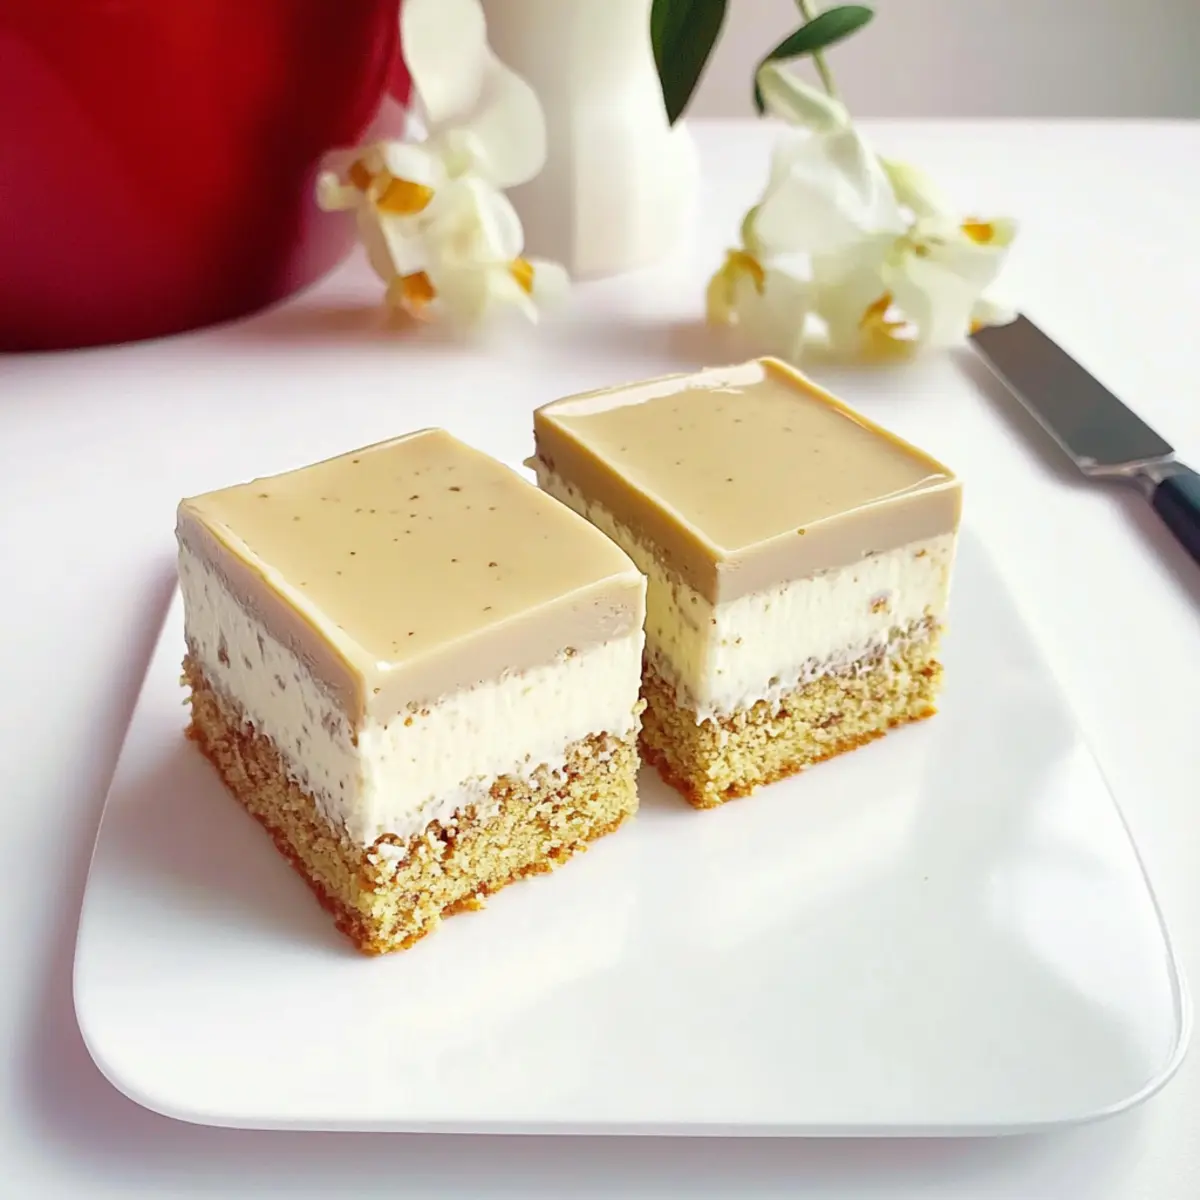
Decadent Layers: The silky cheese mousse over a buttery biscuit base creates a mouthwatering contrast that’s simply unforgettable.
Incredible Presentation: With its glossy mirror glaze, you’ll serve a dessert that’s as beautiful as it is delicious—like those stunning treats from a cafe.
For more elegant desserts, check out the Gingerbread Latte Mousse or the delightful Caramel Brownie Cheesecake to satisfy your sweet tooth!
No-Bake Earl Grey Mousse Cake Ingredients
For the Biscuit Base
• Caramel Biscuits – These biscuits provide a sweet and buttery base for the cake; swap with digestive biscuits if needed.
• Unsalted Butter – Essential for binding the biscuit crumbs together; make sure it’s melted for an easy mix.
For the Mousse Layer
• Cream Cheese – This forms the heart of the mousse; let it soften at room temperature for a smoother blend.
• Caster Sugar – Sweetens your cheesecake and stabilizes the mousse; you’ll use it in two portions!
• Hot Milk (80 ml) – This activates the gelatin for your mousse—make sure it’s around 40°C for optimal results.
• Gelatin Sheets – Crucial for setting your mousse and glaze; soak them in ice water before use.
• Earl Grey Tea Powder – This is what imparts a distinct floral flavor; you can use 2 Earl Grey tea bags as an alternative.
• Whipping Cream – Adds the perfect lightness and volume; whip until soft peaks form for the best texture.
For the Mirror Glaze
• Hot Milk (100 ml) – Essential for steeping the tea bag and creating a flavorful glaze; ensure it’s hot for maximum infusion.
• Earl Grey Tea Bag – Used to infuse the glaze with rich tea flavor; steep it well to draw out the essence.
• Gelatin (for glaze) – Use a small amount to help the glaze set perfectly; dissolve it in the hot milk after steeping.
• Caster Sugar (5 g) – Added to the glaze for a touch of sweetness; balances the flavors beautifully.
For Decoration
• Crushed Caramel Biscuits – Use these for a decorative and textural finish; they add a lovely crunch and aesthetic appeal.
With these ingredients, you are one step closer to creating a delightful No-Bake Earl Grey Mousse Cake that will impress your friends and family!
Step‑by‑Step Instructions for No-Bake Earl Grey Mousse Cheesecake
Step 1: Prepare the Biscuit Base
Begin by crushing the caramel biscuits into a fine crumb using a rolling pin or food processor until well-ground. In a mixing bowl, combine the crumbs with melted unsalted butter, stirring until fully moistened. Line the base of your springform pan with baking parchment and press the mixture firmly into the bottom, creating an even layer. Chill it in the refrigerator for about 10 minutes to help it set.
Step 2: Make the Cheese Mousse
In a large bowl, soften cream cheese by mixing it with 10 g of caster sugar until smooth and creamy. In a separate small bowl, dissolve gelatin sheets in 80 ml of hot milk (around 40°C) and add Earl Grey tea powder, mixing well until combined. Gently fold the cream cheese mixture into the gelatin mixture until fully incorporated, creating a smooth blend that will be the heart of your No-Bake Earl Grey Mousse Cheesecake.
Step 3: Incorporate the Whipped Cream
Next, in a clean bowl, whip the cream until soft peaks form, taking care not to overbeat. Slowly fold the whipped cream into the cheese mixture, being gentle to maintain the airy texture. To add a nice texture, fold in crushed caramel biscuits as well. Pour this light and creamy mousse mixture over the chilled biscuit base, tapping the mold gently to eliminate any air bubbles. Refrigerate for at least 4 hours, preferably overnight, until the mousse is fully set.
Step 4: Prepare the Mirror Glaze
While the mousse sets, prepare your optional mirror glaze. Steep an Earl Grey tea bag in 100 ml of hot milk for 5 minutes, allowing the flavors to infuse. Remove the tea bag and mix in the soaked gelatin and 5 g of sugar until fully dissolved. Allow the glaze to cool slightly before gently pouring it over the chilled mousse layer, ensuring an even coating. Then, return the cake to the refrigerator for another 1–2 hours to set the glaze perfectly.
Step 5: Serve and Decorate
Once the mousse and glaze have set completely, it’s time to serve your No-Bake Earl Grey Mousse Cheesecake. Warm the outer edges of the springform pan slightly with a hairdryer for easy release. Carefully remove the cake from the pan and transfer it to a serving plate. Decorate with crushed caramel biscuits for a delightful crunch and visual appeal, then slice and serve chilled with a cup of tea or coffee for a delightful treat.
Make Ahead Options
These No-Bake Earl Grey Mousse Cakes are perfect for meal prep, allowing you to indulge in a sweet delight without the last-minute fuss! You can prepare the biscuit base and mousse up to 24 hours in advance—simply store the mousse in the refrigerator, covering it with plastic wrap to prevent it from absorbing any odors. The layers will maintain their wonderful texture and flavor. When ready to serve, just add the optional mirror glaze, which can also be made ahead and refrigerated for up to 3 days. With this approach, you’ll have a stunning dessert waiting in your fridge, ready to impress your guests with minimal effort!
No-Bake Earl Grey Mousse Cake Variations
Feel free to get creative with your No-Bake Earl Grey Mousse Cake and make it truly your own!
-
Matcha Delight: Substitute Earl Grey tea with matcha powder for a vibrant green tea flavor. The earthy tones of matcha add a beautiful twist and a touch of zen to every bite.
-
Jasmine Infusion: Use jasmine tea instead of Earl Grey for a floral and aromatic experience. It pairs wonderfully with the creamy mousse, leaving a delicate scent lingering on your palate.
-
Chocolate Lovers: Add cocoa powder or melted dark chocolate to the mousse for a rich, chocolaty flavor. This creates a decadent contrast with the floral notes, perfect for chocoholics!
-
Citrus Zest: Enhance the citrus notes by adding lemon or orange zest to the cream cheese mixture. This twist provides a refreshing tang that brightens each scoop of mousse.
-
Nutty Crunch: Fold in chopped nuts like almonds or pistachios into the mousse for added texture. This delightful crunch not only elevates the dessert but also adds a lovely nutty flavor profile.
-
Caramel Drizzle: Drizzle homemade or store-bought caramel sauce over the top before serving. It adds a sweet touch and a sophisticated look that will wow your guests.
-
Spicy Twist: Incorporate a pinch of cardamom or cinnamon to the mousse blend for a warm, exotic flavor that complements the tea beautifully. This warming hint brings cozy vibes to your dessert!
-
Vegan Alternative: Replace cream cheese with a cashew-based cream and use plant-based gelatin or agar-agar for a vegan-friendly dessert that doesn’t sacrifice taste or texture. This options opens up the recipe to more friends and family!
For more sweet inspirations, don’t forget to check out the dreamy Cookie Butter Cheesecake and the fruity Strawberry Cheesecake Cookies. Enjoy your baking adventure!
How to Store and Freeze No-Bake Earl Grey Mousse Cheesecake
Fridge: Keep your cheesecake covered in the refrigerator for up to 3 days. This ensures that the flavors remain fresh and the texture stays intact.
Freezer: While it’s not recommended to freeze the mousse cheesecake due to potential texture changes, you can store individual slices wrapped tightly in plastic wrap in an airtight container for up to 1 month if necessary.
Reheating: If you have frozen slices, thaw them in the fridge overnight. Enjoy the cheesecake chilled; do not attempt to heat it, as this will compromise its creamy texture.
Notes: Always check the cheesecake before serving—if it has any off smells or textures beyond the recommended storage times, it’s best to discard it for food safety.
What to Serve with No-Bake Earl Grey Mousse Cake
Elevate your dessert experience by pairing this elegant creation with delightful accompaniments that balance its creamy texture and floral notes.
- Fresh Berries: Juicy raspberries or blueberries add a burst of tartness that perfectly complements the sweetness of the mousse. Their vibrant color also enhances the presentation!
- Creamy Whipped Cream: A dollop of lightly sweetened whipped cream elevates every bite, bringing a luscious touch that pairs harmoniously with the mousse cake.
- Almond Biscotti: These crispy, nutty treats provide a satisfying crunch that contrasts nicely with the silky texture of the cheesecake.
- Earl Grey Tea: Steep a fragrant cup of Earl Grey to reinforce the dessert’s signature flavor; it’s a classic pairing that makes every bite magical.
- Lavender Shortbread Cookies: These delicate cookies echo the floral notes of the cake, creating an enchanting flavor harmony that feels utterly delightful.
- Chocolate Drizzle: A light drizzle of dark chocolate adds a rich depth, striking a perfect balance with the lightness of the mousse.
- Sparkling Raspberry Lemonade: This refreshing drink’s effervescence will cleanse the palate, making it the ideal sip alongside the creamy decadence of the cheesecake.
- Poached Pears: Tender, honey-soaked pears bring warmth and subtle sweetness while adding a fresh, fruity element that contrasts beautifully with the dish.
- Matcha Green Tea: A cup of this earthy beverage provides a wonderful, less sweet counterpart that refreshes the palate with every sip.
Expert Tips for No-Bake Earl Grey Mousse Cheesecake
- Mousse Stability: Ensure your cream cheese and whipping cream are well-softened and mixed properly; this helps achieve a smooth and stable mousse.
- Gelatin Precision: Soak your gelatin sheets for the right amount of time in cold water; too short might lead to a runny mousse.
- Biscuit Base: Do not skip chilling the biscuit base; this ensures it holds its shape and provides a solid foundation for your No-Bake Earl Grey Mousse Cheesecake.
- Whipping Technique: Be careful not to over-whip the cream; soft peaks provide the perfect lightness to balance the mousse’s richness.
- Mirror Glaze Magic: If making the mirror glaze, let it cool slightly before pouring; too hot can melt the mousse layer underneath.
- Taste Test: Before serving, always taste your mousse for sweetness; adjust the sugar according to your preference for the most delightful result.
No-Bake Earl Grey Mousse Cake Recipe FAQs
How do I select the best Earl Grey tea for this recipe?
Absolutely! For the best flavor in your No-Bake Earl Grey Mousse Cake, look for high-quality loose-leaf Earl Grey or premium tea bags that prominently feature bergamot oil. The freshness of the tea will greatly enhance the floral notes in your mousse, making it more aromatic and flavorful.
What’s the best way to store the cheesecake?
Very! Store your cheesecake covered in the refrigerator for up to 3 days. This will keep the mousse firm and the flavors vibrant. Always ensure it’s in an airtight container or well-wrapped to prevent it from absorbing other odors from the fridge.
Can I freeze this No-Bake dessert?
While it’s not recommended to freeze the entire No-Bake Earl Grey Mousse Cake, you can freeze individual slices for up to 1 month. To freeze, wrap slices tightly in plastic wrap and then place them in an airtight container. To thaw, move the slices to the fridge overnight; do not heat as this can ruin the texture.
What should I do if my mousse doesn’t set properly?
If your mousse didn’t set adequately, it might be due to the gelatin not being dissolved correctly or insufficient chilling time. Ensure the gelatin sheets are fully softened in ice water before dissolving them in hot milk. If the mousse still feels too soft after the recommended chilling time, you can try adding a bit more dissolved gelatin (around 1 sheet equivalent) to the mixture and refrigerating again for a few hours.
Is this dessert suitable for those with dietary restrictions, like allergies or pets?
Yes! Just remember, the No-Bake Earl Grey Mousse Cake contains dairy, so it’s not suitable for those with lactose intolerance or vegan diets. If you’re making it for others, consider using vegan cream cheese and coconut cream for the whipped elements. Additionally, keep it out of reach from pets, especially cats, as chocolate and certain tea ingredients can be harmful.
What should I do if my biscuit base is too crumbly?
If your biscuit base crumbles, it likely needs more binding from butter or a bit of water. Make sure your butter is melted before mixing, and ensure the crumbs are well-combined. If they seem too dry, you can add a teaspoon of cold water to the mixture until it reaches a more cohesive texture. Press it firmly into the mold to ensure it holds together when chilled.

Delicious No-Bake Earl Grey Mousse Cheesecake for Sweet Moments
Ingredients
Equipment
Method
- Prepare the Biscuit Base by crushing the caramel biscuits into fine crumbs, combine with melted unsalted butter, press into a lined springform pan, and chill for 10 minutes.
- Make the Cheese Mousse by softening cream cheese with 10 g caster sugar, dissolve gelatin in hot milk, add Earl Grey powder, and fold into cream cheese until smooth.
- Incorporate the Whipped Cream by whipping it until soft peaks form and fold gently into the cheese mixture along with crushed caramel biscuits. Pour over the biscuit base and refrigerate for at least 4 hours.
- Prepare the Mirror Glaze by steeping a tea bag in hot milk, dissolving gelatin and sugar in it, allowing to cool slightly before pouring over the set mousse.
- Serve and Decorate by releasing the cheesecake from the pan, topping it with crushed caramel biscuits, and serving chilled.
Leave a Reply