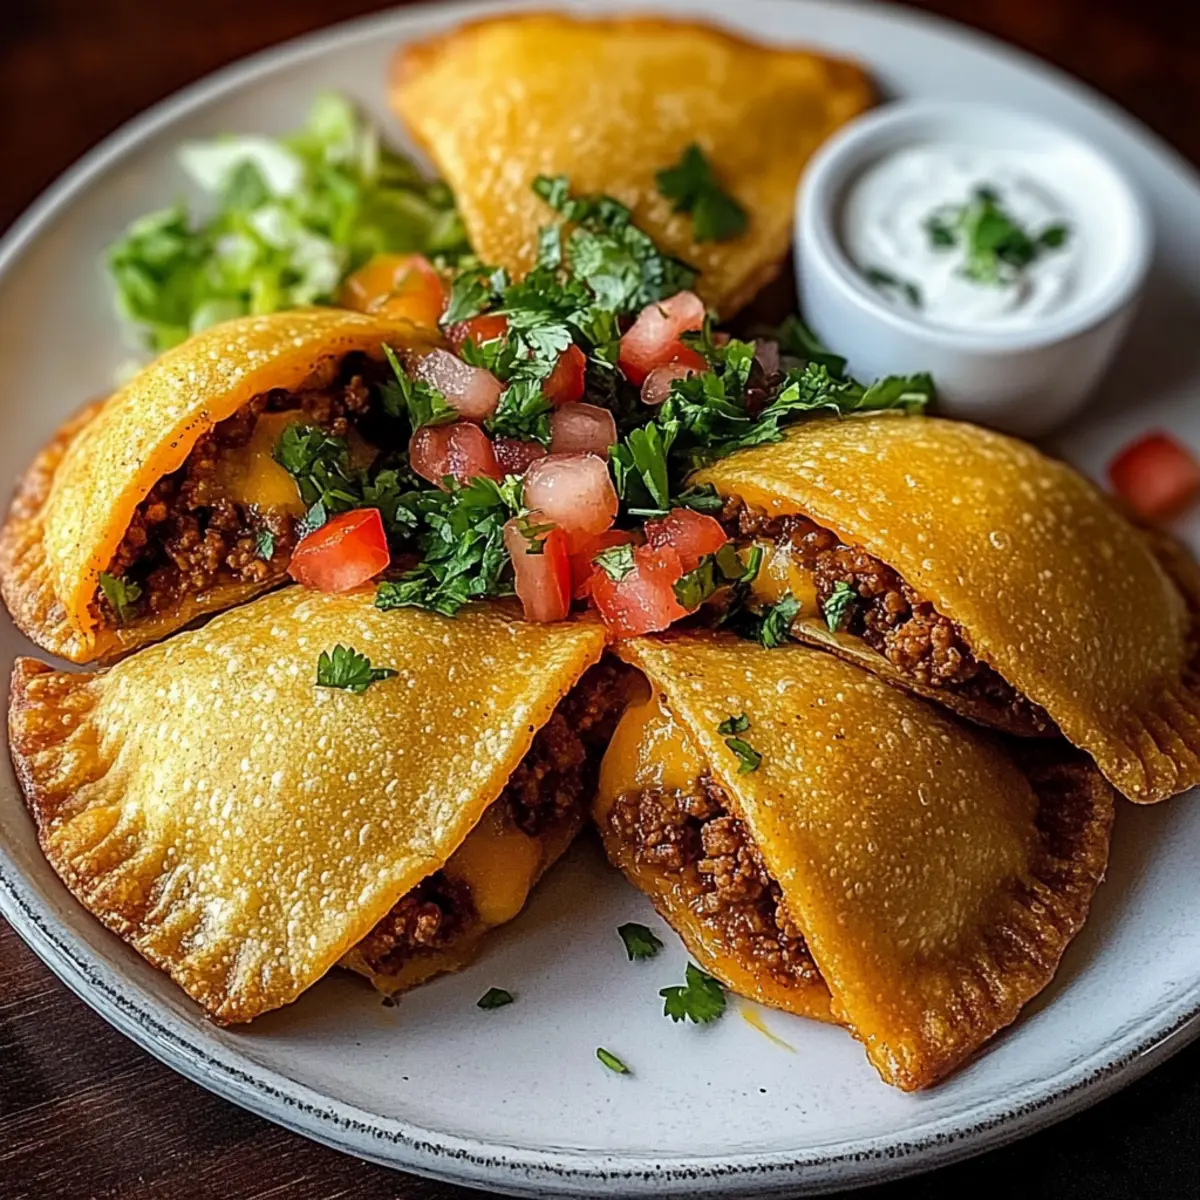
The aroma of sizzling meat and spices wafts through my kitchen, instantly transporting me to the vibrant streets of Mexico. These Spicy Crispy Mexican Taco Pockets are not just a meal; they are a celebration of flavor and crunch! Made with easy-to-find ingredients, they come together in a snap, making them perfect for a quick dinner or a fun appetizer for gatherings. What I adore about this recipe is its incredible versatility—you can easily customize the filling with leftover ingredients, from seasoned ground beef or turkey to a colorful mix of fresh veggies. Each bite is a delightful surprise, allowing everyone to enjoy their favorite flavors. Are you ready to dive into this crispy fiesta? Let’s get cooking!
Why are these taco pockets irresistible?
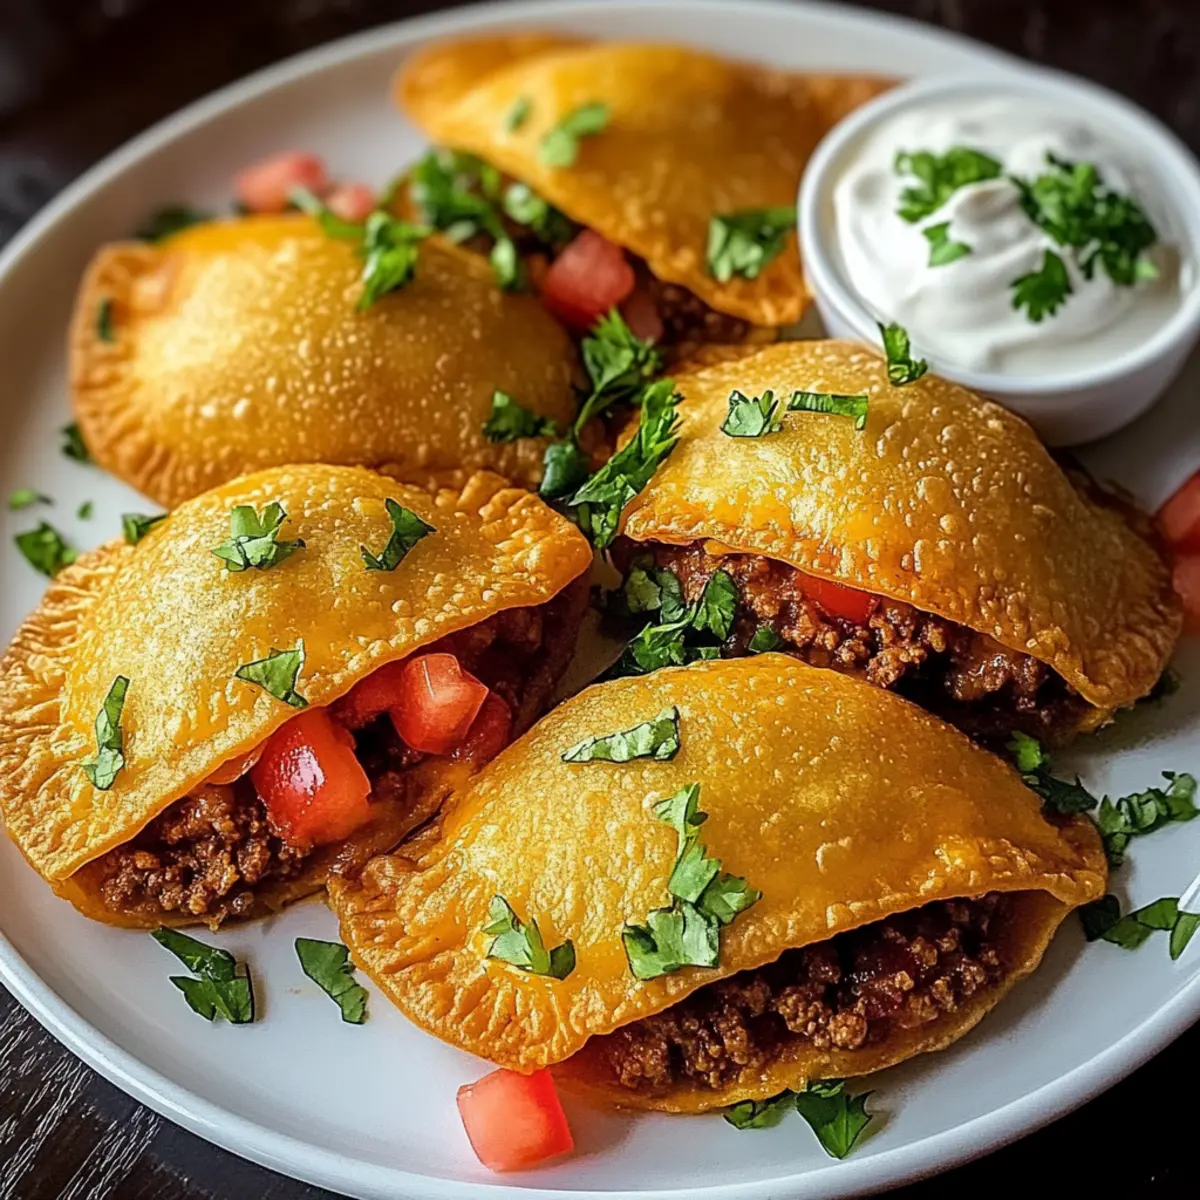
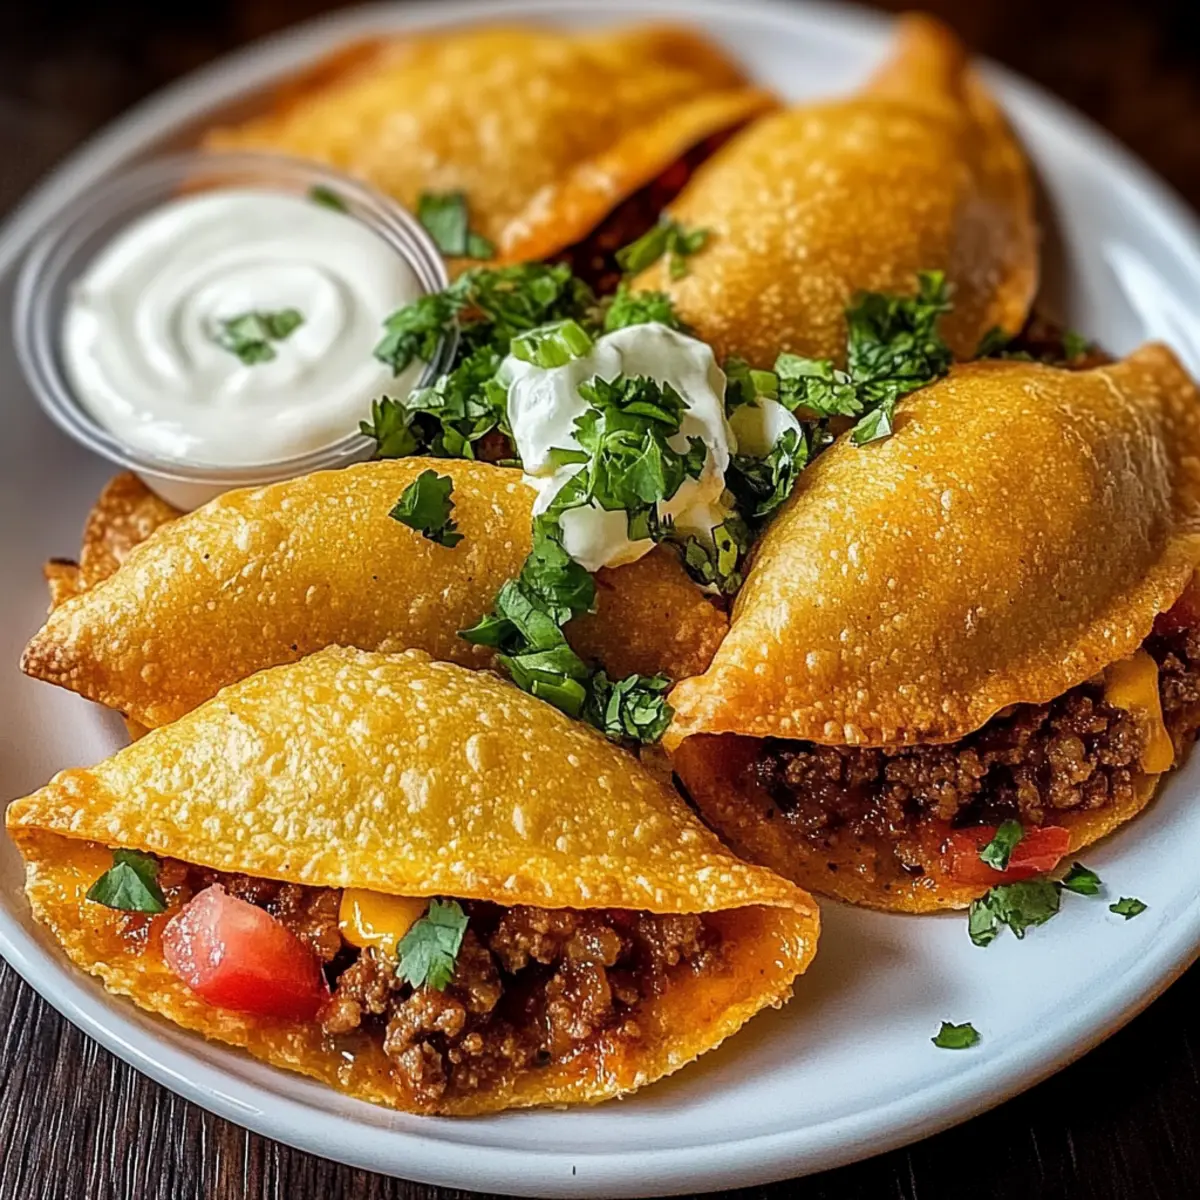
Crispy, Flavorful Delight: These Spicy Crispy Mexican Taco Pockets deliver a satisfying crunch with every bite, encapsulating a mouthwatering blend of textures and flavors.
Quick and Easy: Perfect for busy weeknights, this recipe comes together in a flash, providing a delightful dinner option for everyone.
Customizable to Your Taste: Whether you have leftover ground beef, turkey, or want to go vegetarian, the filling options are endless—make each taco pocket uniquely yours!
Crowd-Pleasing Snack: Serve these delicious pockets at your next gathering, and watch them disappear as guests rave about the savory flavors, much like they do with my Chicken Taco Soup or Beef Taco Soup.
Perfect for Meal Prep: Prepare your pockets ahead of time! Freeze them for a quick snack, ensuring you always have a tasty treat on hand.
Spicy Crispy Mexican Taco Ingredients
• Get ready to create your own flavorful pockets!
For the Dough
- All-Purpose Flour – Essential for structure; substitute with gluten-free flour for an alternative.
- Salt – Enhances flavor of the dough; don’t skip this for balance.
- Baking Powder – Lightens the dough texture; optional for a denser pocket.
- Vegetable Oil – Provides moisture and fat for the dough and frying; can substitute with canola or peanut oil.
- Warm Water – Hydrates the flour and ensures a smooth dough; warm water mixes better.
For the Filling
- Ground Beef or Turkey – The star protein that offers rich flavor; can be swapped with shredded chicken or beans for a vegetarian option.
- Taco Seasoning Mix – Packs the meat with savory spices; consider homemade spices for a personal touch.
- Shredded Cheddar Cheese – Melts beautifully, adding creaminess; you could also use pepper jack for a spicy kick.
- Chopped Onion – Contributes crispy texture and aroma; switch to green onions for a milder taste.
- Diced Tomatoes – Brings freshness and acidity to balance richness; salsa is a great substitute.
- Chopped Cilantro – Adds a refreshing herbal note; feel free to omit if it’s not your favorite.
- Jalapeño (optional) – Perfect for those who love a spicy kick; skip it for a milder version.
For Frying
- Vegetable Oil for Frying – Essential for achieving that golden, crispy exterior; make sure it’s hot enough before frying.
Dive into this mouthwatering journey of crafting Spicy Crispy Mexican Taco Pockets, and enjoy the delicious conversations that follow!
Step‑by‑Step Instructions for Spicy Crispy Mexican Taco Pockets
Step 1: Prepare the Dough
In a large mixing bowl, combine all-purpose flour, salt, and baking powder. Drizzle in vegetable oil and warm water, then stir until a cohesive dough forms. Transfer the dough to a floured surface and knead for about 5 minutes until smooth. Cover the dough with a clean towel or plastic wrap and let it rest for 30 minutes to relax the gluten, making it easier to roll.
Step 2: Cook the Filling
Heat a skillet over medium heat and add your choice of ground beef or turkey. Cook for 5-7 minutes, stirring occasionally, until the meat is browned and fully cooked. Drain any excess fat, then stir in taco seasoning and a splash of water. Cook for another 5 minutes until the mixture thickens and becomes aromatic, then remove from heat.
Step 3: Preheat the Frying Oil
In a deep pan, pour enough vegetable oil to submerge the taco pockets, about 2-3 inches deep. Heat the oil until it reaches 350°F (175°C), which usually takes about 10 minutes. Use a thermometer to ensure the right temperature for frying, as this will give your Spicy Crispy Mexican Taco Pockets that perfect crunch.
Step 4: Roll Out the Dough
Once the dough has rested, divide it into 8 equal portions. On a lightly floured surface, roll each portion into a circle about 6 inches in diameter. Aim for an even thickness, ensuring they are not too thin to prevent tearing during filling. Keep the rolled-out dough covered to prevent drying while you work.
Step 5: Fill the Taco Pockets
Take one dough circle and spoon a generous amount of the cooked meat mixture onto one half. Add a sprinkle of shredded cheddar cheese, chopped onion, diced tomatoes, and any optional jalapeños or cilantro. Be careful not to overfill, leaving space around the edges for sealing.
Step 6: Seal the Pockets
Fold the dough over the filling to create a half-moon shape. Press the edges firmly together, ensuring there are no air pockets. Use a fork to crimp the edges, sealing them tightly. Repeat with the remaining dough and filling until all pockets are assembled, and they are ready for frying.
Step 7: Fry the Taco Pockets
Carefully place the sealed taco pockets in the hot oil, making sure not to overcrowd the pan. Fry each pocket for 3-4 minutes per side, or until golden brown and crispy. Keep an eye on them, as they will brown quickly. Once fried, remove them and drain on paper towels to absorb excess oil.
Step 8: Serve and Enjoy
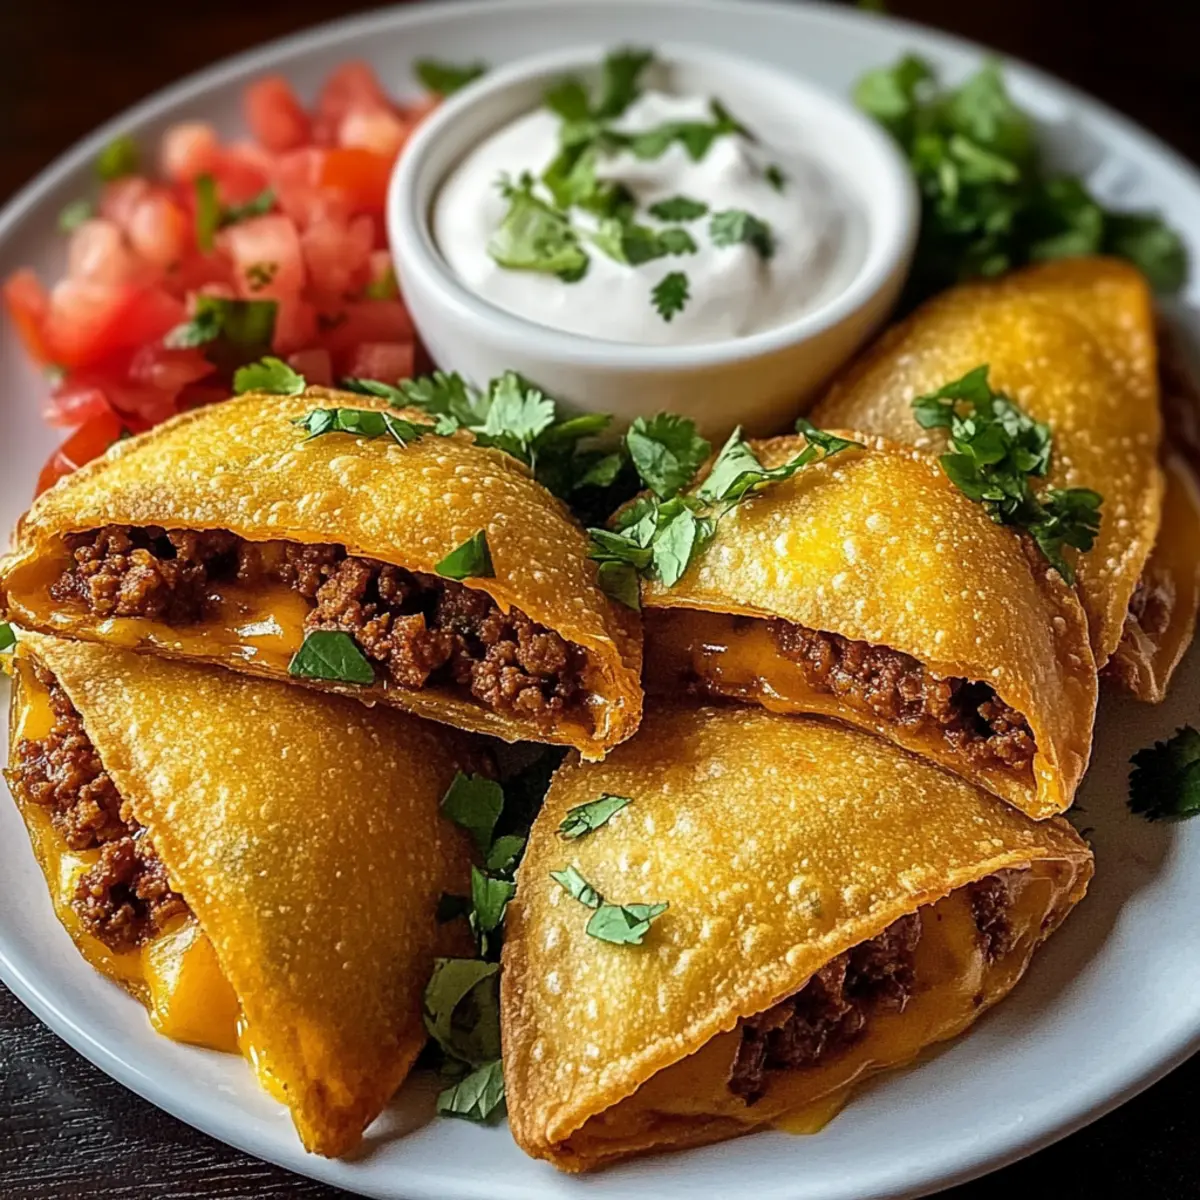
Serve your Spicy Crispy Mexican Taco Pockets hot with sour cream and salsa. The piping hot, crispy pockets will delight your family and friends! Enjoy sharing these flavorful bites, perfect for a quick dinner or fun appetizer that everyone will love.
How to Store and Freeze Spicy Crispy Mexican Taco Pockets
-
Room Temperature: Allow cooked taco pockets to cool completely before storing. They can be left at room temperature for a few hours if you’re serving them immediately.
-
Fridge: Store any leftover taco pockets in an airtight container in the refrigerator for up to 3 days. Reheat in the oven for a few minutes to restore crispiness.
-
Freezer: For longer storage, flash-freeze the taco pockets on a baking sheet before transferring them to a freezer bag. They’ll keep well for up to 1 month. Reheat from frozen in the oven for best results.
-
Reheating: For a crispy finish, place refrigerated or frozen taco pockets in a preheated oven at 375°F (190°C) for 10-15 minutes, or until heated through and crispy.
Spicy Crispy Mexican Taco Variations
Feel free to play around and make these taco pockets your own with these exciting swaps and twists!
- Dairy-Free: Use a plant-based cheese or omit cheese entirely for a delicious non-dairy option that still satisfies.
- Spicy Kick: Add diced jalapeños or chipotle peppers into the filling for an extra burst of heat.
- Southwestern Flair: Incorporate black beans, corn, and diced bell peppers for a twist that brings more vibrant flavors and textures.
- Herb-Infused: Mix in fresh herbs like oregano or parsley for a fragrant touch that contrasts beautifully with the savory meat.
- Loaded Veggie: Switch to a vegetarian filling with a mix of sautéed mushrooms, zucchini, and spinach, offering a hearty and flavorful option.
- Crunchy Slaw: Top your cooked taco pockets with a crunchy slaw made from cabbage, carrots, and a tangy dressing for an added crunch.
- Different Cheese: Try using a mixture of cheeses like Monterrey Jack and queso fresco for a delightful melty surprise in every bite.
- Crunchy Coating: Before frying, dip the filled pockets in breadcrumbs for an extra crispy exterior that gives a delightful crunch, reminiscent of my Dill Pickle Parmesan Chicken recipe.
Expert Tips for Spicy Crispy Mexican Taco Pockets
-
Hot Oil Check: Make sure the oil is at 350°F (175°C) before frying; too cool oil will result in soggy pockets.
-
Avoid Overfilling: Only add a spoonful of filling to each pocket. Overfilling can lead to messy leaks during frying.
-
Seal Thoroughly: Ensure you crimp the edges tightly to avoid any air pockets or openings while frying, keeping the filling intact.
-
Let Dough Rest: Allow the dough to rest for 30 minutes; this relaxes the gluten, making it easier to roll out and shape.
-
Customize Freely: Feel free to swap fillings based on what you have handy. The Spicy Crispy Mexican Taco Pockets are versatile and can accommodate various ingredients!
-
Storage Savvy: For leftovers, cool completely and refrigerate in a single layer. Fry them fresh when cravings strike for the best taste!
Make Ahead Options
These Spicy Crispy Mexican Taco Pockets are perfect for meal prep enthusiasts! You can prepare the dough and filling up to 24 hours in advance, storing them separately in airtight containers in the refrigerator. To maintain quality, ensure the meat mixture cools completely before refrigerating, preventing sogginess. When ready to cook, simply roll out the dough, fill with your cold filling, and fry as instructed. For even longer storage, the assembled taco pockets can be frozen for up to 1 month; just flash-freeze them flat on a baking sheet, then transfer to a freezer bag. This way, you can enjoy a flavorful, crispy snack with quick and easy preparation!
What to Serve with Spicy Crispy Mexican Taco Pockets
The perfect accompaniment elevates your dining experience, creating a symphony of flavors and textures that delight the senses.
- Salsa Roja: A zesty and vibrant sauce that adds a fresh kick, enhancing the spices in each taco pocket nicely.
- Guacamole: Creamy and rich, this avocado dip provides a cooling counterpart to the spiciness, enticing every palate.
- Tangy Slaw: A crunchy slaw made with cabbage and a citrus dressing brightens the meal, balancing the flavors perfectly.
- Mexican Rice: Fluffy and seasoned, this staple side absorbs flavors seamlessly, making it a delightful pairing for the pockets.
- Refried Beans: Creamy and soulful, they add heartiness while complementing the crunchy texture of the taco pockets beautifully.
- Elote (Mexican Street Corn): Grilled corn smeared with lime, mayo, and cheese offers a flavorful, sweet char that contrasts delightfully.
- Chilled Mexican Sodas: Refreshing and sweet, these beverages provide a sugary respite from the heat of the taco pockets.
- Chocolate Flan: For dessert, this silky, rich treat serves as a luscious finish, sweetening your taste buds after a spicy savory adventure.
- Citrus Spritzers: Cool, fizzy drinks infused with lime or orange bring zest and brightness, perfect for washing down the crispy bites!
Spicy Crispy Mexican Taco Pockets Recipe FAQs
How do I choose the right ripeness for my ingredients?
Absolutely! When selecting tomatoes, look for ones that are firm but yield slightly to gentle pressure—this indicates they are ripe and perfect for adding freshness to your pockets. If you’re using onions, choose those with a glossy exterior and no dark spots. As for jalapeños, pick ones that are smooth and bright in color for the best flavor.
What is the best way to store leftover taco pockets?
To keep your Taco Pockets fresh, cool them completely and store them in an airtight container in the refrigerator for up to 3 days. If you’re feeling like a meal prep pro, wrap each pocket individually in plastic wrap before placing them in the container. This method helps maintain their texture and flavor!
Can I freeze the taco pockets, and how should I do it?
Absolutely! For freezing, first flash-freeze the cooked taco pockets on a baking sheet for about 1 hour until solid. Then transfer them to a freezer bag and store for up to 1 month. When you’re ready to enjoy them, bake from frozen at 375°F (190°C) for about 15-20 minutes, or until hot and crispy. This way, you always have a delicious snack ready to go!
What if my taco pockets are leaking during frying?
Very! If your taco pockets are leaking, it might be because they were overfilled or not sealed tightly. To prevent this, ensure you’re only adding a spoonful of filling—leave enough space around the edges. Additionally, crimp the seals well with a fork to avoid any air pockets that can burst while frying.
Are these taco pockets suitable for people with dietary restrictions?
Yes, these Spicy Crispy Mexican Taco Pockets can be quite versatile! You can easily substitute the ground beef or turkey with shredded chicken, beans, or even lentils for a vegetarian twist. For gluten-free options, use gluten-free flour for the dough. Just be mindful of any allergies, particularly if you add cheese or other toppings. Always check with guests about their dietary needs ahead of time.
Can I use frozen ground beef or turkey for the filling?
Of course! If you have frozen ground beef or turkey, simply thaw it first in the refrigerator overnight or use the microwave’s defrost setting. Make sure it’s fully thawed before cooking, as this will ensure even browning and a delicious flavor for your taco filling.
Crispy Spicy Mexican Taco Pockets You'll Love for Dinner
Ingredients
Equipment
Method
- In a large mixing bowl, combine all-purpose flour, salt, and baking powder. Drizzle in vegetable oil and warm water, then stir until a cohesive dough forms.
- Transfer the dough to a floured surface and knead for about 5 minutes until smooth. Cover and let it rest for 30 minutes.
- Heat a skillet over medium heat and add your choice of ground beef or turkey. Cook for 5-7 minutes until browned.
- Drain excess fat, stir in taco seasoning and a splash of water. Cook for another 5 minutes until thickened.
- In a deep pan, pour enough vegetable oil to submerge the taco pockets, about 2-3 inches deep. Heat until it reaches 350°F (175°C).
- Once the dough has rested, divide it into 8 equal portions and roll each into a 6-inch circle.
- Spoon a generous amount of the cooked meat mixture onto one half of a dough circle. Add shredded cheese, chopped onion, diced tomatoes, and jalapeños or cilantro.
- Fold the dough over to create a half-moon shape. Press the edges together and crimp with a fork.
- Place the sealed taco pockets in the hot oil and fry for 3-4 minutes per side until golden brown.
- Serve hot with sour cream and salsa. Enjoy!
Leave a Reply