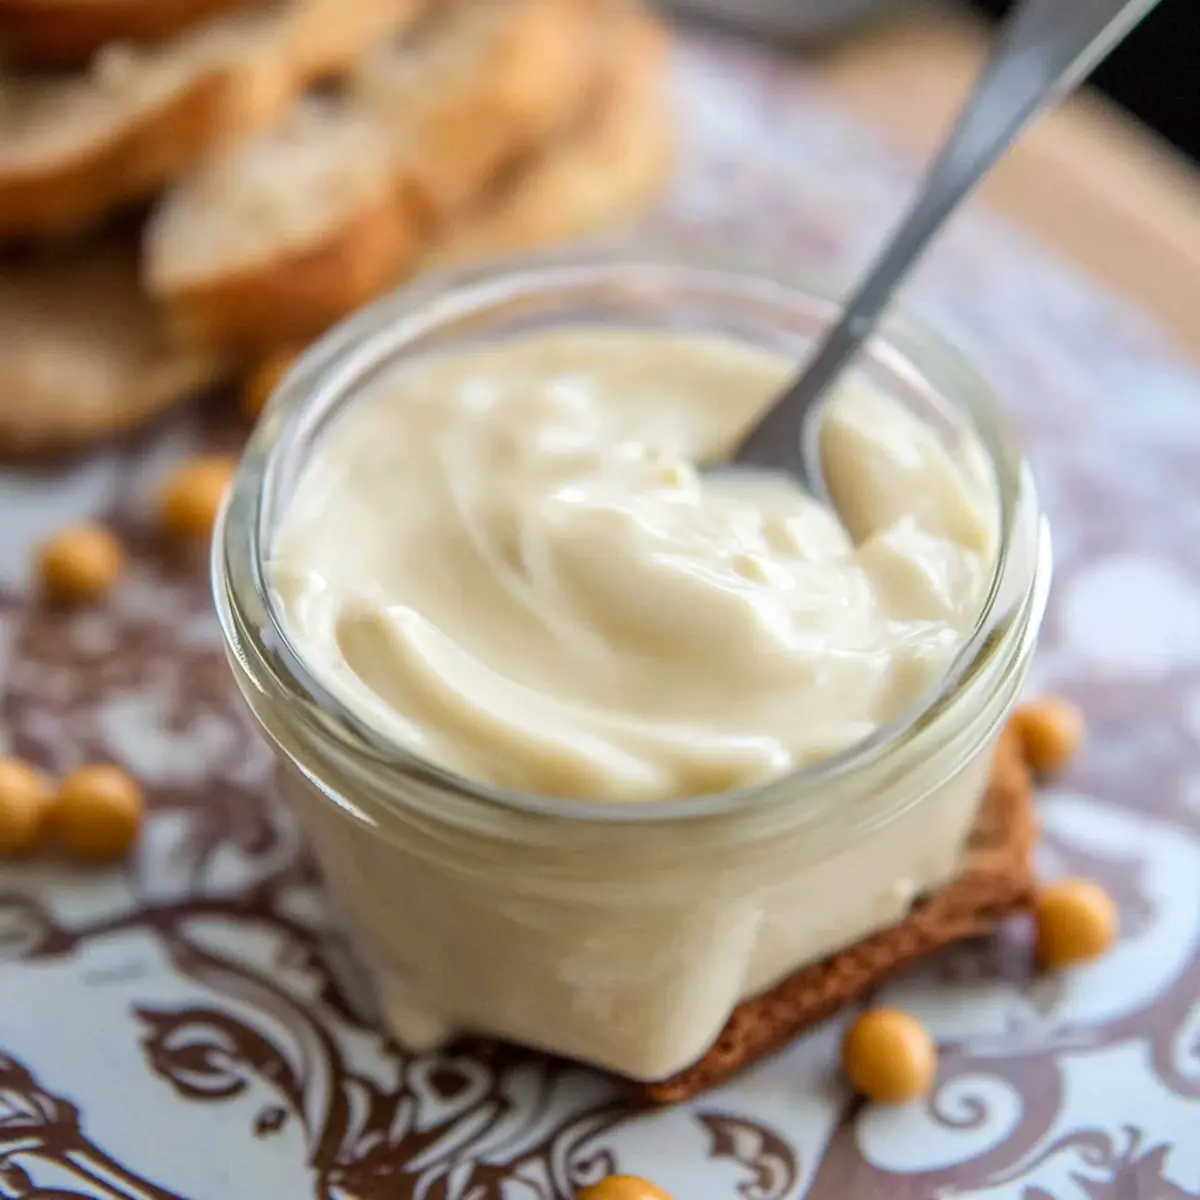
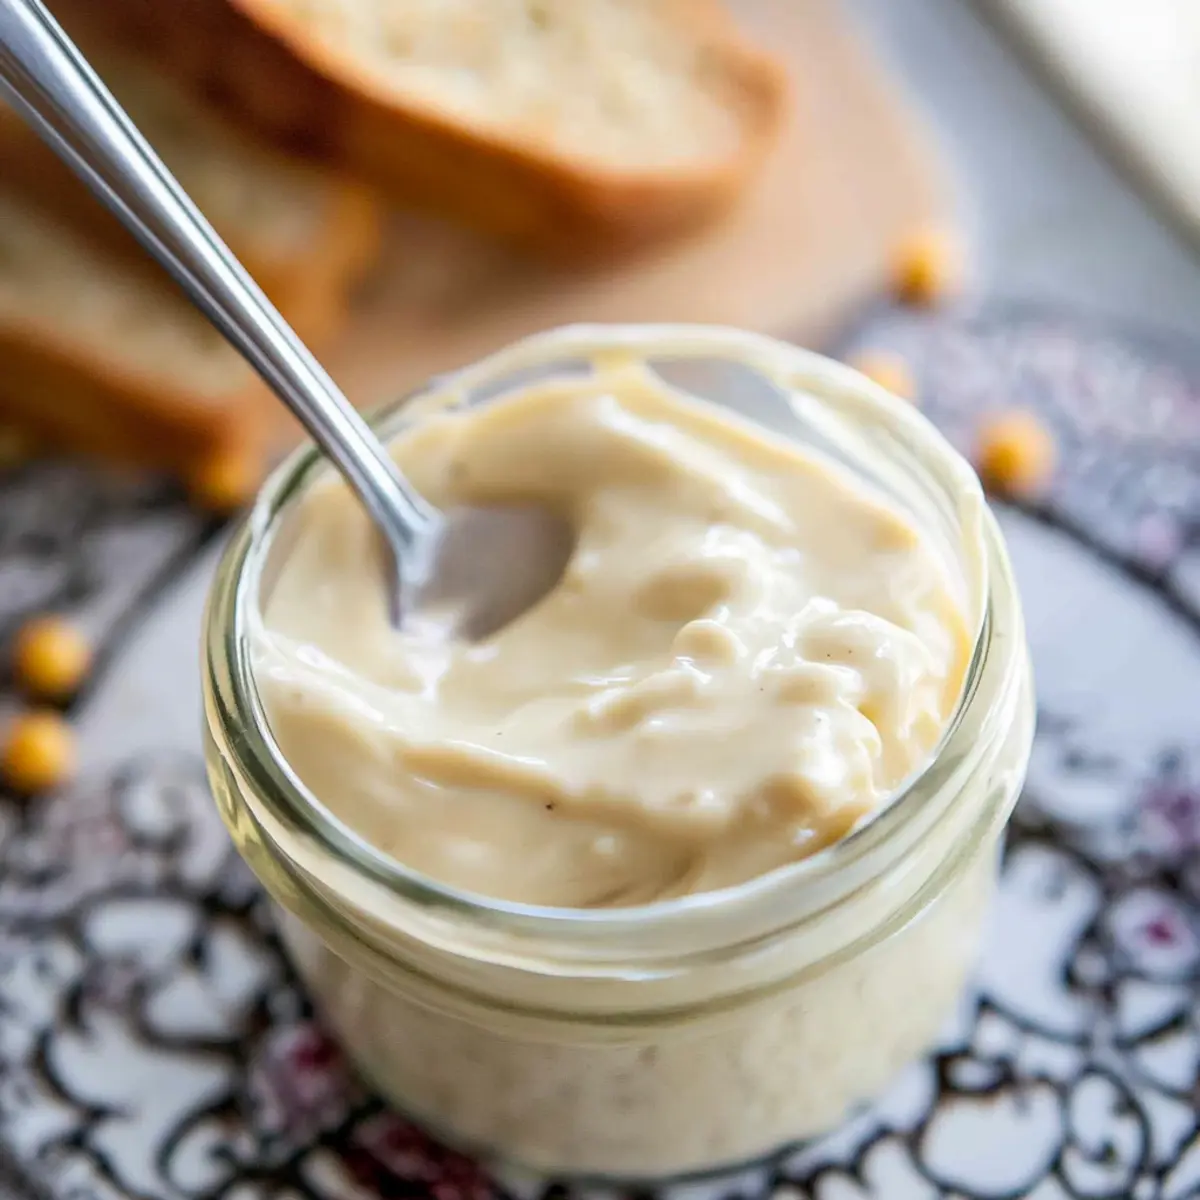
You wouldn’t believe how quickly I fell in love with making my own Easy Homemade Vegan Mayo! With just four simple ingredients and a mere 30 seconds of blending, this creamy, tangy marvel rivals any store-bought mayo—you won’t even miss the eggs! Thanks to aquafaba, the magical bean water, you can achieve a luscious texture that’s perfect for sandwiches, dips, or even salad dressings. What’s more, this recipe is not only quick and easy but also an economic powerhouse, freeing you from pricey condiments. If you’re ready to elevate your meals without compromising your values, this vegan mayo is a game-changer. Have you ever tried making your condiments at home? Let’s dive in!
Why Make Homemade Vegan Mayo?
Quick and Easy: With just four simple ingredients, you’ll have creamy vegan mayo ready in only 30 seconds.
Versatile Delight: This mayo is perfect for sandwiches, dips, or dressings, making it a must-have in any kitchen!
Cost-Effective Option: Skip the overpriced store brands and save money while enjoying a fresher, homemade alternative.
Egg-Free Pleasure: You’ll love that it’s made with aquafaba, making it ideal for vegans and anyone avoiding eggs.
Healthier Choice: Control the ingredients to keep it gluten-free and tailor it to your dietary needs, all while savoring superb taste.
For more scrumptious, wholesome recipes, don’t miss checking out my Savory Homemade Pasta or indulge in some Stuffing Holiday Comfort!
Easy Homemade Vegan Mayo Ingredients
Craft your creamy delight effortlessly!
For the Mayo
- Aquafaba – Acts as the emulsifying agent to bind everything beautifully; opt for preservative-free canned or homemade for the best results.
- Dijon Mustard – Adds flavor and helps with emulsification; can be replaced with dry mustard or omitted if desired.
- Apple Cider Vinegar – Brings a zingy acidity to the mix; white wine vinegar can be a delightful substitute based on your taste preferences.
- Avocado Oil (or other neutral oil) – This is the base fat, ensuring a creamy texture; steer clear of extra virgin olive oil for this recipe to avoid overpowering flavors.
- Salt (Himalayan or Sea Salt) – Essential for flavor enhancement; adjust to your liking.
- Optional Garlic – For those who enjoy an extra pop of flavor, adding one clove can create a wonderful garlic-infused mayo.
- Optional Cayenne Pepper – For a bit of kick, sprinkle in cayenne according to your spice threshold.
Let’s whip up this Easy Homemade Vegan Mayo that promises to elevate all your favorite dishes!
Step‑by‑Step Instructions for Easy Homemade Vegan Mayo
Step 1: Combine Ingredients
In a tall, narrow vessel, like a wide-mouth mason jar, add 3 tablespoons of aquafaba, 1 tablespoon of Dijon mustard, 1 tablespoon of apple cider vinegar, and a pinch of salt. If you’re using garlic or cayenne, toss those in as well. Make sure your ingredients are layered properly; this setup is crucial for creating your easy homemade vegan mayo.
Step 2: Add the Oil
Pour in 1 cup of avocado oil gently, allowing it to settle on top of the mixture. Let the ingredients sit undisturbed for about 30 seconds—a key moment for proper emulsification. This separation helps ensure that the mayo will come together smoothly when blended, so be patient during this step.
Step 3: Blend for Creaminess
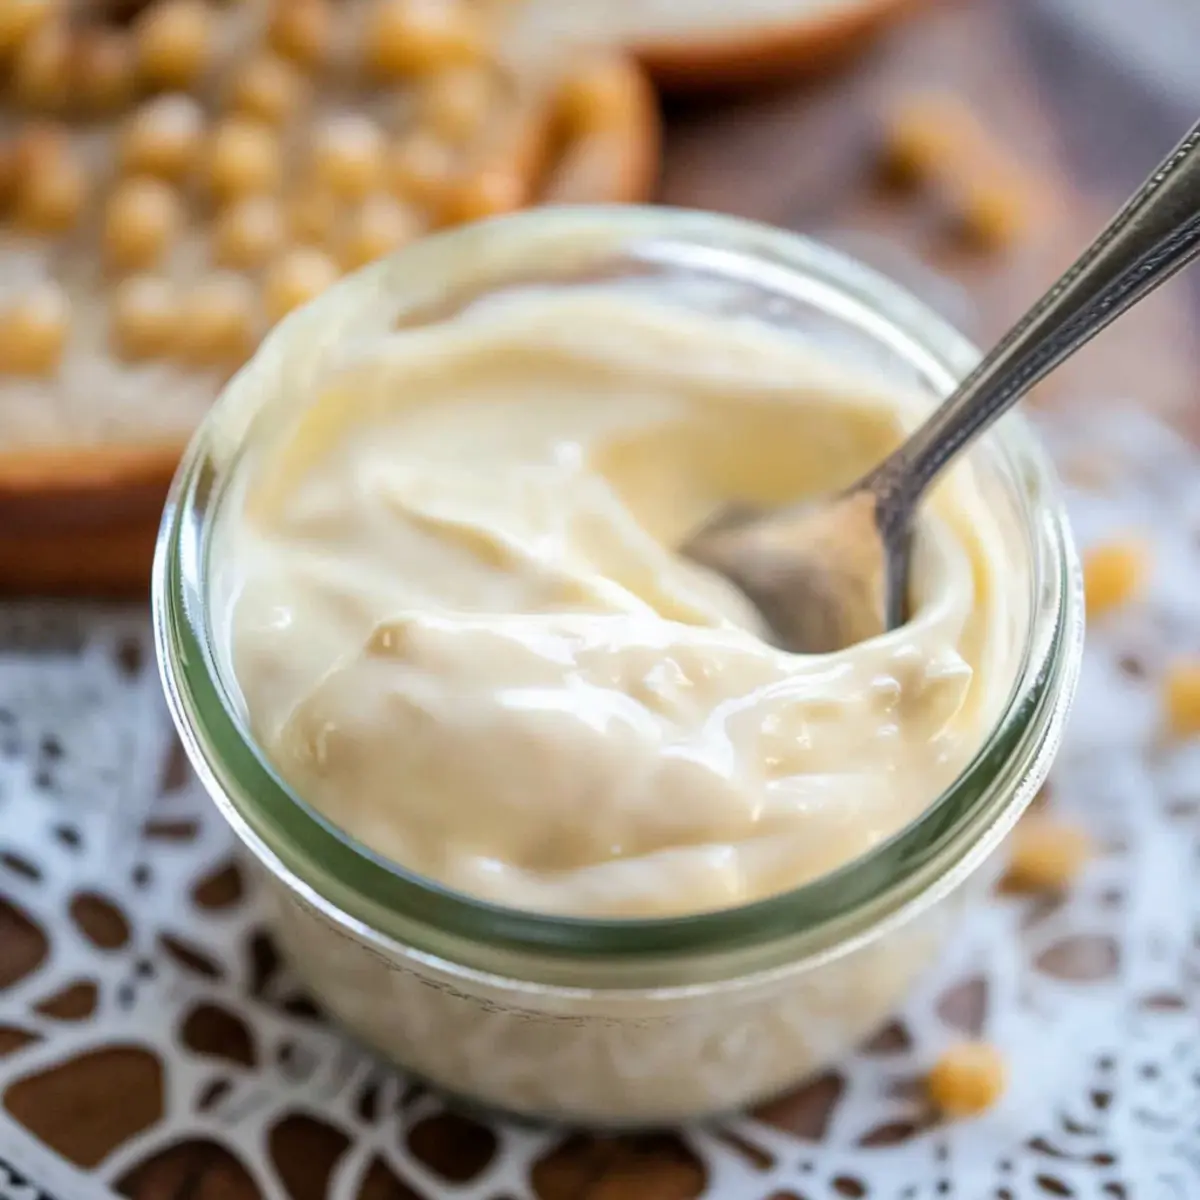
Insert an immersion blender straight to the bottom of the jar, ensuring it’s touching the base. Blend on high for 20 seconds without moving it to encourage emulsification. You will see the mixture thicken and transform into a creamy texture that resembles traditional mayo, marking the success of your easy homemade vegan mayo!
Step 4: Incorporate the Oil
Slowly lift the immersion blender up through the mixture while blending on high for another 10 seconds. This process helps incorporate all the oil into the mayo, ensuring it is fully emulsified. Scrape down the sides of the jar if necessary, continuing to blend until the mixture is thick, smooth, and creamy.
Step 5: Transfer and Store
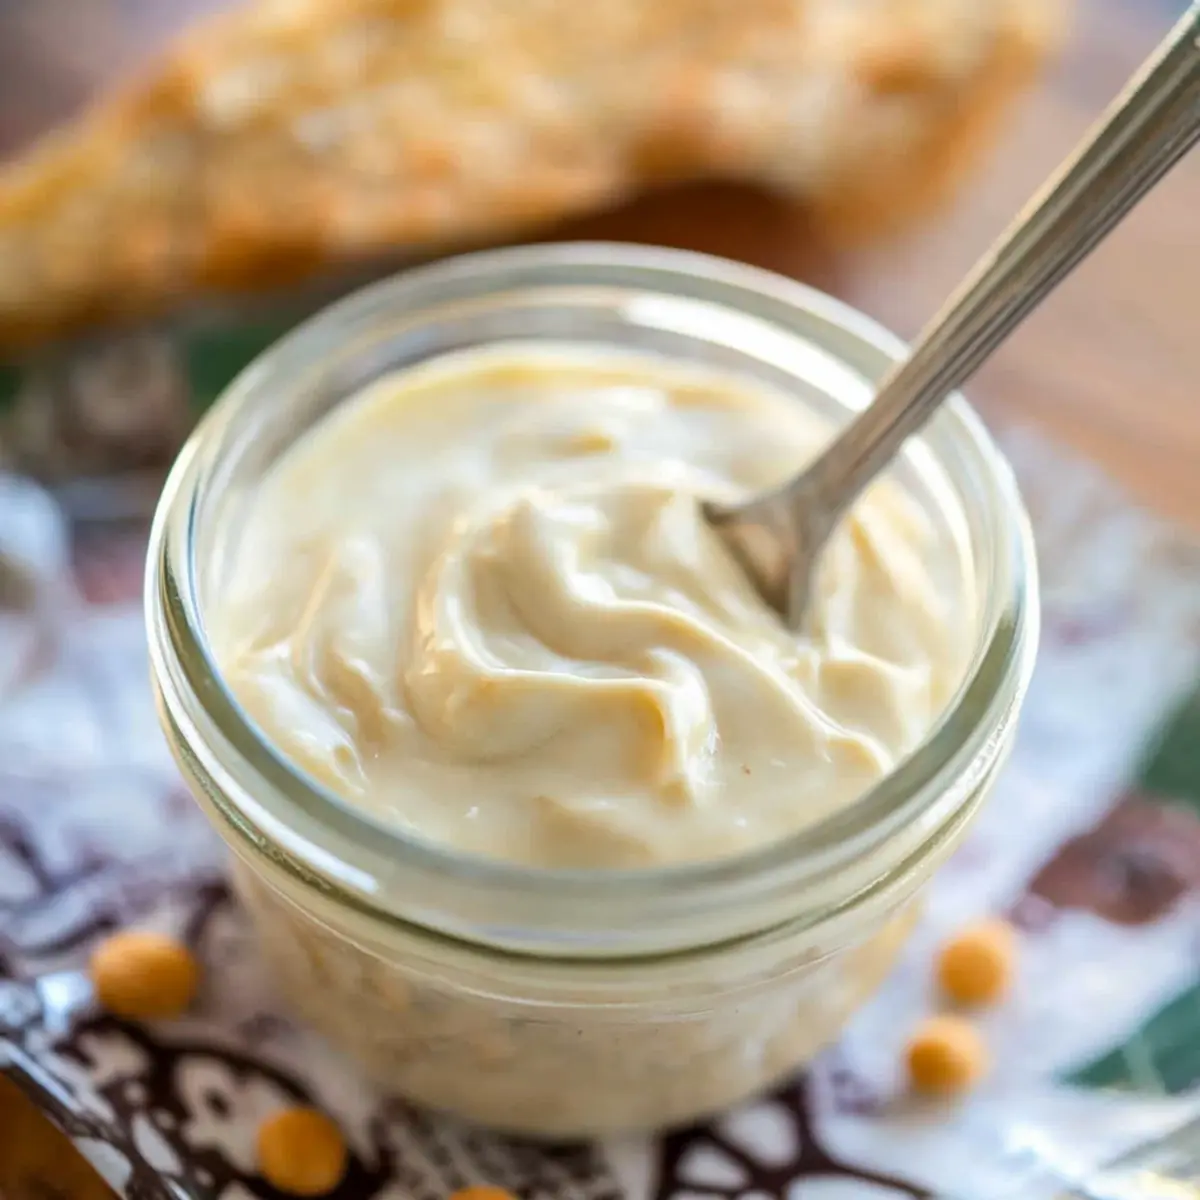
Once your mayo reaches the desired consistency, carefully transfer it to an airtight container. Make sure to seal it tightly, as your easy homemade vegan mayo can be stored in the refrigerator. It will keep fresh for up to 2 weeks, providing you with a delightful and versatile condiment for all your culinary needs!
Easy Homemade Vegan Mayo Variations
Feel free to get creative with your Easy Homemade Vegan Mayo—you might just find your new favorite flavor!
-
Zesty Citrus: Add the juice of half a lemon for a bright, refreshing twist; it enhances the mayo’s zing and pairs beautifully with salads.
-
Garlic-Infused: Toss in one minced garlic clove when blending for a delightful garlic mayo that’s perfect for sandwiches or veggie dips. The hint of fresh garlic can elevate your dips instantly!
-
Spicy Kick: For a fiery version, mix in a teaspoon of sriracha or a sprinkle of smoked paprika; this addition brings a warm, vibrant heat to your creations, making it an exciting condiment for tacos or burgers.
-
Herbaceous Touch: Blend in fresh herbs like dill or parsley for a herby mayo that’s fabulous on roasted vegetables or as a sandwich spread. Fresh herbs awaken your mayo and add complexity.
-
Smoky Flavor: Incorporate a teaspoon of liquid smoke to introduce a smoky depth; this is fantastic for BBQ dishes or to smear on grilled veggie sandwiches.
-
Sweet & Savory: Stir in a drizzle of maple syrup for a subtly sweet note; this works wonderfully in dressings for slaws or potato salads. It creates a delightful contrast with savory dishes!
-
Creamy Avocado: Enhance the creaminess by adding half a ripe avocado; this addition offers a richer texture, perfect for spreading on toast or blending into creamy dips.
-
Nutty Twist: Substitute avocado oil with tahini for a nutty flavor profile; it’s divine when paired with Mediterranean dishes or as a dip for fresh veggies.
For amazing sauce ideas and recipes, explore my tasty Stuffing Holiday Comfort or whip up some Candied Yams Sweet to complement your meals!
Expert Tips for Easy Homemade Vegan Mayo
-
Choose the Right Jar: Use a wide-mouth mason jar for proper emulsification. It should fit snugly around the immersion blender to create the right pressure.
-
Stay Away from Plastic: Opt for glass instead of plastic containers. Glass helps in achieving better emulsification, ensuring your vegan mayo turns out perfectly creamy.
-
Chill Ingredients: If your mayo doesn’t thicken, try chilling your aquafaba and oil beforehand. This can help achieve a successful emulsification.
-
Emulsification Technique: After blending, gradually lift the immersion blender to incorporate all the oil. This technique is crucial for creating smooth and creamy vegan mayo.
-
Store Aquafaba Wisely: If you have leftover aquafaba, freeze it in ice cubes. This way, you’ll always have some on hand for your next batch of easy homemade vegan mayo.
What to Serve With 30-Second Foolproof Vegan Mayonnaise
Looking to create a delightful meal that perfectly complements your creamy, homemade vegan mayo? Let’s explore some tasty pairings that will elevate your dining experience.
-
Crispy Sweet Potato Fries: The sweetness of roasted sweet potatoes contrasts beautifully with the creamy mayo, making for an irresistible dip.
-
Savory Veggie Wraps: Fresh vegetables wrapped in a soft tortilla become next-level delicious with a generous spread of your vegan mayo.
-
Fresh Garden Salad: A vibrant salad drizzled with a tangy vinaigrette base made from vegan mayo adds creaminess and flavor, enhancing every crunchy bite.
-
Classic Grilled Veggie Sandwich: This mayo serves as the perfect spread for a layered veggie sandwich, marrying flavors and textures for a fulfilling meal.
-
Zesty Slaw: Toss shredded cabbage and carrots in your vegan mayo for a creamy slaw that adds crunch and freshness to any plate.
-
Baked Cauliflower Wings: The tangy kick of your mayo acts as a tasty dip for spicy cauliflower wings, balancing the heat with its smooth creaminess.
-
Herby Potato Salad: Blend vegan mayo with boiled potatoes, herbs, and spices for a rich, creamy salad that contrasts beautifully with summer picnic vibes.
-
Chilled Gazpacho: Drizzling some vegan mayo on a cold soup offers a delightful contrast, enhancing the flavors while adding a creamy element.
-
Sparkling Lemonade: Pair this versatile mayo with a refreshing drink like sparkling lemonade for a delightful culinary experience that quenches thirst and tempts the taste buds.
Make Ahead Options
These Easy Homemade Vegan Mayo preparations are perfect for busy weeknights and meal planning! You can prepare the base mixture (aquafaba, Dijon mustard, apple cider vinegar, salt, and optional garlic/cayenne) up to 24 hours in advance. Simply combine these ingredients in a vessel and refrigerate. When it’s time to serve, pour in the avocado oil, let it sit for about 30 seconds, and blend for about 30 seconds until thick and creamy. This method maintains the freshness and flavor of your vegan mayo, ensuring it stays just as delicious when served. Embrace the time-saving benefits and enjoy this versatile condiment throughout the week!
How to Store and Freeze Vegan Mayo
Fridge: Store your easy homemade vegan mayo in an airtight container in the refrigerator for up to 2 weeks for optimal freshness.
Room Temperature: Avoid leaving vegan mayo at room temperature for extended periods to maintain quality and prevent spoilage; always refrigerate after usage.
Freezer: Freezing is not recommended for vegan mayo, as it may lose its creamy texture and emulsification when thawed.
Reheating: If the mayo thickens after being stored, simply give it a quick stir to restore its smooth consistency before using.
Easy Homemade Vegan Mayo Recipe FAQs
What is the best way to select aquafaba?
Absolutely! When choosing aquafaba, it’s best to use preservative-free canned aquafaba or make your own from cooked chickpeas. Look for a liquid that is clear and free from any dark spots. If you’re making it from scratch, cook chickpeas until tender, then blend the beans with water until smooth. Strain the mixture through a fine sieve to collect that wonderful aquafaba!
How should I store homemade vegan mayo?
Store your easy homemade vegan mayo in an airtight container in the refrigerator for up to 2 weeks. Always check for any changes in smell or texture before using. If you see it separating, give it a good stir before enjoying!
Can I freeze vegan mayo?
Very! However, it’s best to avoid freezing it. Vegan mayo may lose its emulsification and creamy texture once thawed, leading to a grainy consistency. If you do choose to freeze it, place it in an airtight container, but be prepared for potential changes in texture. The general rule is to use the fresh mayo instead whenever you can!
What should I do if my mayo doesn’t thicken?
If your easy homemade vegan mayo isn’t thickening, don’t worry! First, make sure all your ingredients are chilled. You can even pop your aquafaba and oil in the fridge for about 30 minutes before starting. If it still doesn’t emulsify, try blending again for a bit longer while slowly lifting the blender to whip in all the ingredients.
Is there anything I need to consider for allergies?
Indeed! This vegan mayo is egg-free, making it a great choice for vegans and those with egg allergies. However, always double-check the labels on your ingredients, especially the Dijon mustard, which may contain allergens. If you’re concerned, consider making your own mustard or simply omitting it for a basic mayo!
Can pets eat aquafaba mayo?
While aquafaba itself is safe for pets in small amounts, the other ingredients in vegan mayo may not be suitable for them. It’s best to keep homemade condiments out of your pet’s diet. If your furry friend happens to sneak a lick, don’t panic, but try to limit their exposure!
Whip Up Easy Homemade Vegan Mayo in Just 30 Seconds!
Ingredients
Equipment
Method
- In a tall, narrow vessel, add aquafaba, Dijon mustard, apple cider vinegar, and a pinch of salt. Layer properly and add garlic or cayenne if desired.
- Pour in the avocado oil gently, allowing it to settle on top. Let sit undisturbed for about 30 seconds.
- Insert an immersion blender to the bottom of the jar and blend on high for 20 seconds without moving.
- Slowly lift the immersion blender up while blending on high for another 10 seconds.
- Transfer to an airtight container and store in the refrigerator. Enjoy it fresh for up to 2 weeks.
Leave a Reply