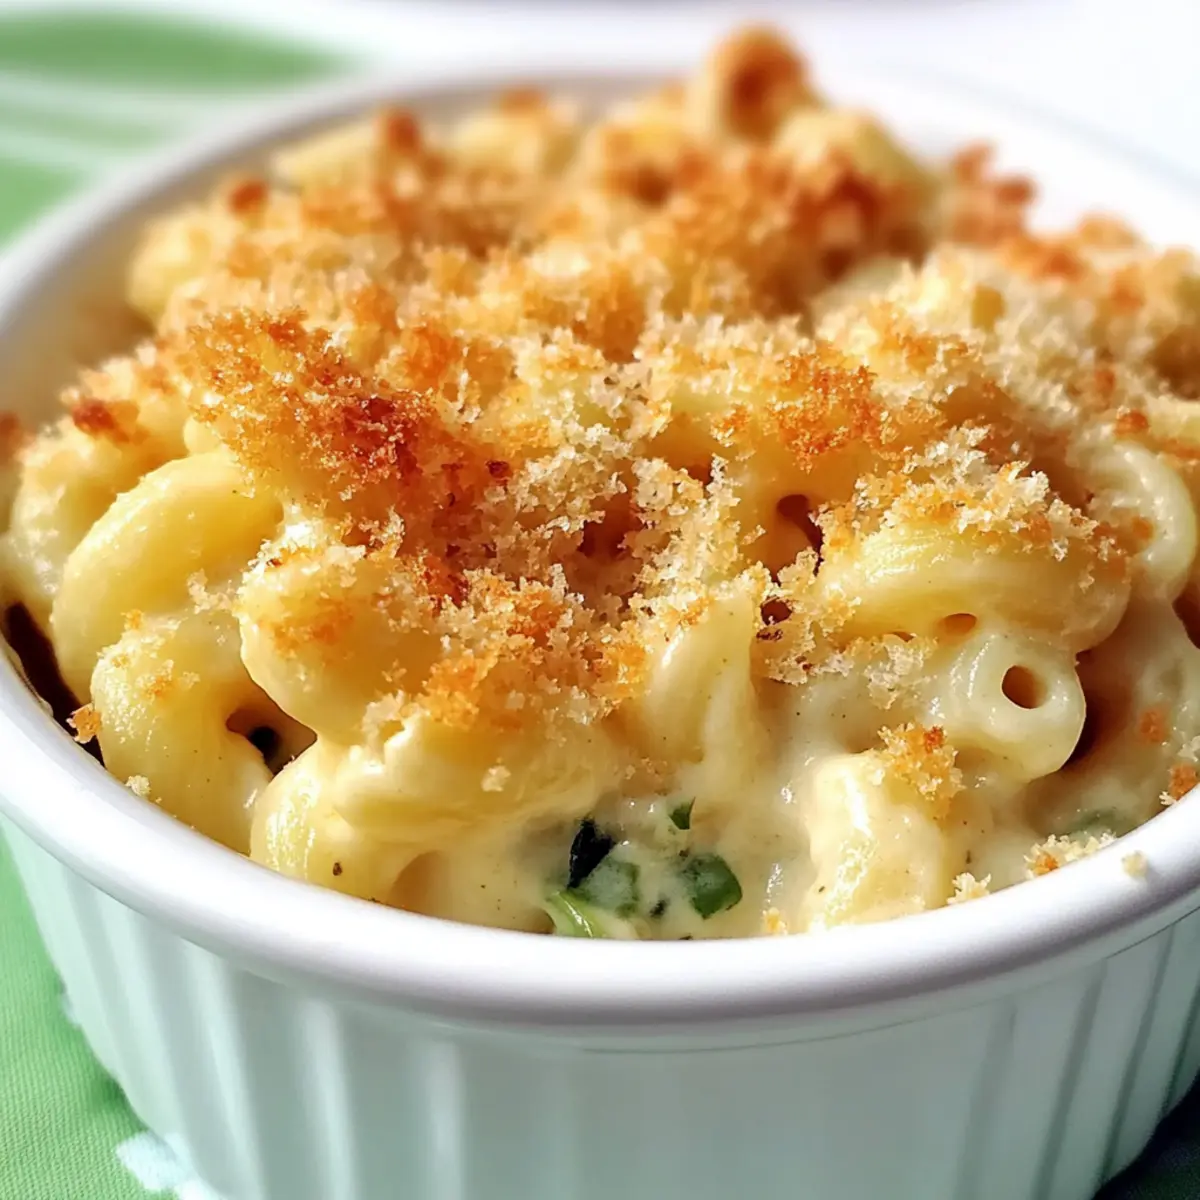
As the sun sets and the kitchen fills with inviting aromas, I can’t help but marvel at the magic of comfort food. This Spicy Cheesy Hatch Chile Mac and Cheese is my go-to recipe for weeknight dinners or casual gatherings, effortlessly marrying creamy richness with a hint of smoky spice. The star ingredient? Roasted Hatch chiles, which cozy up to the sharp cheddar and smoky gouda, creating a delightful twist on the classic dish. Not only is it a guaranteed crowd-pleaser, but this recipe is also a breeze to whip up, making it perfect for even the busiest evenings. Ready to dive into a bowl that’s warm, creamy, and has just the right kick? Let’s get cooking!
Why is this mac and cheese special?
Creamy Comfort: The rich and creamy combination of sharp cheddar and smoked gouda creates a texture that hugs every piece of pasta, ensuring every bite is a warm hug.
Spicy Kick: Hatch chiles bring a smoky heat that transforms ordinary mac and cheese into a flavorful feast that’s sure to impress.
Quick and Easy: Perfect for weeknights, this recipe is simple enough for beginner cooks but offers gourmet flair, making it a go-to for effortless meals.
Crowd-Pleasing Favorite: Whether it’s a family dinner or a potluck, this dish promises happy faces and satisfied stomachs, leaving everyone wanting more.
Serving Style: Pair it with a fresh salad or even some delicious Cheesy Scalloped Potatoes for a complete meal that’ll keep everyone coming back for seconds!
Cheesy Hatch Chile Mac and Cheese Ingredients
• Dive into the flavors of cheesy goodness with this richly satisfying recipe!
-
For the Pasta
-
Elbow Macaroni – This classic choice provides the perfect structure for creamy mac and cheese.
-
For the Cheese Sauce
-
Unsalted Butter – Adds richness to your cheese sauce base; be sure to control the saltiness!
-
All-Purpose Flour – The key thickening agent for a dreamy, creamy texture.
-
Whole Milk – Offers a rich base; opt for low-fat if you’re looking to lighten things up.
-
Sharp Cheddar Cheese – Gives that beloved mac and cheese flavor; shred it fresh for the best melt!
-
Smoked Gouda Cheese – Infuses a robust, smoky flavor that pairs beautifully with Hatch chiles.
-
For the Spicy Twist
-
Hatch Chiles – The star of this dish, bringing a fantastic smoky heat—don’t forget to remove the seeds for balanced flavor!
-
For the Crunchy Topping
-
Fresh Breadcrumbs – Create an irresistible crispy layer on top; they add wonderful texture to your mac and cheese.
-
Seasoning
-
Salt & Pepper – Essential for elevating the dish—tweak to your taste!
This Cheesy Hatch Chile Mac and Cheese is a recipe you’ll want to make time and time again!
Step‑by‑Step Instructions for Cheesy Hatch Chile Mac and Cheese
Step 1: Preheat and Prepare
Begin by preheating your oven to 400°F (200°C) and generously butter a 9×13-inch casserole dish. This will create a non-stick surface for your Cheesy Hatch Chile Mac and Cheese and add a little extra richness to the dish. Set the dish aside while you gather your ingredients and get your pasta boiling.
Step 2: Cook the Pasta
In a large pot, bring water to a rolling boil, and add in your elbow macaroni. Cook the pasta until al dente, which will take about 1-2 minutes less than the package directions. Once it’s just tender yet firm to the bite, drain the pasta, and remember to reserve a cup of the starchy water to add creaminess later if needed.
Step 3: Make the Roux
In a medium-sized saucepan over medium heat, melt 4 tablespoons of unsalted butter. Once melted, whisk in ¼ cup of all-purpose flour, stirring continuously for about one minute until it’s slightly browned and bubbly, forming a roux. This will be the foundation for your cheese sauce, adding thickness and a rich flavor to your Spicy Cheesy Hatch Chile Mac and Cheese.
Step 4: Create the Cheese Sauce
Next, gradually whisk in 3 cups of whole milk into the roux, ensuring a smooth consistency. Continue to stir and allow the mixture to simmer for about 5 minutes until it thickens slightly, coating the back of a spoon. Be patient and keep an eye on this irresistible cheese sauce; it’s worth every minute you wait!
Step 5: Add the Cheeses
Once your sauce is thickened, reduce the heat to low and stir in 2 cups of shredded sharp cheddar cheese and 1 cup of smoked gouda cheese. Allow the cheese to melt slowly while stirring until it’s fully integrated and creamy. This luscious blend will provide that signature cheesy flavor paired beautifully with your Hatch chiles in the final dish.
Step 6: Incorporate the Hatch Chiles
Fold in the cooked elbow macaroni and the prepared Hatch chiles (make sure they are diced and seeds removed) into the cheese sauce. Stir gently but thoroughly until each pasta piece is luxuriously coated in the cheesy goodness. Take a moment to adjust your seasoning with salt and pepper, enhancing the overall flavor of your Cheesy Hatch Chile Mac and Cheese.
Step 7: Transfer and Top
Pour the macaroni mixture into your previously prepared casserole dish, smoothing it out with a spatula to create an even layer. Sprinkle any remaining shredded cheese on top, followed by a generous handful of fresh breadcrumbs. This crunchy topping will bake beautifully, providing a delightful contrast to the creamy texture beneath.
Step 8: Bake to Perfection
Slide the dish into your preheated oven and bake for 15-20 minutes. You’ll know it’s ready when the top is bubbly and golden brown—a beautiful sight that signals the deliciousness of your Cheesy Hatch Chile Mac and Cheese!
Step 9: Let it Rest
After removing the dish from the oven, allow it to rest for 10-15 minutes before serving. This waiting period lets the dish set and for the flavors to meld beautifully, ensuring every bite of this spicy mac and cheese is creamy and satisfying. Enjoy the warm and inviting aroma that fills your kitchen!
How to Store and Freeze Cheesy Hatch Chile Mac and Cheese
Fridge: Store leftover Cheesy Hatch Chile Mac and Cheese in an airtight container for up to 5 days. The flavors meld beautifully as it sits, making it even more irresistible!
Freezer: You can freeze the dish for up to 3 months. Make sure to leave off the breadcrumb topping before freezing to maintain its crispy texture.
Reheating: To reheat, thaw overnight in the fridge. Then, bake covered with foil at 350°F (175°C) for about 20–25 minutes until heated through and bubbly.
Room Temperature: Avoid leaving out at room temperature for more than 2 hours to ensure food safety and quality.
What to Serve with Spicy Cheesy Hatch Chile Mac and Cheese
As you savor the creamy, spicy notes of your mac and cheese, consider these delightful pairings that will make your dinner even more memorable.
-
Crispy Green Salad: A light salad with mixed greens and a tangy vinaigrette complements the richness of the cheesy dish, providing a refreshing contrast.
-
Grilled Vegetables: Smoky grilled zucchini and bell peppers bring a vibrant color and slight char that harmonizes well with the spiciness of the Hatch chiles.
-
Garlic Breadsticks: Soft, buttery breadsticks brushed with garlic will soak up any extra cheese sauce left on your plate, ensuring no drop goes uneaten!
-
Spicy Roasted Chicken: Juicy roasted chicken seasoned with spices echoes the warm flavors of your mac and cheese, creating a satisfying and hearty meal.
-
Sweet Cornbread: A slice of sweet cornbread on the side adds a comforting sweetness that balances the spicy kick of your mac and cheese. It’s like a warm hug in every bite!
-
Chardonnay or Light Beer: Pairing your meal with a chilled glass of Chardonnay or a refreshing light beer creates a delightful balance, enhancing the overall dining experience.
These suggestions promise to elevate your dinner table, turning your mac and cheese into a full, hearty feast that everyone will adore!
Expert Tips for Cheesy Hatch Chile Mac and Cheese
-
Proper Cheese Prep: Always use block cheeses and shred them yourself. Pre-shredded cheese contains anti-caking agents that can affect the melt quality of your Cheesy Hatch Chile Mac and Cheese.
-
Pasta Precision: Cook the pasta just shy of al dente, about 1-2 minutes less than the package suggests. It will continue to cook while baking, preventing a mushy texture.
-
Sauce Secrets: Remove the saucepan from heat before adding the cheese. This ensures a smooth, creamy sauce without any graininess that can occur if the heat is too high.
-
Chili Choice: When preparing Hatch chiles, always remove the seeds and membranes to achieve the right flavor balance. Too many seeds can make your dish overly spicy and bitter.
-
Breadcrumb Bliss: Use fresh breadcrumbs for topping instead of pre-packaged ones. This enhances the crunch factor and freshness of your Cheesy Hatch Chile Mac and Cheese.
-
Creative Variations: Don’t hesitate to experiment! Try adding different cheeses or mixing in vegetables like peas or spinach to elevate your dish even further.
Make Ahead Options
Preparing your Spicy Cheesy Hatch Chile Mac and Cheese in advance can save you valuable time on busy weeknights! You can assemble the entire dish, minus the breadcrumbs, up to 24 hours ahead. Simply follow the recipe until you transfer the pasta mixture to your casserole dish, then cover tightly with plastic wrap and refrigerate. For best results, consider adding the breadcrumb topping just before baking to maintain its crispy texture. When you’re ready to enjoy it, just bake straight from the fridge, adding an extra 5-10 minutes to the baking time, until it’s bubbly and golden. This way, you’ll have a scrumptious, homemade meal ready with minimal effort!
Cheesy Hatch Chile Mac and Cheese Ideas
Dive into the delicious world of customization and make this cheesy delight your own with these fun variations!
-
Cheddar Swap: Use pepper jack cheese instead of sharp cheddar to add an extra kick of spice and flavor.
-
Gouda Option: Replace smoked gouda with fontina cheese for a creamier texture and a rich, mild taste that’s still oh-so-cozy.
-
Vegetable Boost: Add black beans or corn to the pasta mixture for a nutritious twist and satisfying protein boost—a colorful addition that makes every bite exciting.
-
Crunchy Twist: Experiment with panko breadcrumbs for the topping; they will provide an irresistible crunch that pairs beautifully with the creamy cheese sauce.
-
Spicy Elevation: Amp up the heat by incorporating sliced jalapeños or roasted red peppers into the dish, bringing an extra layer of flavor.
-
Herb Infusion: Stir in fresh herbs like cilantro or chives to give your mac and cheese a garden-fresh taste that brightens every bite. It’s a simple yet effective way to elevate the flavors!
-
Protein Power: For a heartier meal, fold in cooked chicken or even crumbled bacon before baking—perfect for meat lovers seeking that extra protein punch.
-
Sauce Upgrade: Make it a three-cheese wonder by adding mozzarella for a gooey stretch that’s delightful alongside the rich cheddar and gouda.
Feel free to explore these delicious variations to truly make this Cheesy Hatch Chile Mac and Cheese your own. And if you’re looking for more cheesy recipes to try out, you can’t go wrong with these comforting dishes: Cheesy Scalloped Potatoes or Cheesy Rigatoni Parmesan. Happy cooking!
Spicy Cheesy Hatch Chile Mac and Cheese Recipe FAQs
What are Hatch chiles and how do I select them?
Hatch chiles are a variety of green chilies that originated in Hatch, New Mexico, known for their smoky and slightly spicy flavor. When selecting, look for firm chiles with a vibrant green color, avoiding any with wrinkles or dark spots. Freshness is key! Opt for medium-sized chiles, which typically have a balanced heat level.
How do I store leftovers of Spicy Cheesy Hatch Chile Mac and Cheese?
Absolutely! Store any leftovers in an airtight container in the fridge for up to 5 days. This dish actually benefits from being stored as the flavors intensify over time! For best results, allow it to cool completely before sealing and placing it in the fridge.
Can I freeze Cheesy Hatch Chile Mac and Cheese?
Yes! You can freeze the unbaked mac and cheese for up to 3 months. To do this, prepare the dish as instructed but leave off the breadcrumb topping. Instead, cover the casserole tightly with aluminum foil or plastic wrap. When ready to bake, thaw overnight in the fridge, then bake covered at 350°F (175°C) for 20-25 minutes until warm and bubbly.
What if my cheese sauce turns out grainy?
It’s very common to encounter a grainy cheese sauce, but don’t fret! This usually happens when cheese is added to a hot mixture. To avoid this, always remove the pot from heat before adding your cheese, whisking continuously until it’s fully melted and smooth. If you’ve still got graininess, try adding a splash of warm milk and whisking it vigorously until creamy.
Are there any dietary considerations with this recipe?
Great question! This Spicy Cheesy Hatch Chile Mac and Cheese contains dairy and gluten, so it might not be suitable for lactose-intolerant individuals or those with gluten allergies. However, feel free to make substitutions! For a gluten-free version, use gluten-free pasta and a gluten-free flour for the roux. You can also explore dairy alternatives like almond or oat milk and plant-based cheeses for a healthier twist!
Spicy Cheesy Hatch Chile Mac and Cheese
Ingredients
Equipment
Method
- Preheat your oven to 400°F (200°C) and butter a 9x13-inch casserole dish.
- In a large pot, bring water to a boil and cook the elbow macaroni until al dente, about 1-2 minutes less than package directions. Reserve a cup of starchy water.
- In a medium-sized saucepan, melt 4 tablespoons of unsalted butter over medium heat. Whisk in ¼ cup of all-purpose flour for about one minute.
- Gradually whisk in 3 cups of whole milk into the roux and allow it to simmer for about 5 minutes until it thickens slightly.
- Reduce heat to low and stir in 2 cups of shredded sharp cheddar cheese and 1 cup of smoked gouda cheese until melted and creamy.
- Fold in the cooked macaroni and diced Hatch chiles, stirring until pasta is coated, then season with salt and pepper.
- Pour the mixture into the casserole dish and sprinkle with remaining cheese and fresh breadcrumbs.
- Bake for 15-20 minutes until the top is bubbly and golden brown.
- Let it rest for 10-15 minutes before serving.
Leave a Reply